| How To Apply Carbon Decals • DiecastSociety.com |

How To Apply Carbon Decals
Author/Model:
Hans Efdé
Base Model: Mondo Motors and Motormax
Tools & Supplies:
Hair Dryer
Paper Towel
Tweezers
Knifes
Scissors
Cotton Sticks
Wooden Sticks
Spatula’s
Pin
Cotton Rag
Magnifying Glass
Bowl with Luke-warm Water
Bowl with Cold Water w/ Dish Washing Liquid
Microsol/Microset
Brushes
| FOREWORD/CARBON DECALS (1). |
MAKING TEMPLATES/CUTTING DECALS (2). |
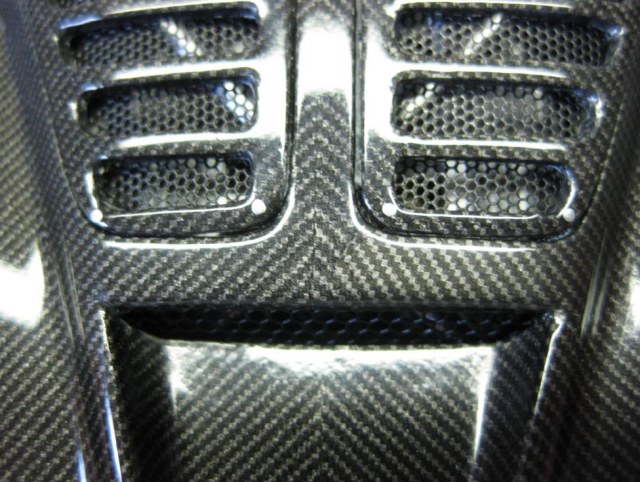
 Do you dream of that awesome naked carbon fibre diecast supercar in your cabinet, but no manufacturer produces it? So did I about the awesome Pagani Zonda F and in the end I made my own. I bought a few of the dreaded Mondo Motors and Motormax Zonda’s and this is the first car I made. It came out 100 times better than I expected for a first try. I will explain in this tutorial how I did it for your benefit. It is MY method, not THE method. If you know better or want to add your experience, please leave your comment in the response section below. Carbon decals. First decide what carbon decals you are going to use. Study pics of the original car and determine if it’s twill or weave and how many silver lines per cm you need. Then find the correct size decals. Don’t fall in the trap that you need 1/18 decals for a 1/18 scale car. I used 1/12 decals for the outside and for smaller parts 1/20 decals. But it depends on the brand. You may need to buy several sheets before finding the right one. Buy carbon decal sheets from renowned manufacturers. Consult forums to find the one you like. You need strong decals that don’t tear and rip when being moved around or removed from the backing paper. I bought decals from Scale Motorsport in size 1/12 and 1/18 for my Zonda, but if you know a better brand leave your comment below. One warning, make sure you buy them in 1 batch. I bought sheets from several web shops and found later there is difference in the sheets as shown below.
Both are SMS 1/12 twill decals, but the lighter right hand decal is from a more recent production. |
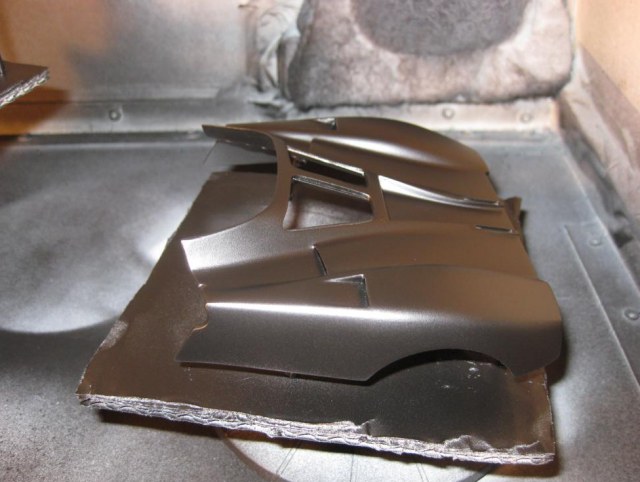 First prepare the model. Make it as smooth as possible. The manufacturer advises a semi gloss black paint, but next model I might try dark grey to hide flaws.
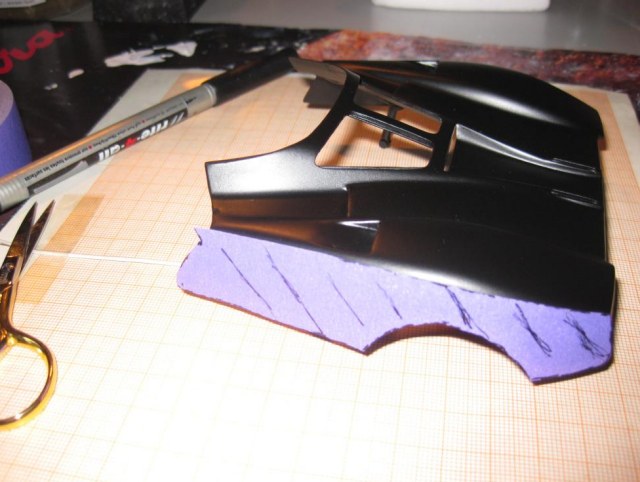
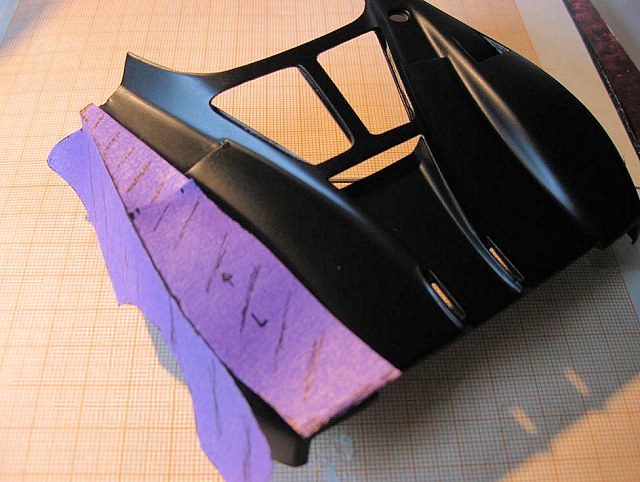
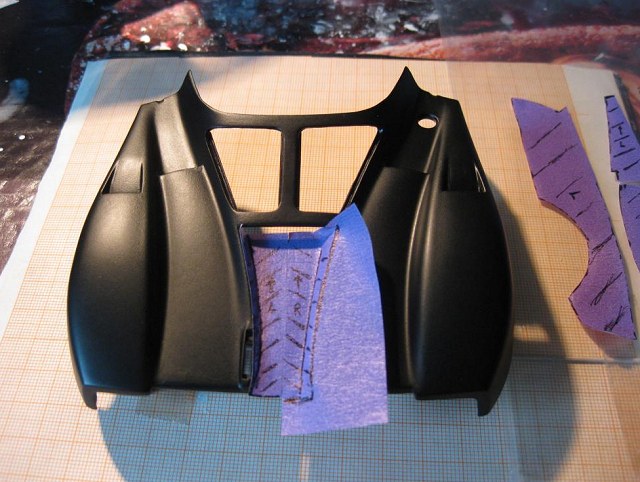
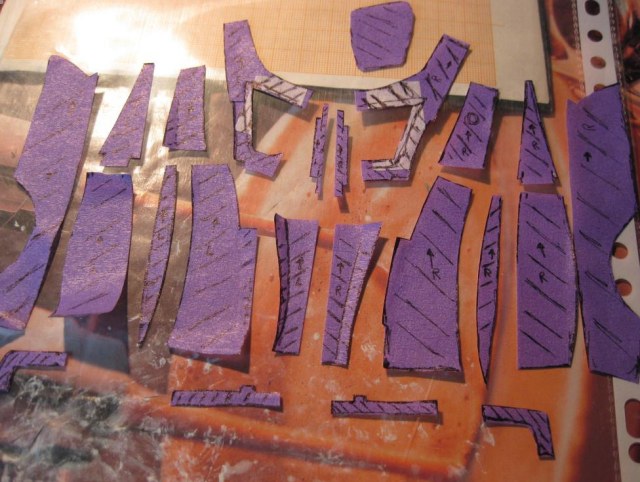
Use soft stick paper tape to make templates. Mark the carbon fibre orientation. Keep in mind the 2D nature of decals. Limit 3D areas to prevent too many wrinkles.
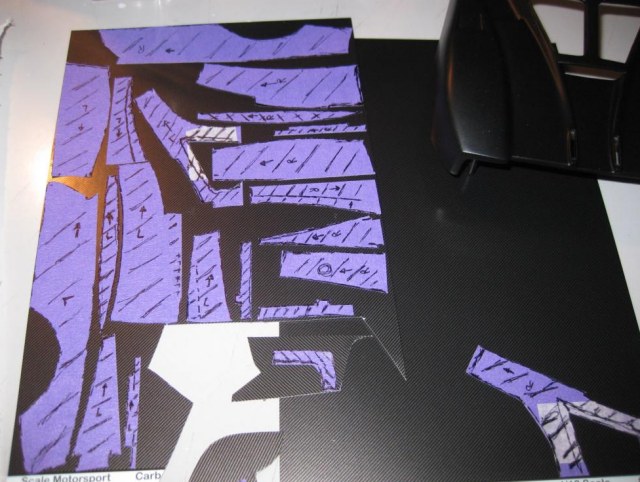
When you’re done you have a collection of templates as shown above. Place them on the decal sheets and cut them out. Of course you double check the orientation of the fibres.
|
| TOOLS AND WORK STATION (3). |
APPLYING THE DECALS (4). |
 Now you have your decals and it’s time to put them on the model.
 The workstation must be clean and dry. You don’t want dirt or dust under the decals. I use a few pieces of paper towel for softness and soak up spills.Tools I use: hair dryer, tweezers, knifes, scissors, cotton sticks, wooden sticks and spatula’s, pin, paper towel and cotton rag. Magnifying glass, a bowl with luke warm water. Too hot and the decal will curl. A bowl with cold water and a squirt of dish washing liquid, Microsol and sometimes for placing small parts I use Microset. Of course brushes to apply the water and chemicals.
|
Start in the middle and work your way outwards. Use a strip of soft stick paper tape to mark the center line. This is critical, use a caliper to check and recheck. Apply the first decal in luke-warm water, I hold it with a tweezer (don’t squeeze, you’ll damage the decal) or hold it by hand. I only have it in the water for 15 to 20 seconds. Place it on a paper towel for a moment to let it soak up the water. Apply some cold water with the dish washing liquid on the model. Put the decal on the model and slide it to its position. Use the rag and the cotton at first to get the water out and get rid of air voids. Use a wooden spatula to get it in the corners. Use the hairdryer to warm it to dry the decal and make it more pliable. If it doesn’t work the first time, remove it, apply again soapy water and retry. Don’t worry, you don’t need the adhesion backing glue of the decal itself. Microsol will sort that out.Warm the decal to get rid of any wrinkles. If all is well, decal is smooth, in position, no voids etc apply Microsol to the whole decal. Don’t touch! Use the hair dryer to speed the drying. The Microsol will shrink the decal and it will be tight as a skin. If you see air or moisture voids, carefully stick the pin in it (don’t scratch the decal), apply a drop of Microsol and warm the decal again. You may apply a bit of pressure with your finger or cotton stick to help flatten the decal. Do this as many times as needed.If you’re successful the model will start to look like.
    |
| APPLYING THE DECALS – PART II (5). |
ISSUES/OBSTACLES (6). |
|
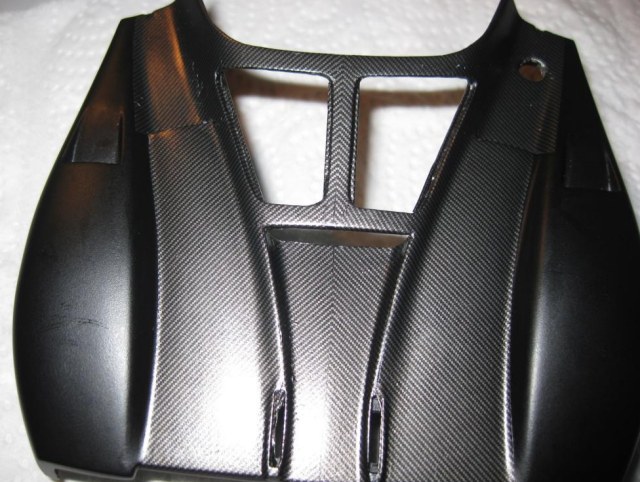
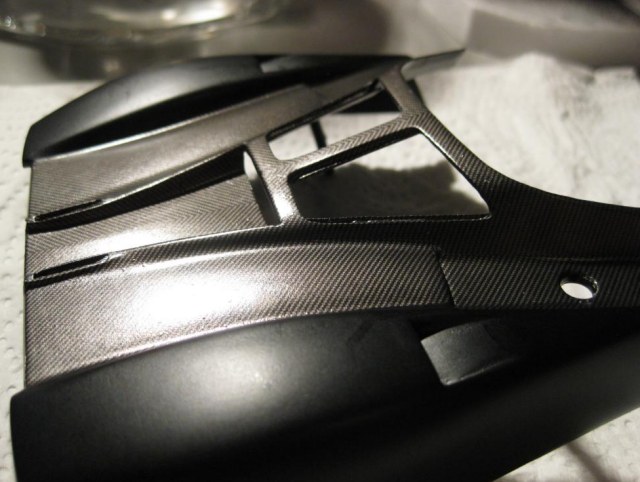
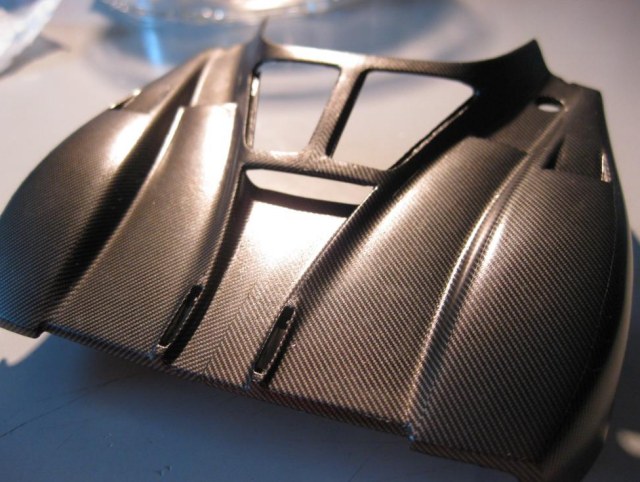
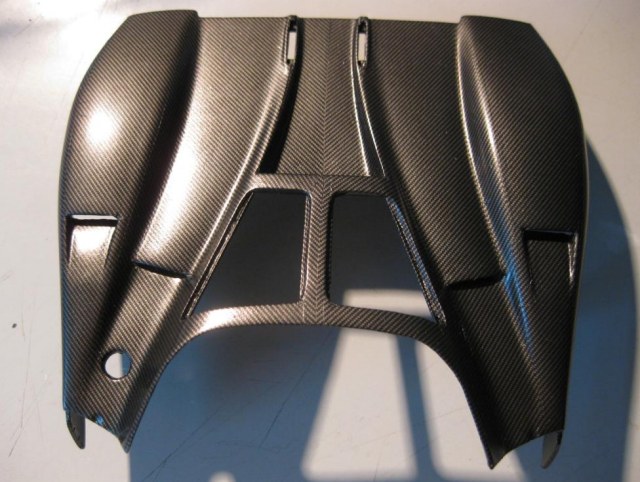
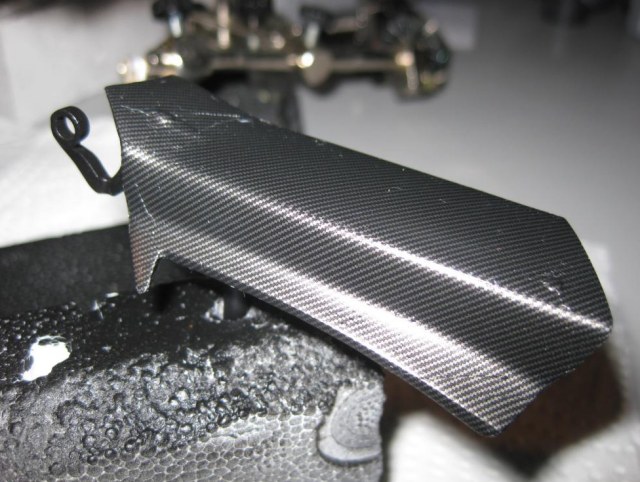
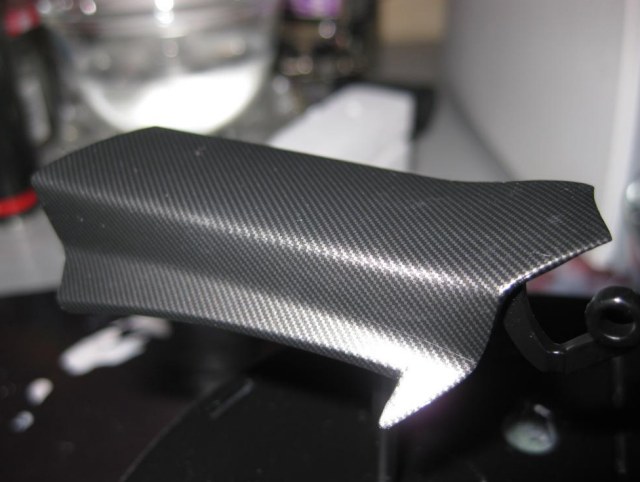
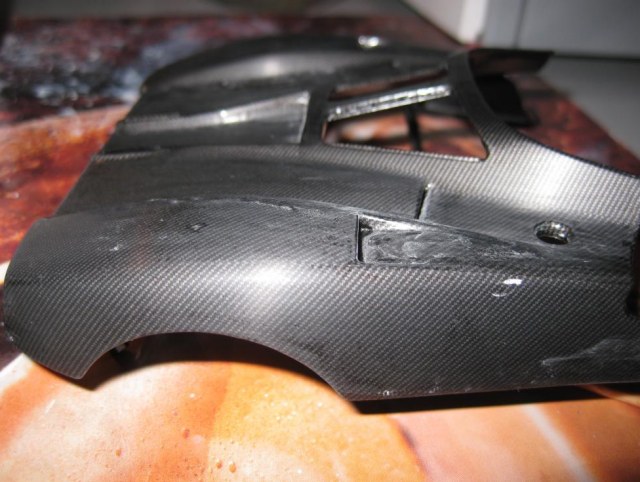
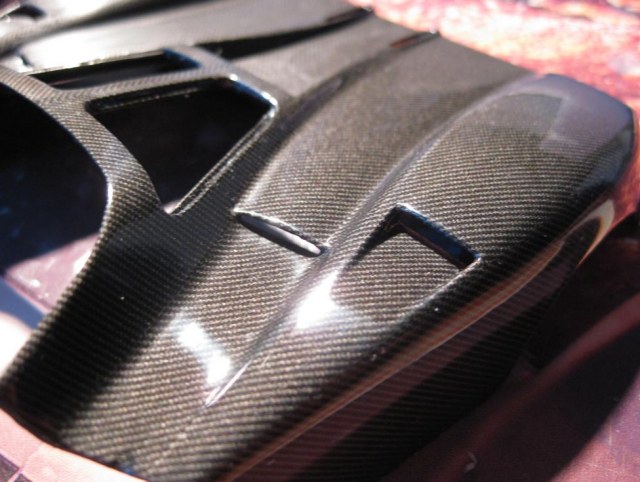
Decal by decal, step by step you make the puzzle. Try to make it as flat as possible, but some wrinkles can not be avoided. Apply only the next decal when you’re happy with the previous one. Push the decals against each other or allow a small overlap. Here the center piece is overlapped by the outside fender decals.
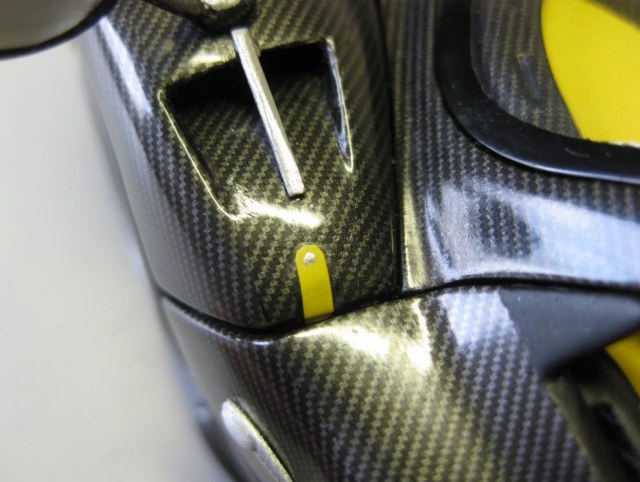 If you leave a gap, it will show. I made a few small mistakes on my model.
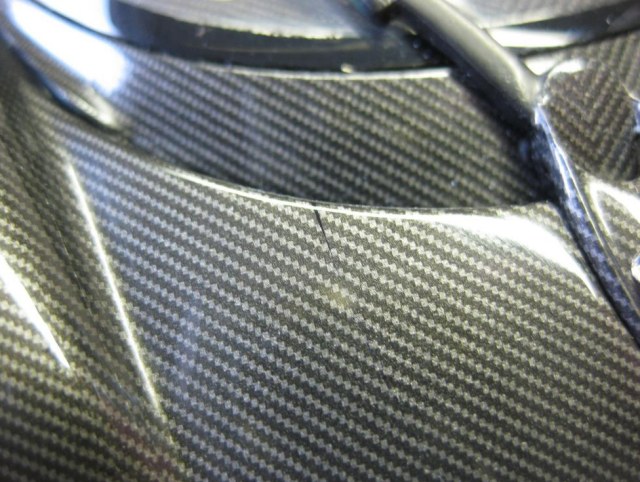  Problem is they show up after clear coating, so use a magnifying glass when applying decals. If you’re ready.
  Now let it thoroughly dry. I’ve let it dry for more than a week.
|
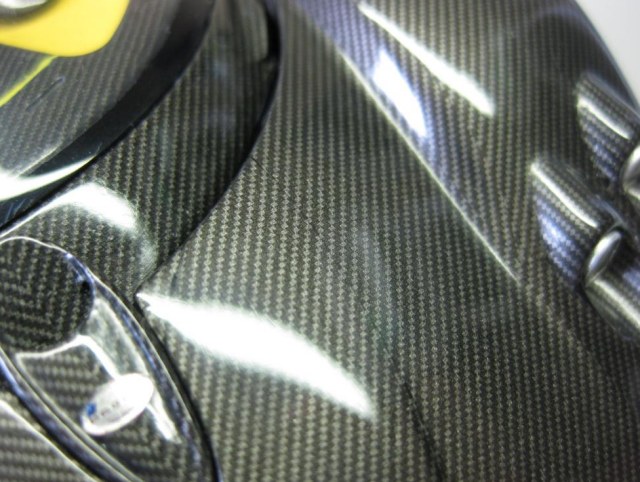
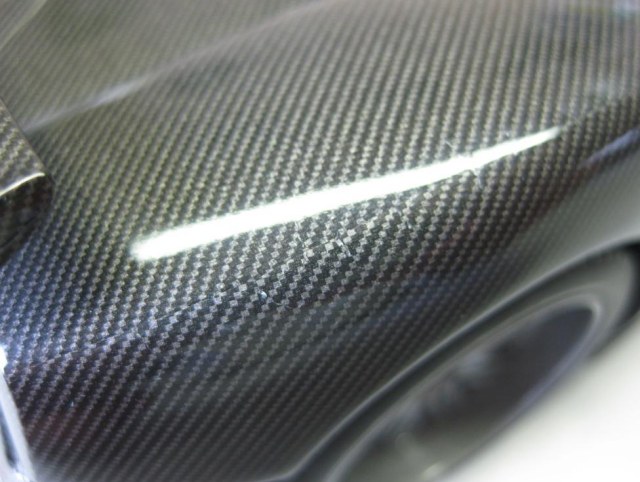
Any forgotten voids. Once clear coated you will have to live with it.
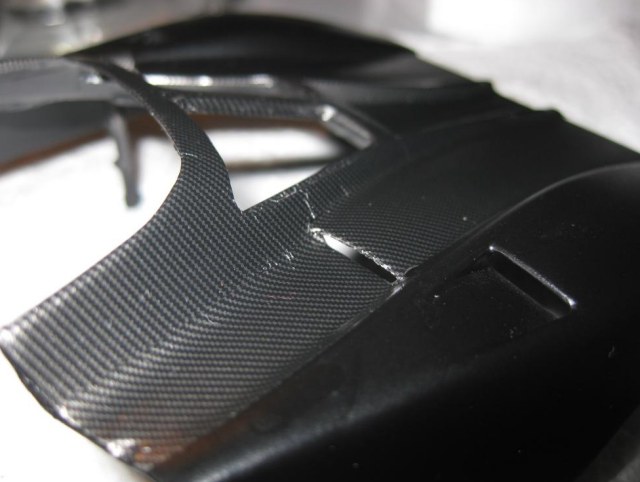
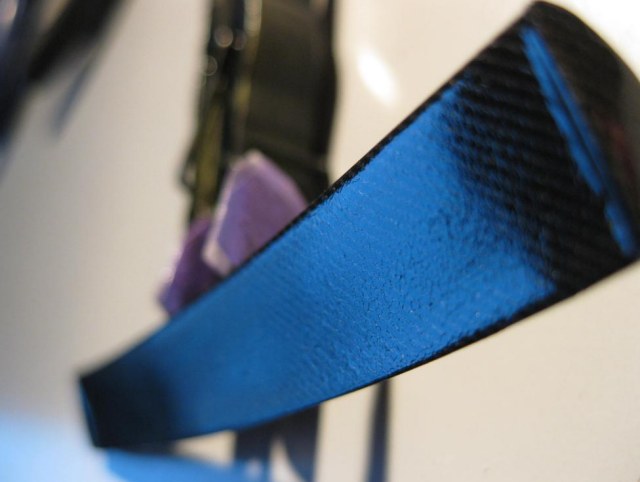
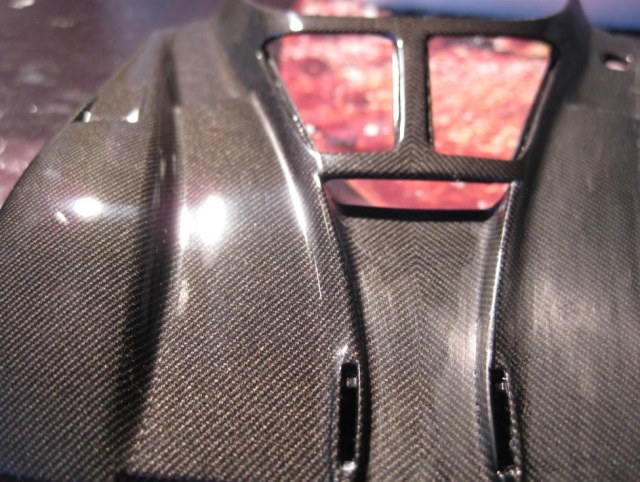
 Small obstacles like for example door locks and indicators can cause problems. It may be necessary to sand these away or find another solution. With indicator and lock (and too few templates, more 3D than expected) I got bad wrinkles.
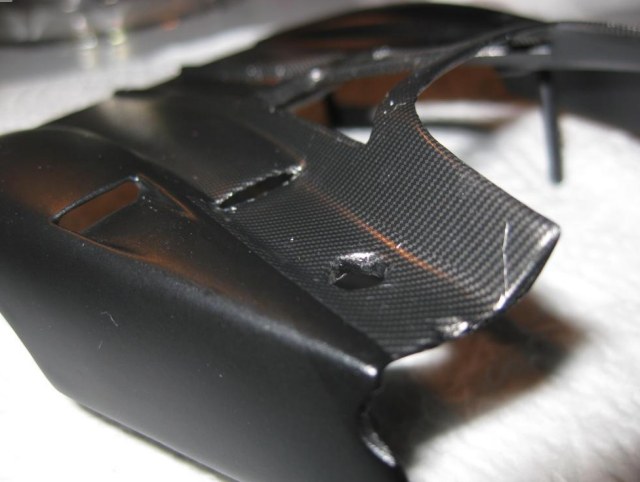
 Then again without the obstacles and 1 extra template.
 |
| CLEAR COATING (7). |
|
|
It’s time to clear coat. I use cheap acrylic spray from a spray can. To start apply a few mist layers. If the first layer is too thick the decal will look like this.
 On my model I used 3 mist layers and then 4 full wet layers. Sufficient drying time in between. Then let it dry for a few days. You will notice all small faults as creases etc. will disappear.When the clear coat has fully dried, it’s time for wet sanding. This is nerve wrecking, sand through the layer, you’ll damage the decal and have to start all over again. I wet sand with 2000 grid polishing paper and stay away from the edges.
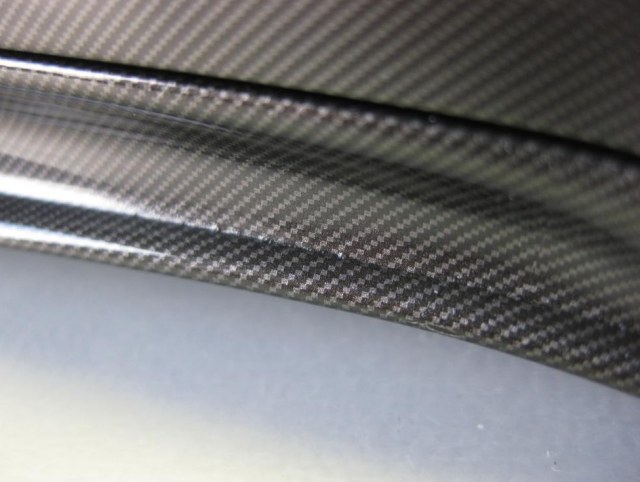
 When that’s done, I polish the model. I bought a bottle of 3M Finish It, but no doubt other polishing agents will work as well. Now the magic happens. The shine appears.
  Wrinkles are now hardly visible.
 Any dents in the parts will show as dark spots.
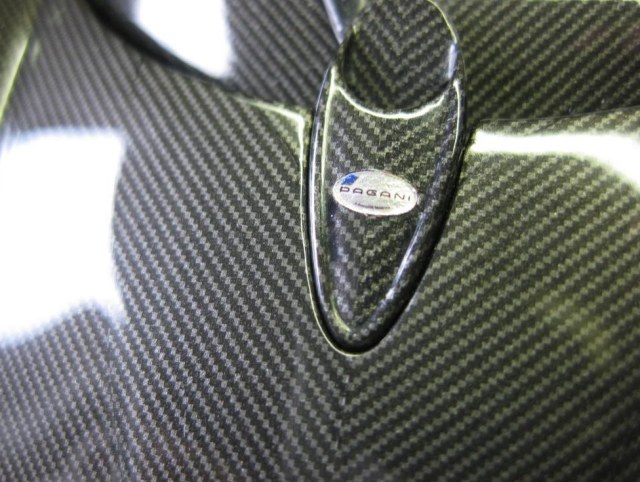 There is nothing you can do about it, except start over again by stripping the part and filling the dents with filler. I found the darker spots near the edge of the centre piece acceptable and am leaving it like this.All that rests is final assembly and you will be the proud owner of a unique model that is a good reflection of the real car. Good luck and enjoy your build. Please leave any comments or suggestions below. I am also still on the learning curve.
|