| How To Give Your Diecast a Facelift • DiecastSociety.com |

How To Give Your Diecast a Facelift
Author/Model:
Stephane St-Denis (aka GP246)
Maisto Chevrolet Chevelle SS454 1971
Tools & Supplies:
Phillips Screwdriver (small)
Scissors
White Glue or Hobby Glue
Carpet Knife
Carpeting (the product used here was purchased at Dollarama, $0.25/sheet. Check your local hobby store, fabric centre or on-line resource)
Rubber/Foam Insulation (found at local hobby store)
Enamel Paint (Testor brand)
Small Paintbrush
Spray Paint
A foreword, the “How To” section of DiecastSociety.com is intended as an instructional resource on how to perform these modifications at home. DiecastSociety.com or the person or persons involved in making this instructional do it yourself guide are not responsible for any damages or loss that may occur. Please know your limits, if you’re not 100% comfortable in performing some of these tasks we ask that you seek help from a professional. Good luck!
| STEP 1. | STEP 2. |
|
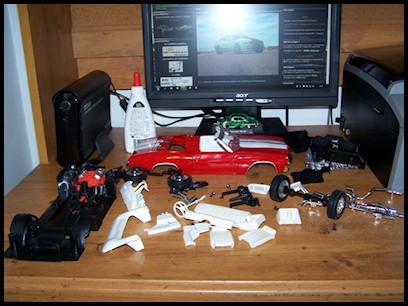
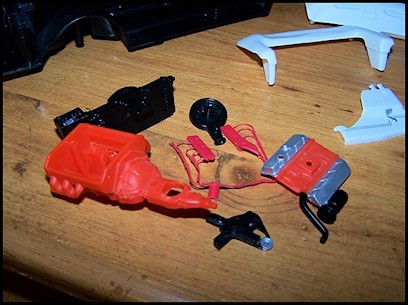
The purpose of this guide is to improve the appearance of your diecast by taking a good base budget model and taking it to the next level. Let start by dissembling the model carefully. In this example the seats have tarnished over time and have become lack lustre, could be due to a sun exposure.
|
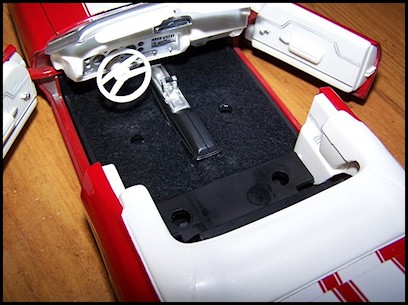
Let’s add some carpeting. Reference the how to apply carpeting here. In this case you can’t remove the spear because it’s moulded in the base, so you have to cut your carpet to fit around the spare.
|
| STEP 3. | STEP 4. |
|
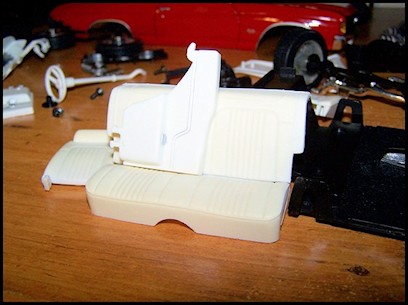
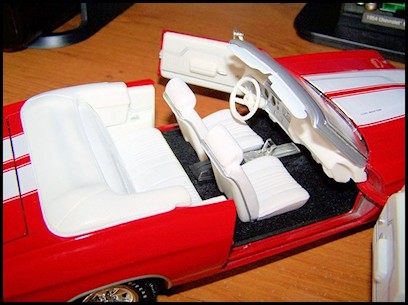
Let’s restore the seats. As you can see from the photo below the seats are not the same colour, the side panels suffer the same discolouration. There could be a number of reasons for this as mentioned above sun exposure could be one or it could be isolated to the different plastic compounds used by the manufacture.
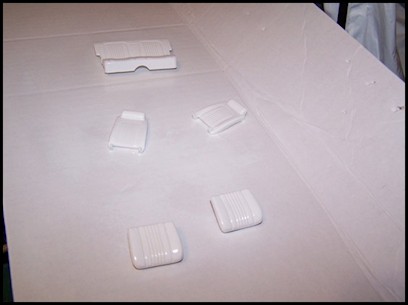
Now after 3 coats of paint they look like a new. Wait 24 hours before you start handling the painted pieces.
|
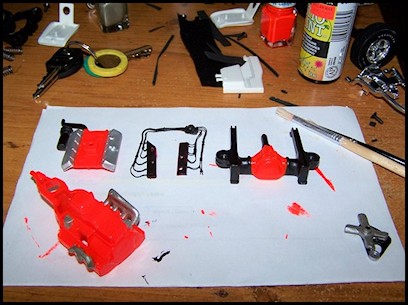
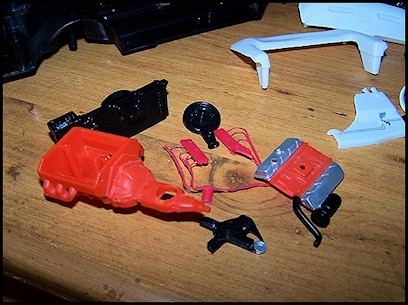
Let’s move on to restoring the engine. As you can see the engine is pieced together with various bits, all of which have a “plastic look”, we don’t want that! Let’s give her a personal touch, by applying some paint you can take it from boring to extraordinary!
Now you hopefully you achieved some good results. Our example is more life like, the engine block is painted with other parts painted to enhance the detail. I painted all cables black and at the same time put a little orange paint on the differential case. I also painted the fan with a metal-look paint as this whole section was black on black and you could not see the details. Now you can!
Finally I put some metal-look paint on both side of the radiator. See below. Use your imagination here, the sky is the limit friends!
|
| STEP 5. | STEP 6. |
|
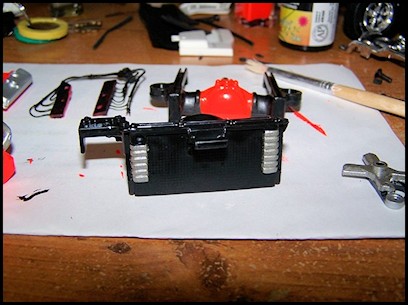
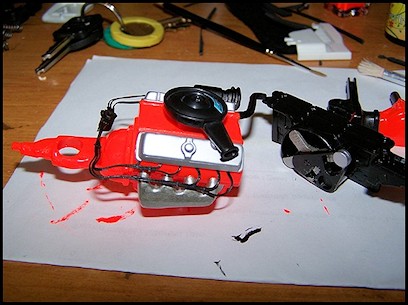
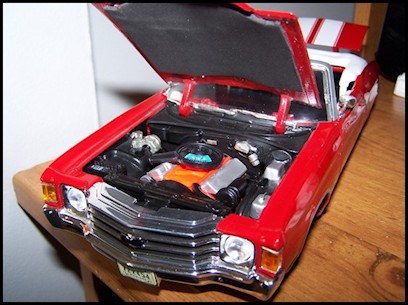
Now let’s reassembled the engine. After everything is properly dried you can reassemble your engine. Isn’t that looking better now? See the before and after comparison photos below. HUGE difference, yup!!!
|
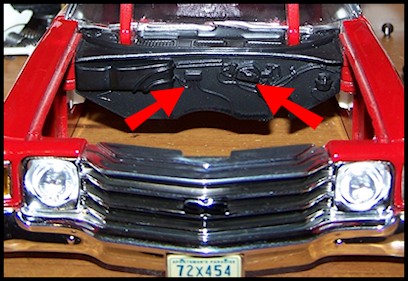
Now let’s move onto the engine bay. Look how plain and lack lustre this area is, everything is black and boring! Let’s apply some paint on this engine bay! The key here is not to paint everything, be selective, sometimes less is more. See our updated bay below.
|
| STEP 7. | STEP 8. |
|
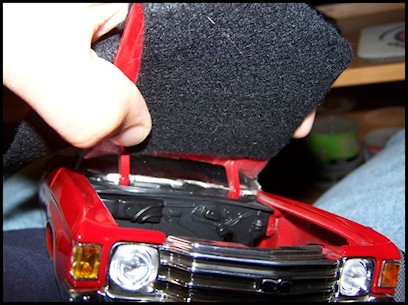
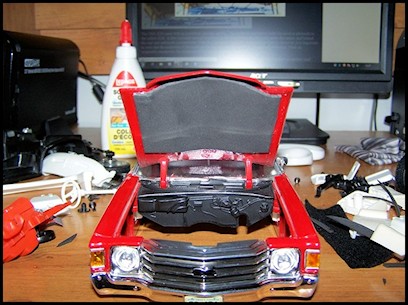
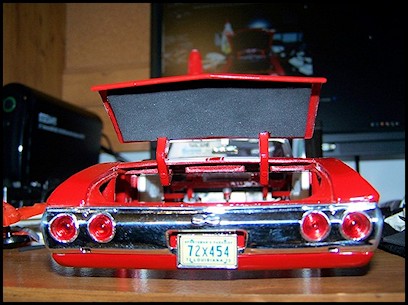
It’s time to enhance the front hood and rear trunk. Looking at the engine compartment I started think something was missing, yes, the insulation under the hood! I originally wanted to apply the same material I used for the interior carpeting, but it wasn’t living up to my desired result, so I switched to a rubberized material I found at my local hobby store. You just need to cut the material to size and apply with model or white glue, the result is quite impressive.
I applied the same technique to the trunk lid. Not bad, eh?
|
You can now start to reassemble the car. Start by re-installing the engine block and all the accessory parts you removed earlier.
|
| STEP 9. | STEP 10. |
|
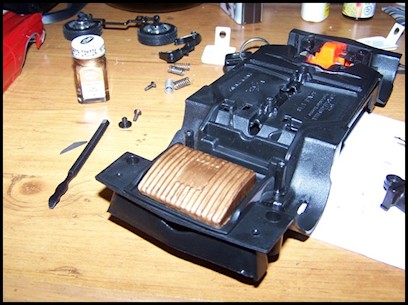
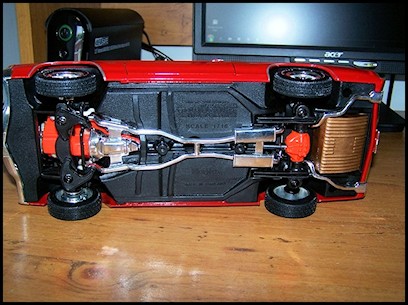
The undercarriage/frame. To add some detail here you can paint the fuel tank. I choose a gold colour but you can use whatever colour you fancy, okay within reason.
|
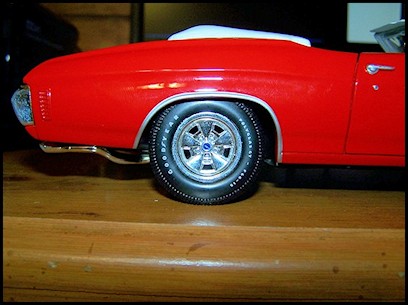
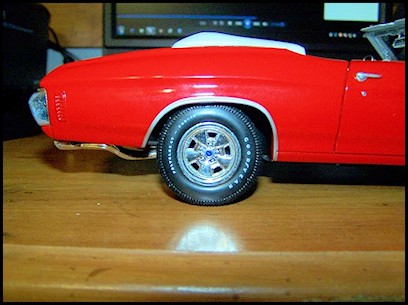
Raising the rear (optional step). IMO the original ride height was a little too low – see the before and after photos below. The trick here is to not over tighten the screw to the body, just a few turns and the rear end will sit a few millimetres higher. Perfect, now you can complete the assembly.
|
| STEP 11. | |
|
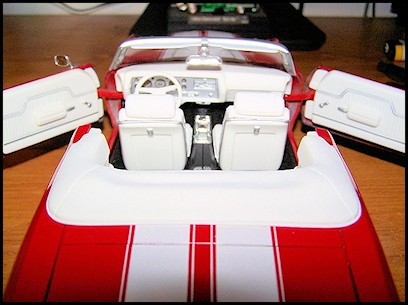
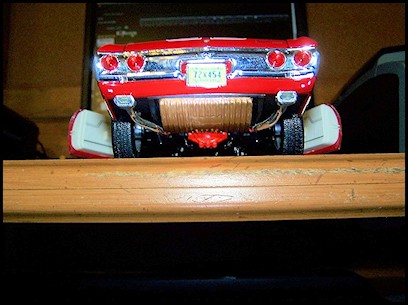
You’re done, have yourself a well deserved beer! Photos from various angles are on display below.
|