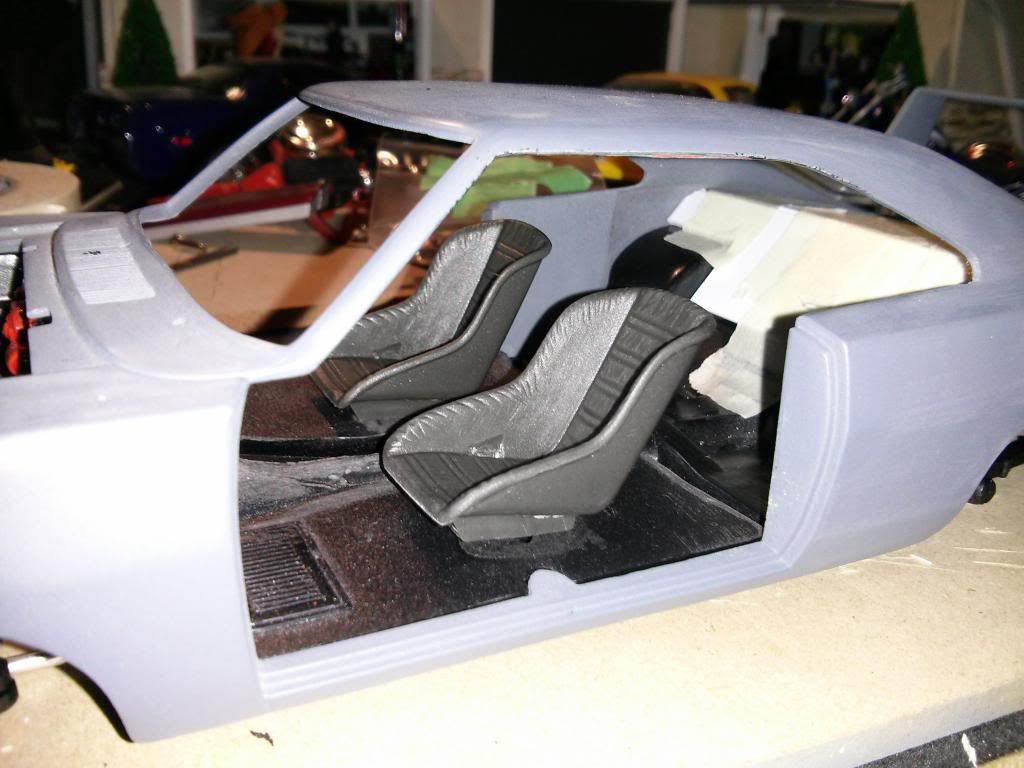
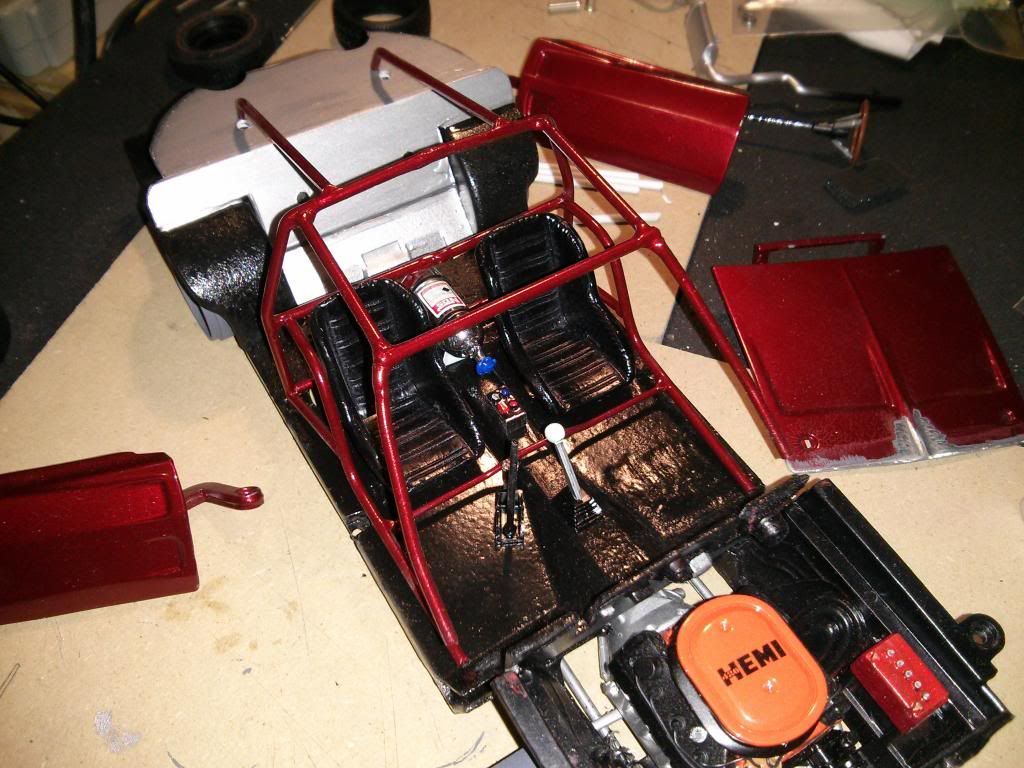
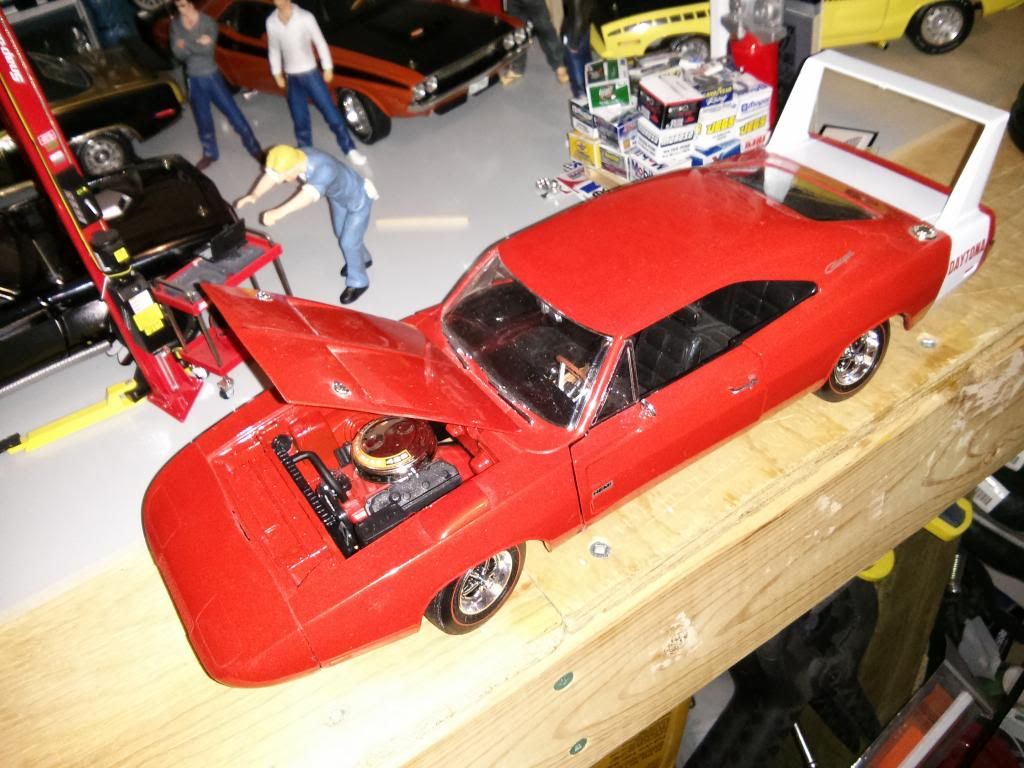
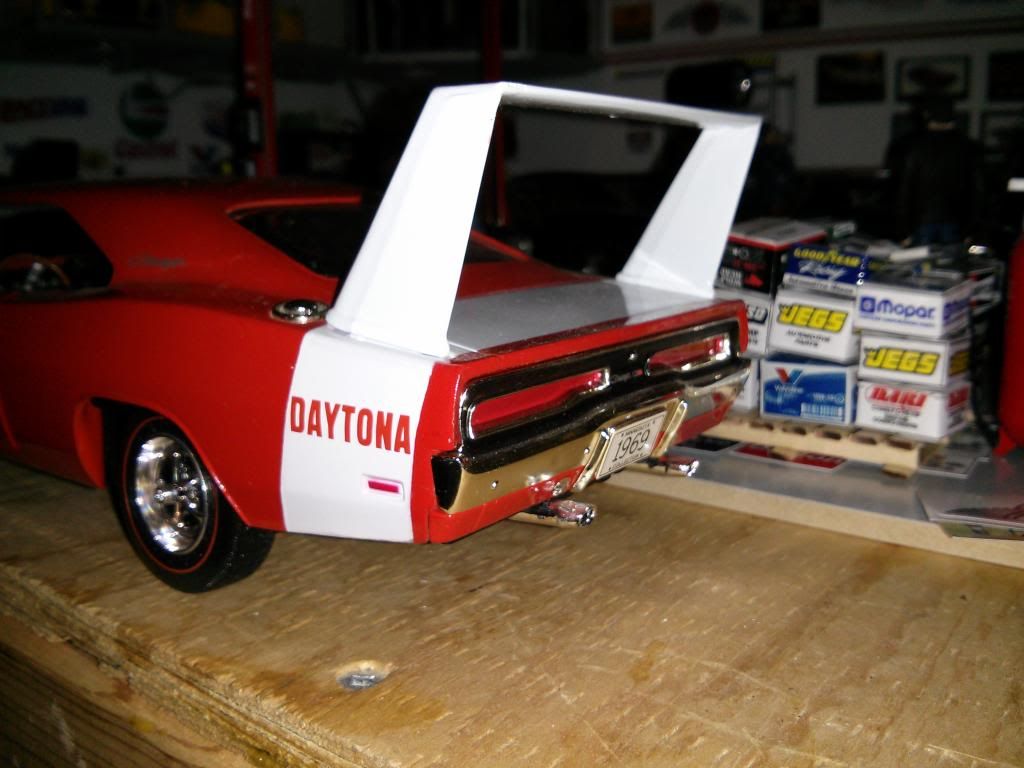
This was a build that I started last year October, and as of now it is 95% completed, just a few more parts to finish off the interior. Hope you like it.
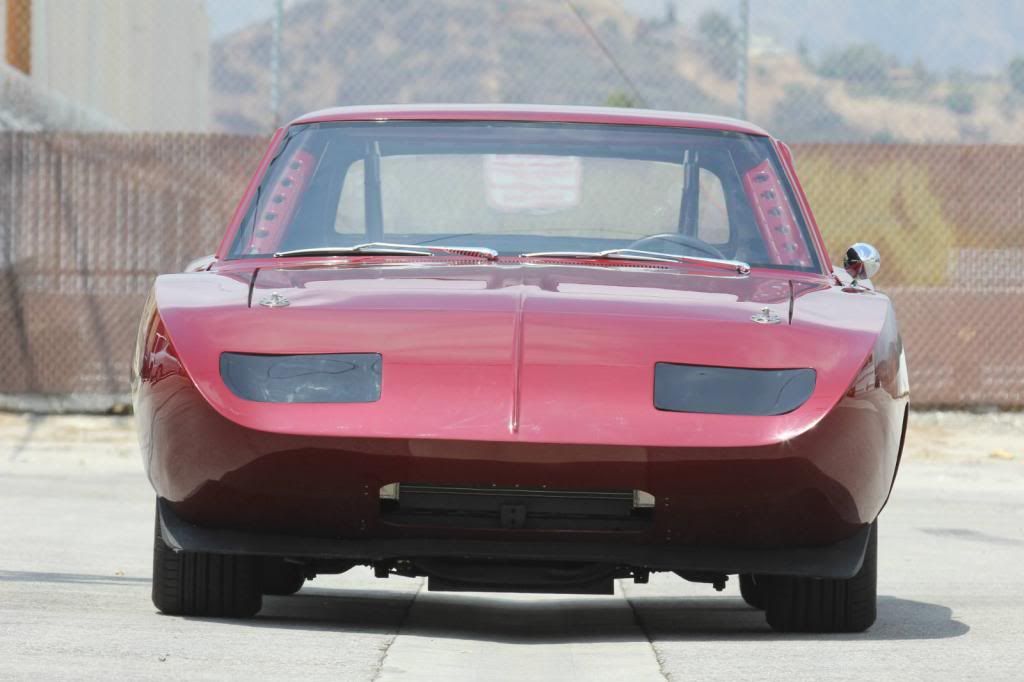
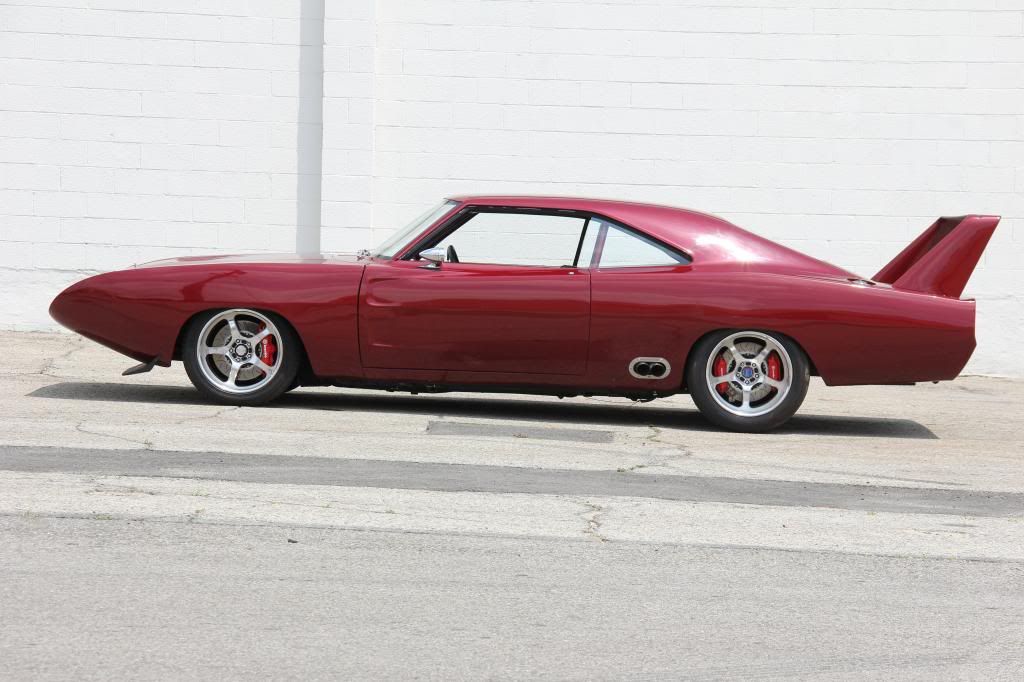
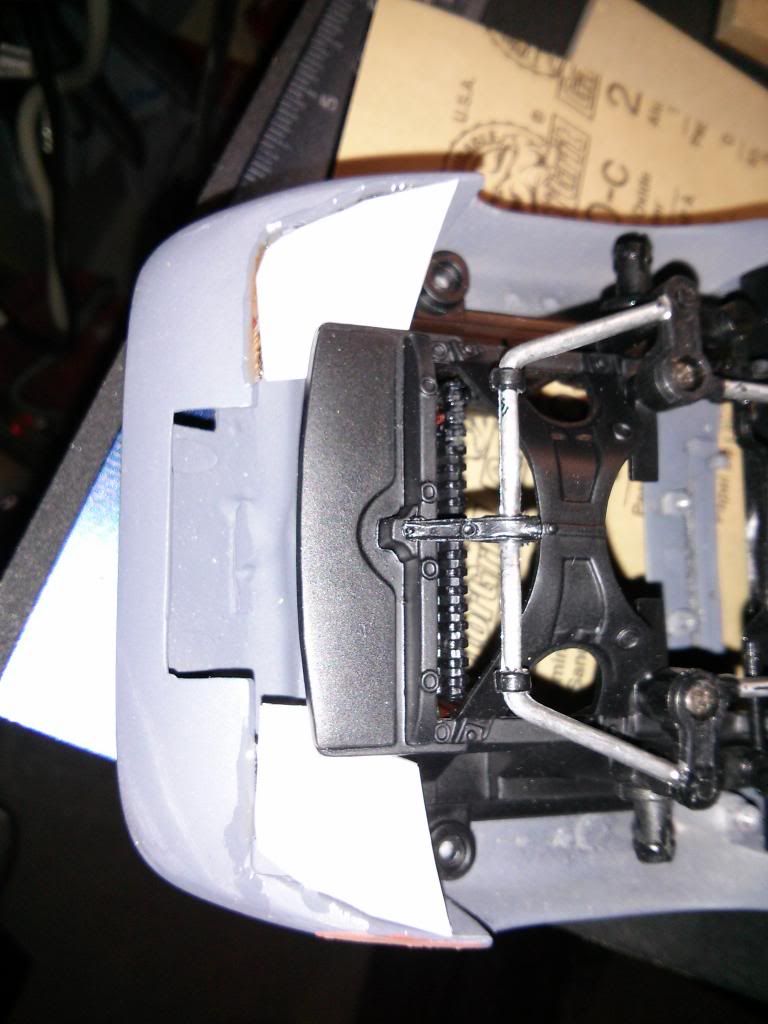
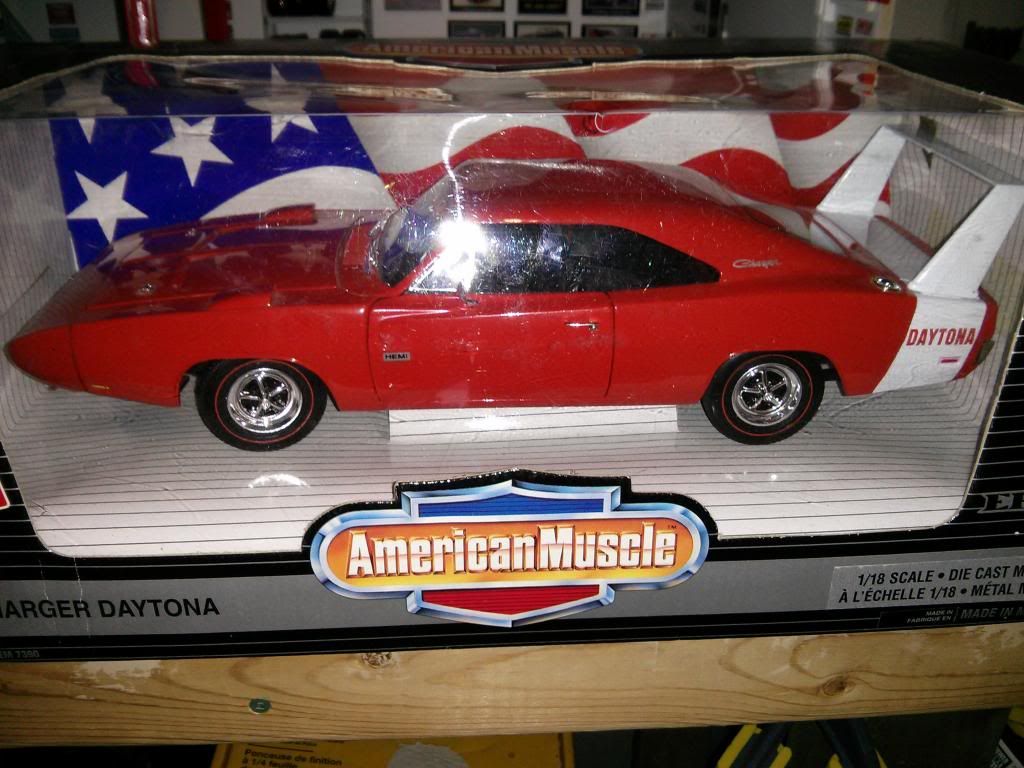
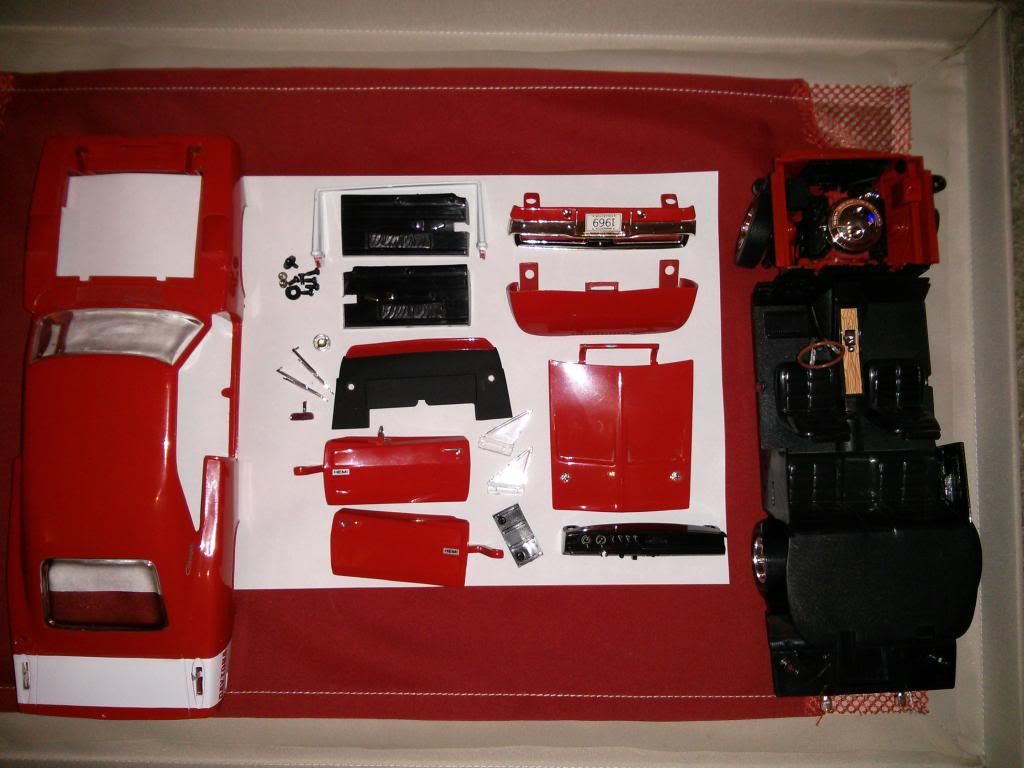
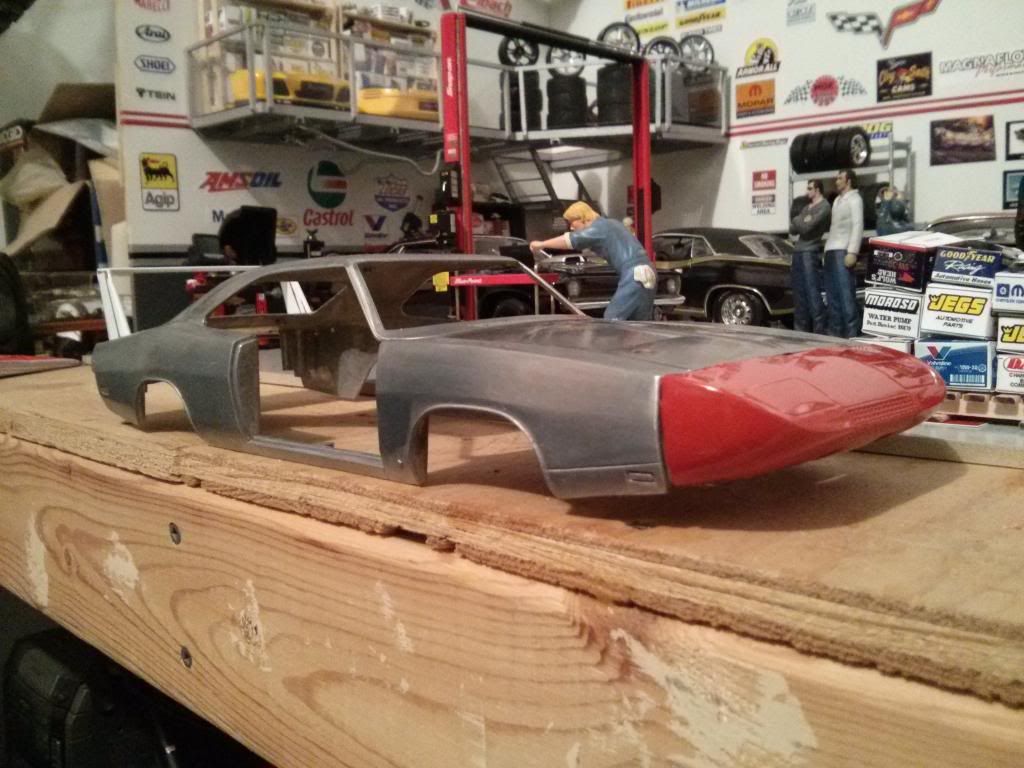
Was able to find a Daytona from a local seller, and picked it up. Noticed the front nose clip is made of plastic, so not sure how easy it will be to shorten it to match the 1:1, but it needs to be done somehow.
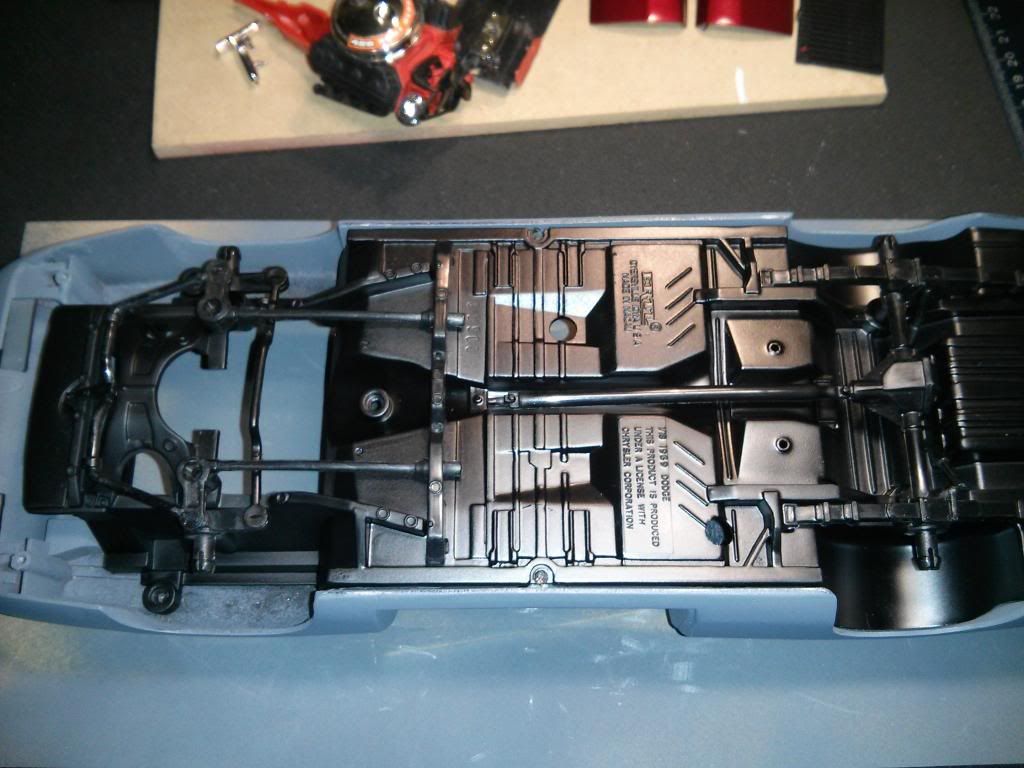
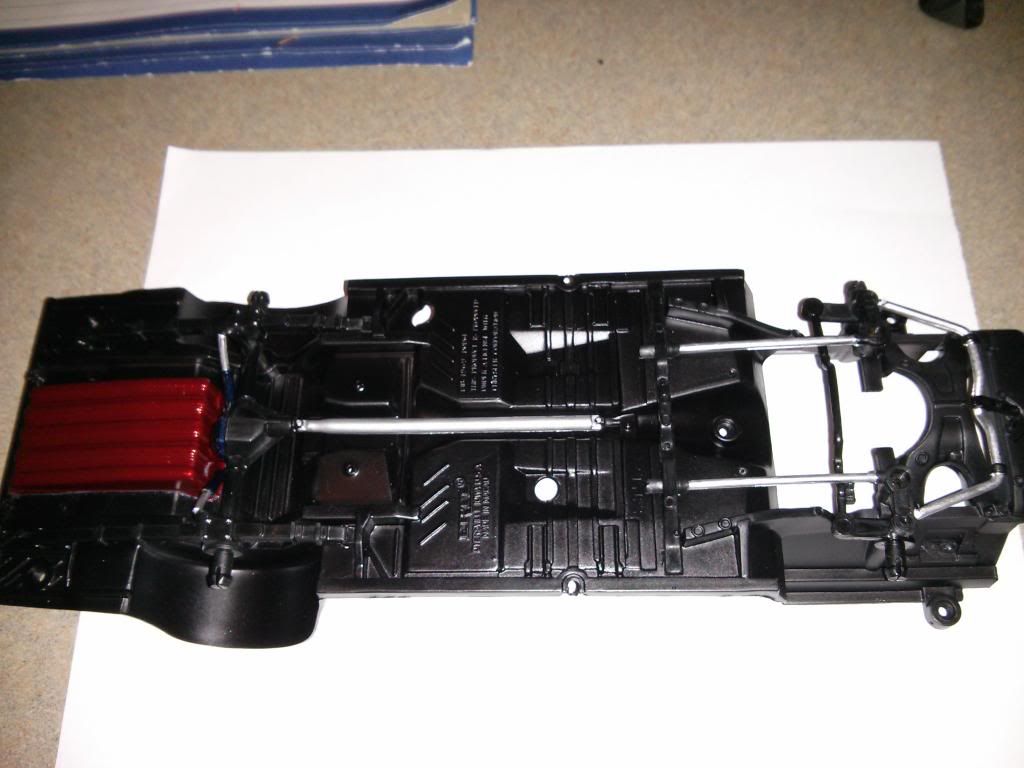
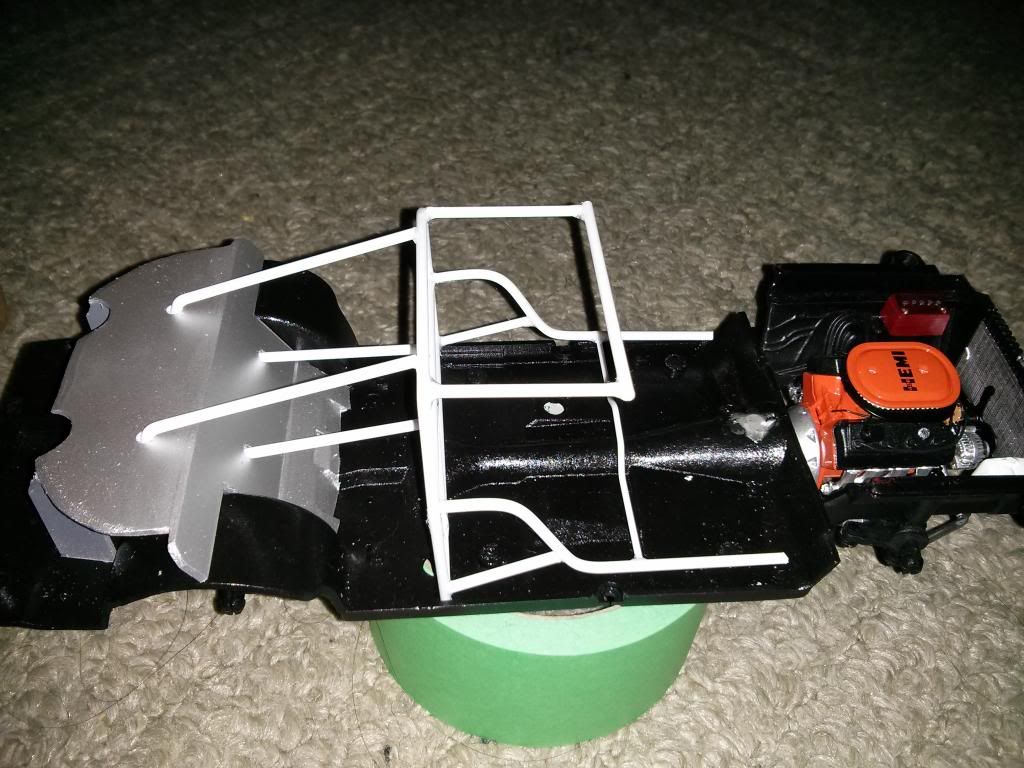
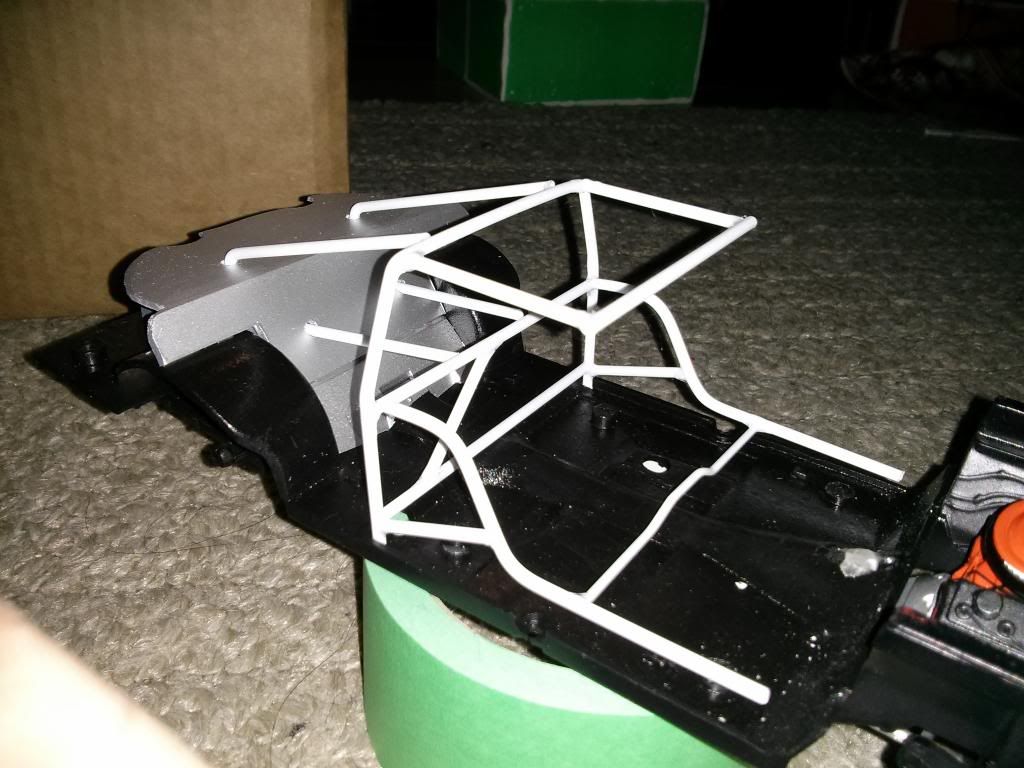
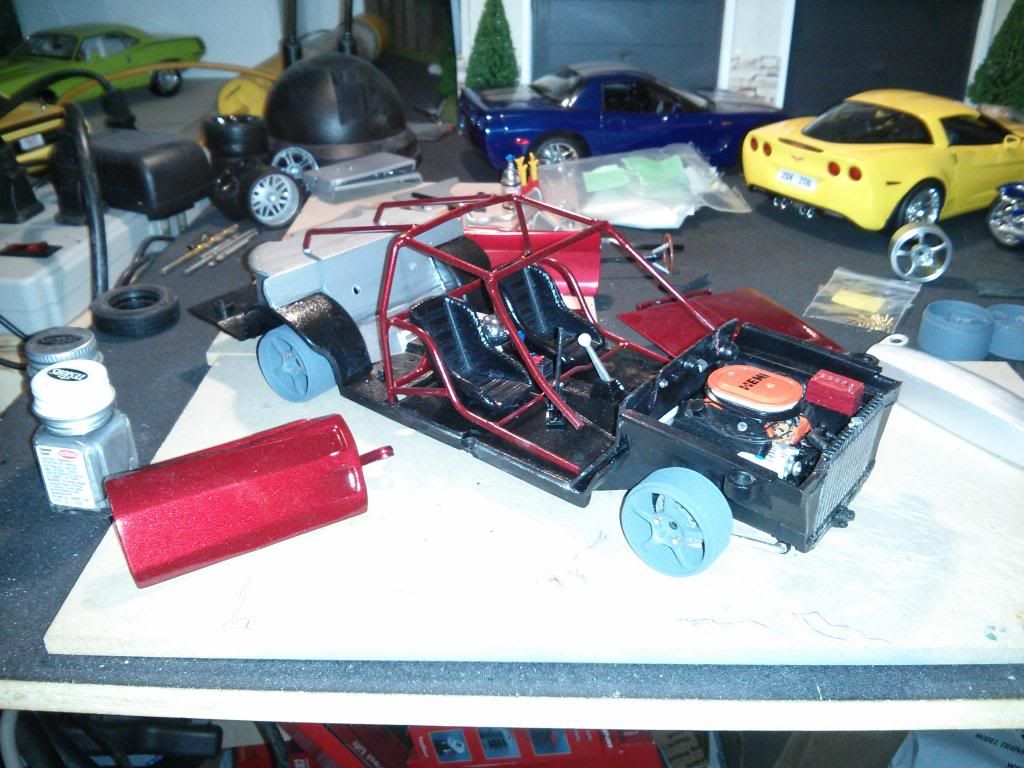
Stripped down.
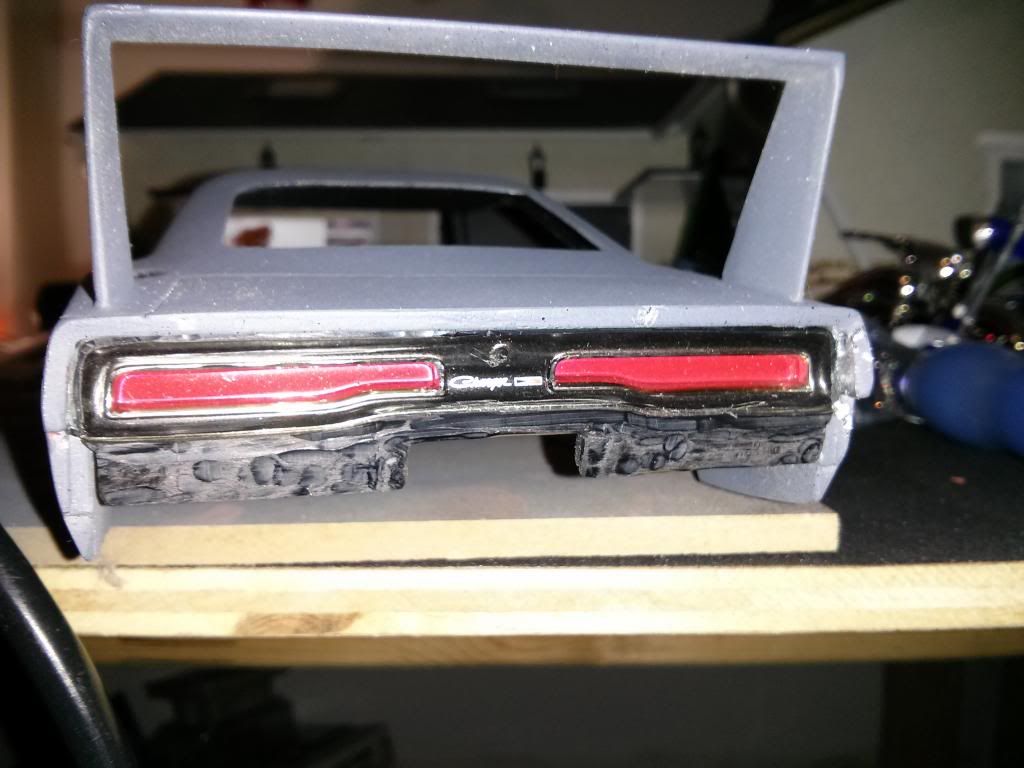
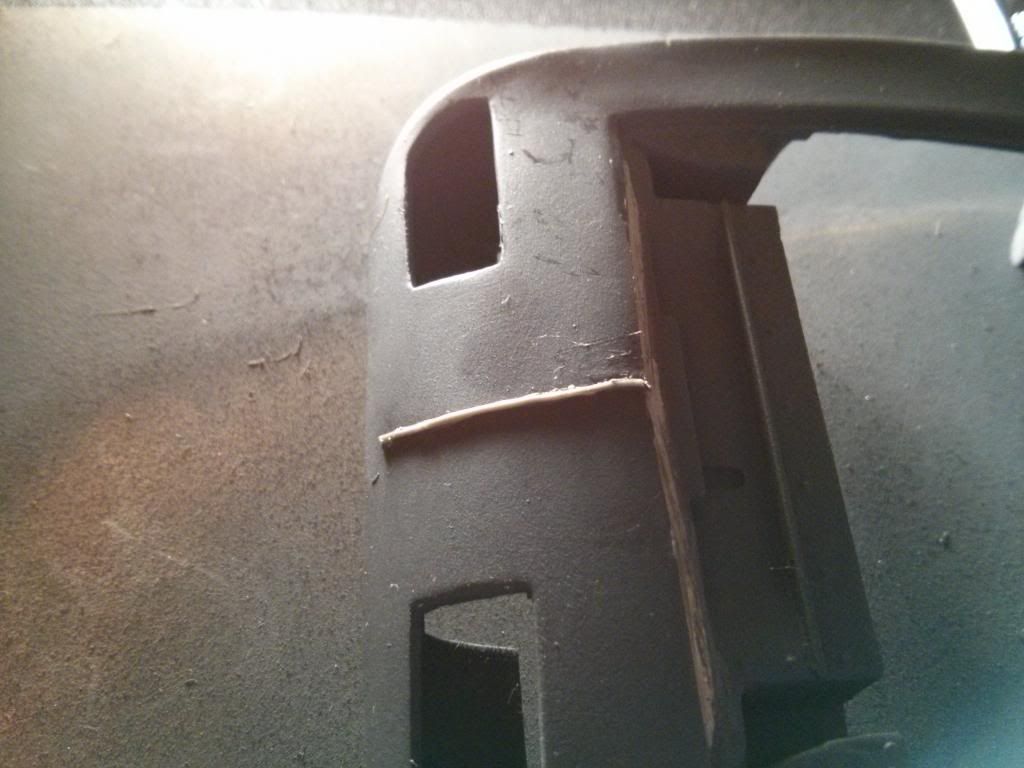
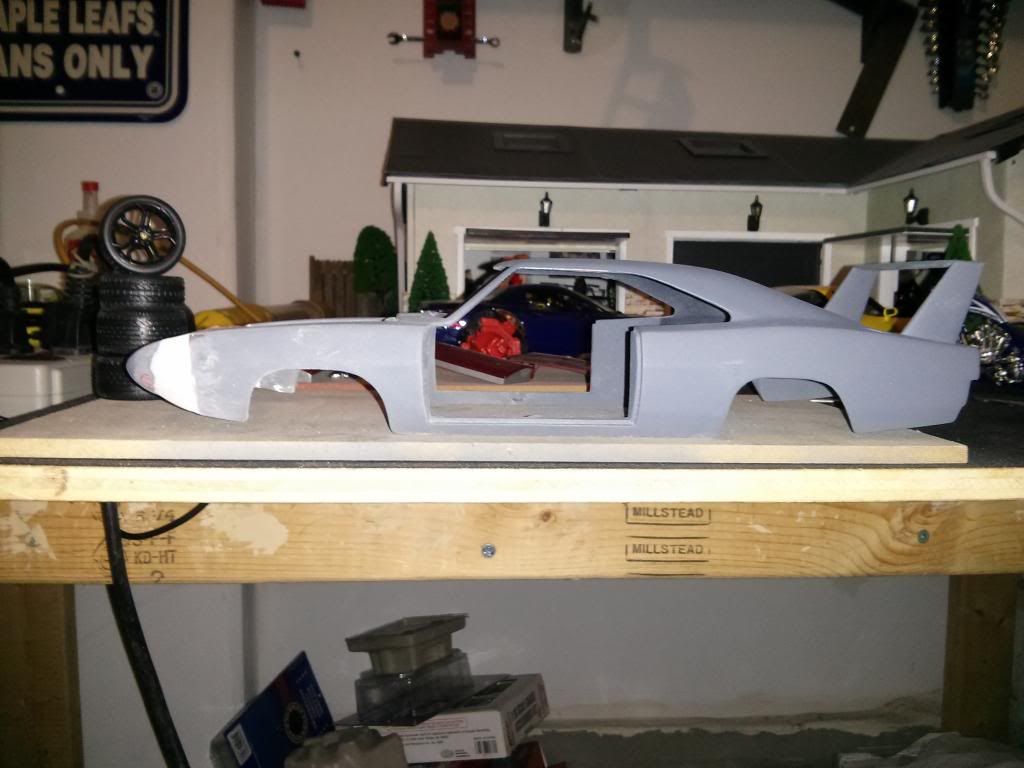
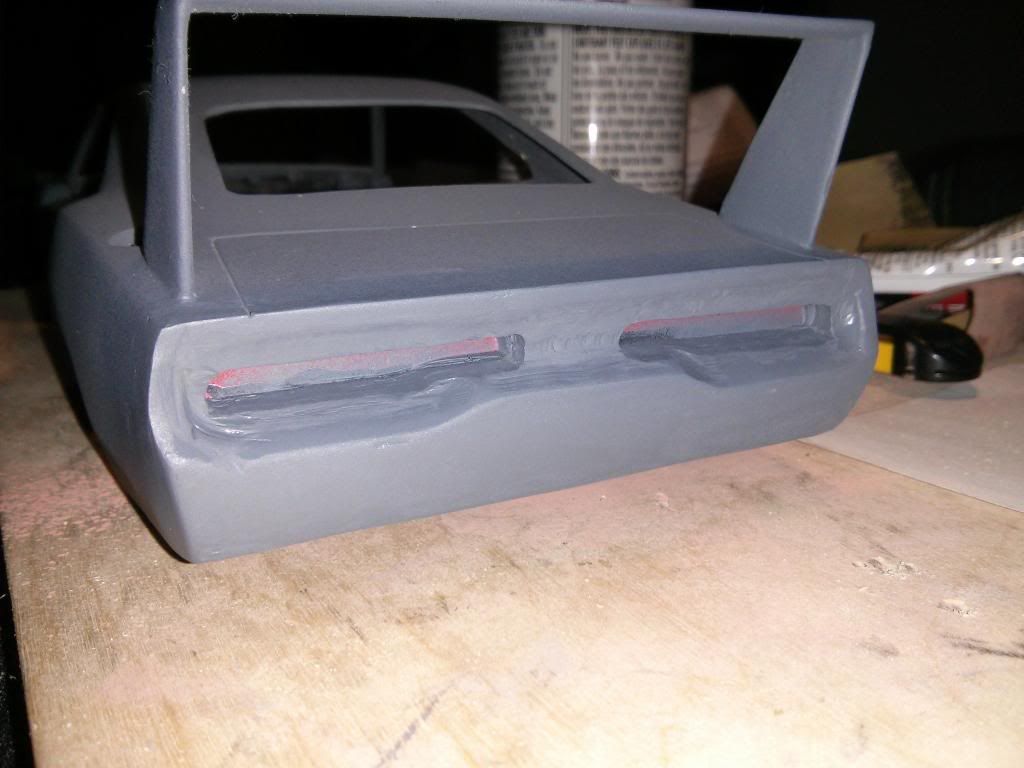
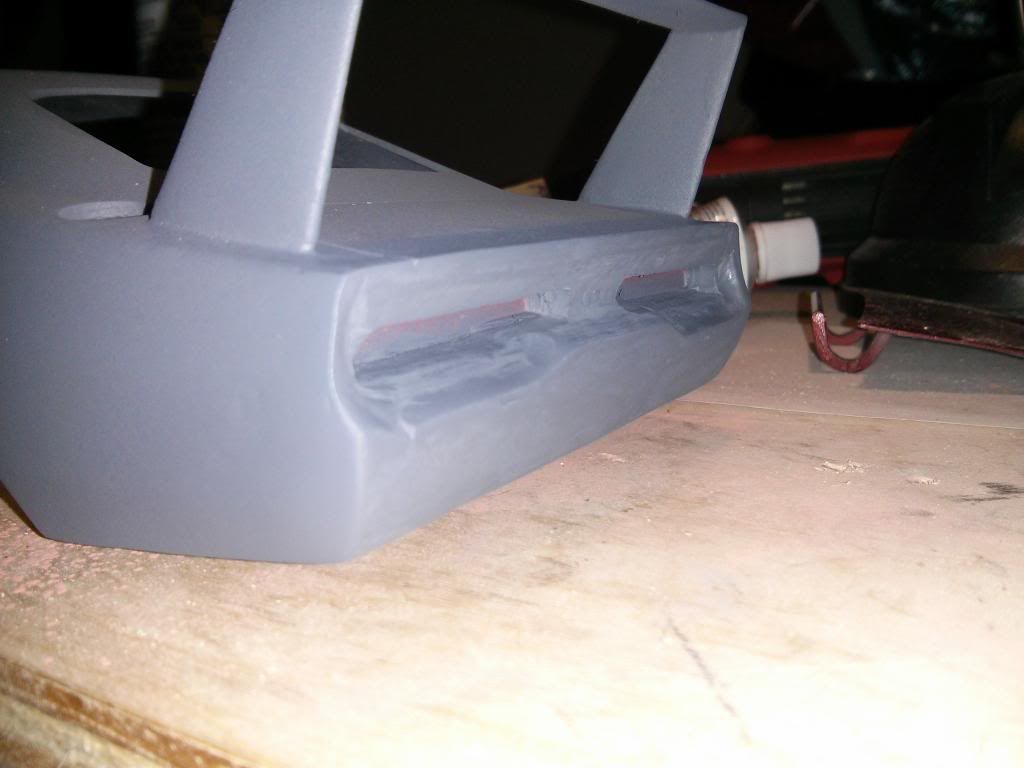
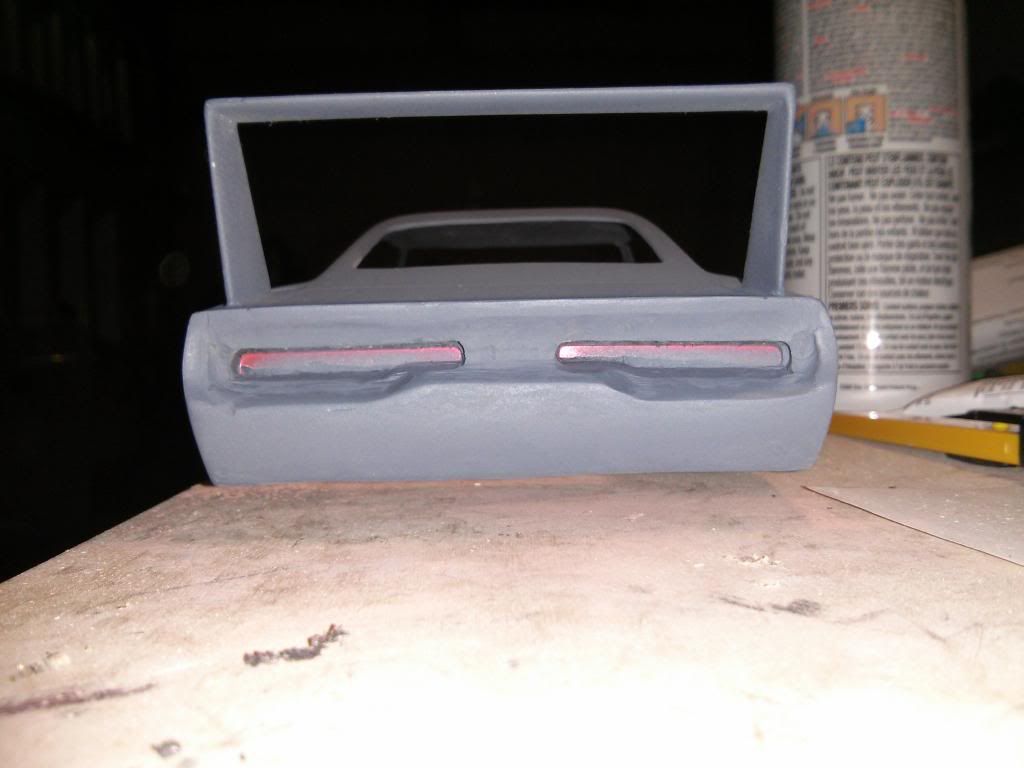
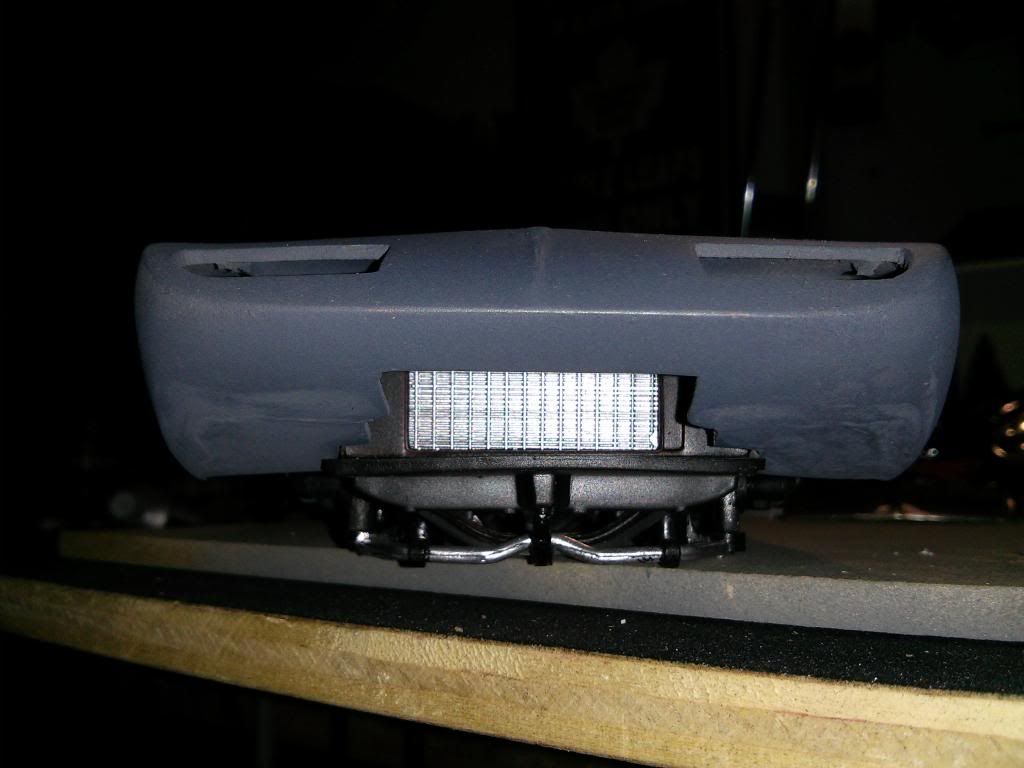
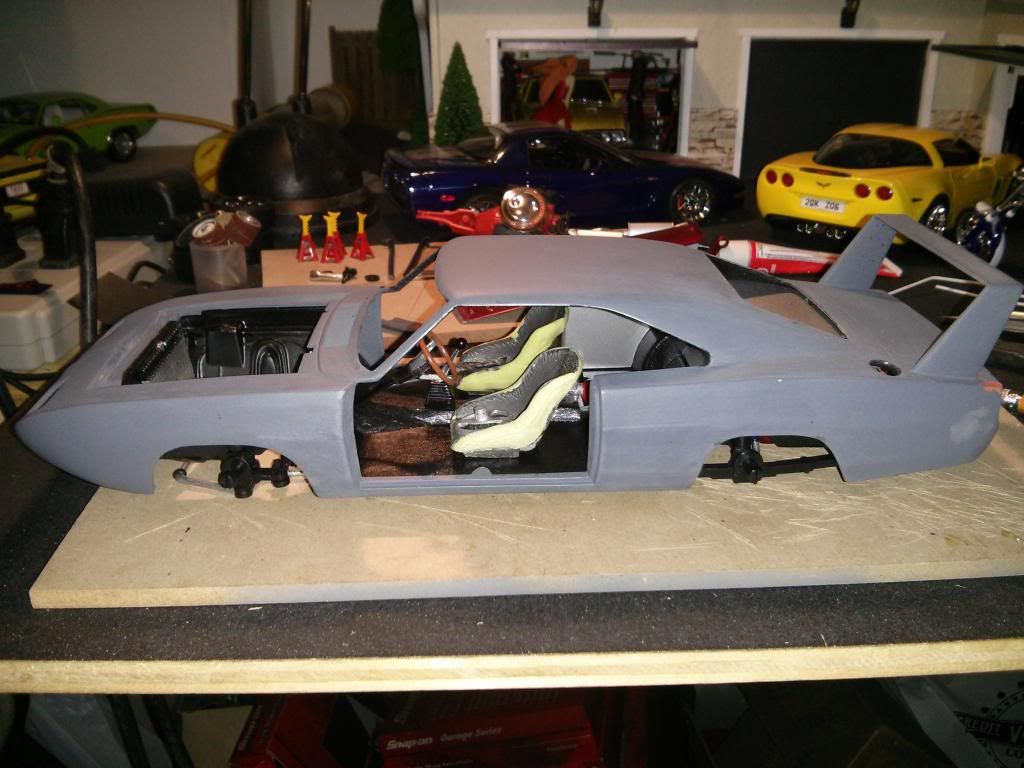
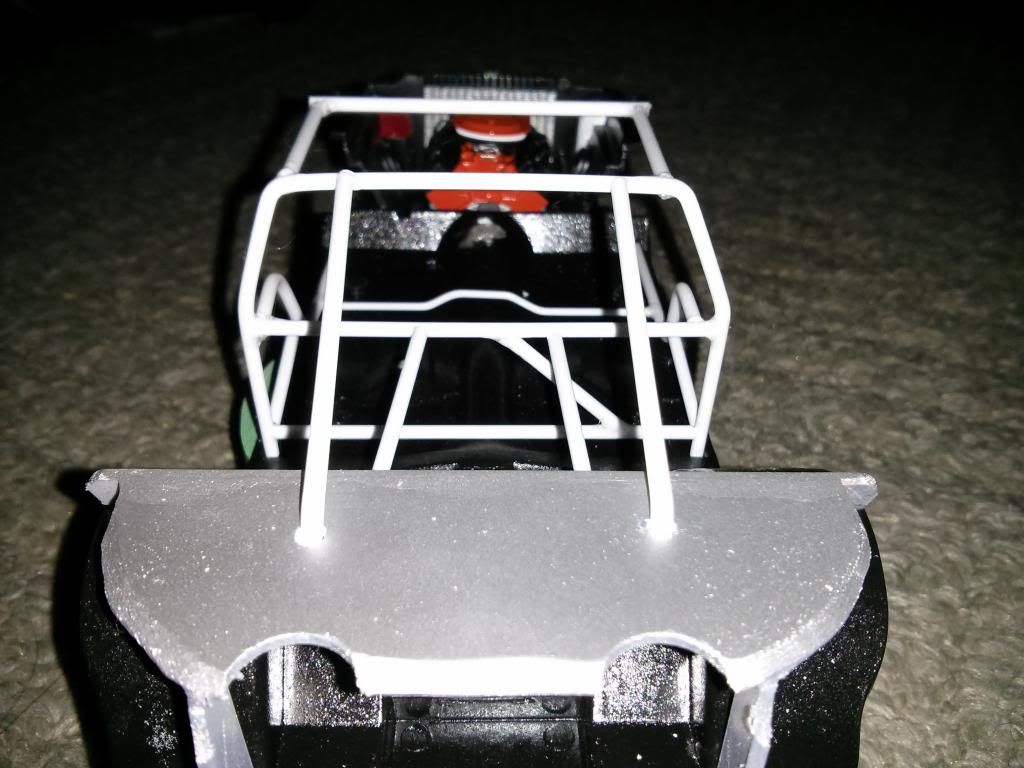
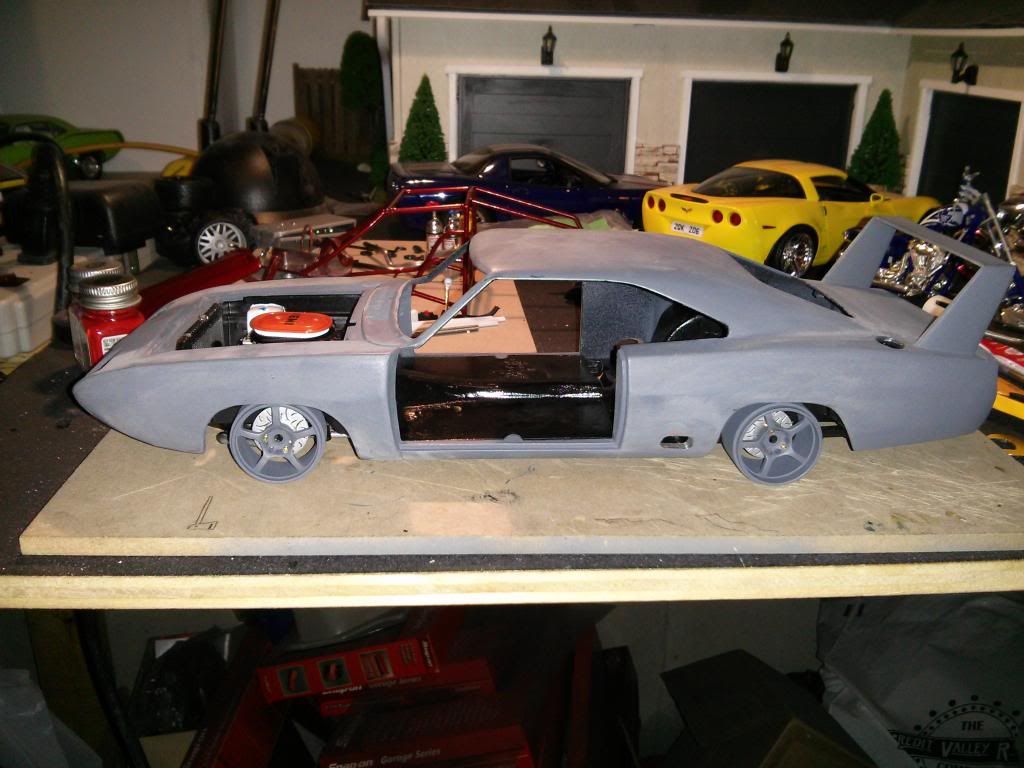
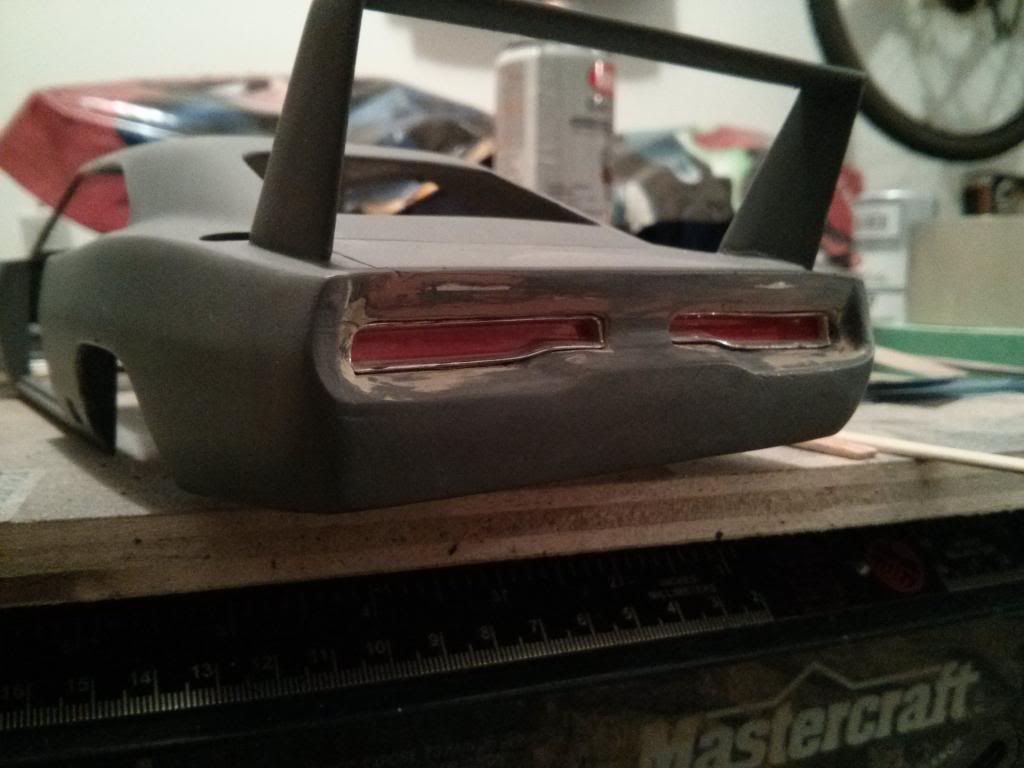
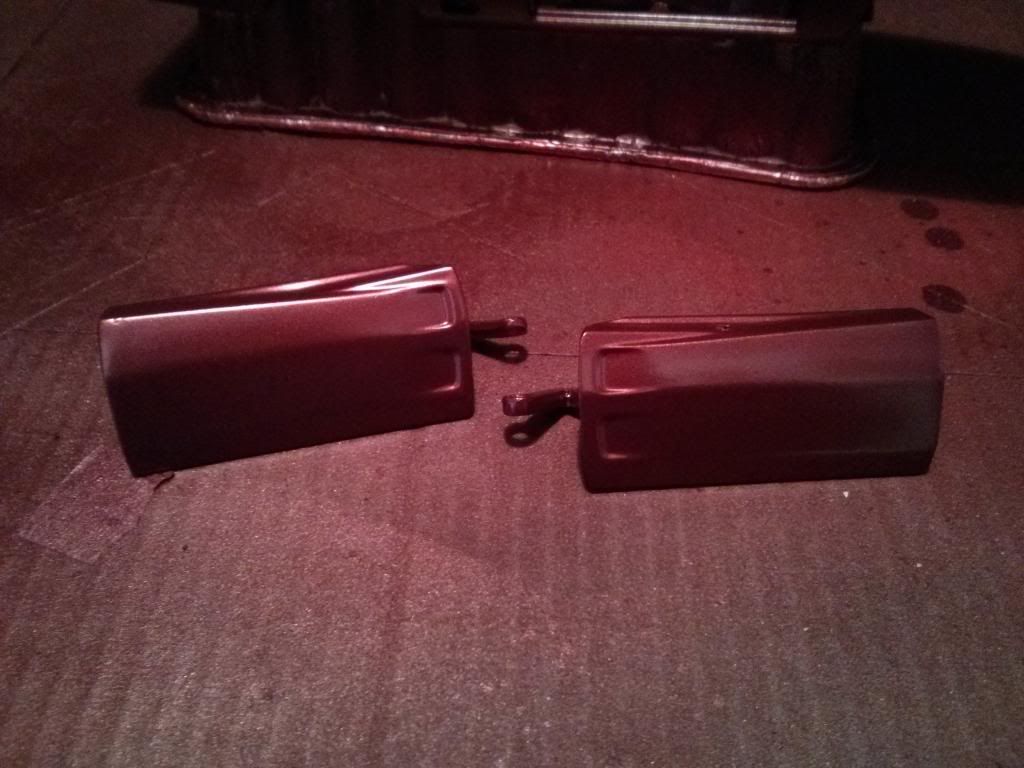
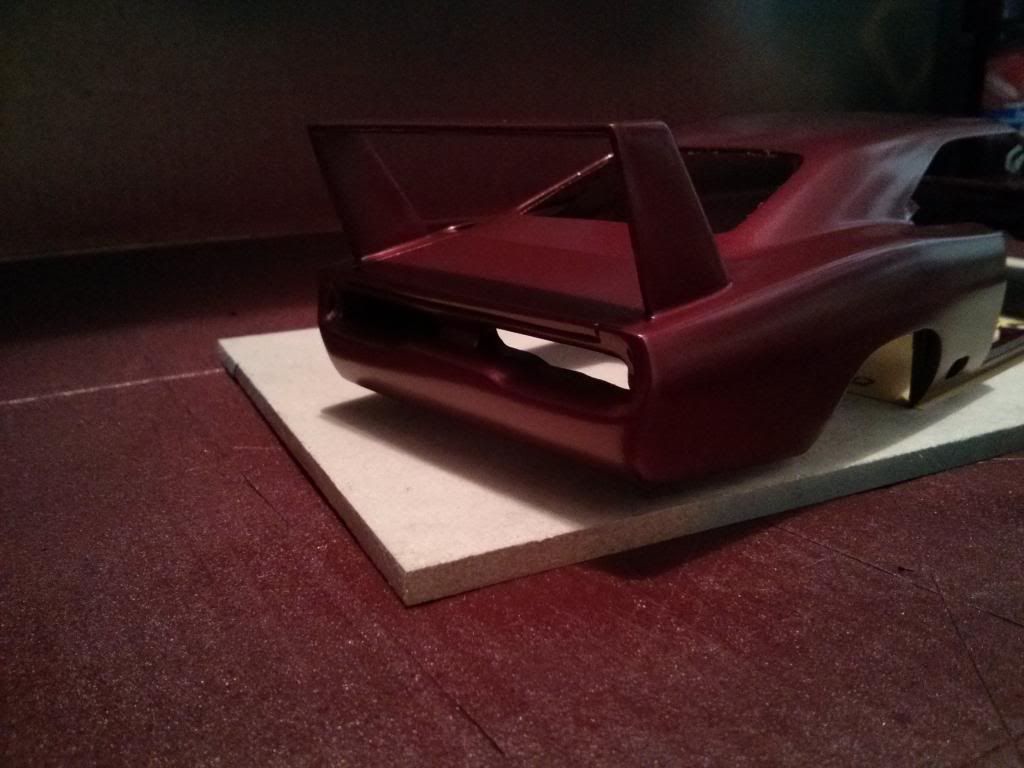
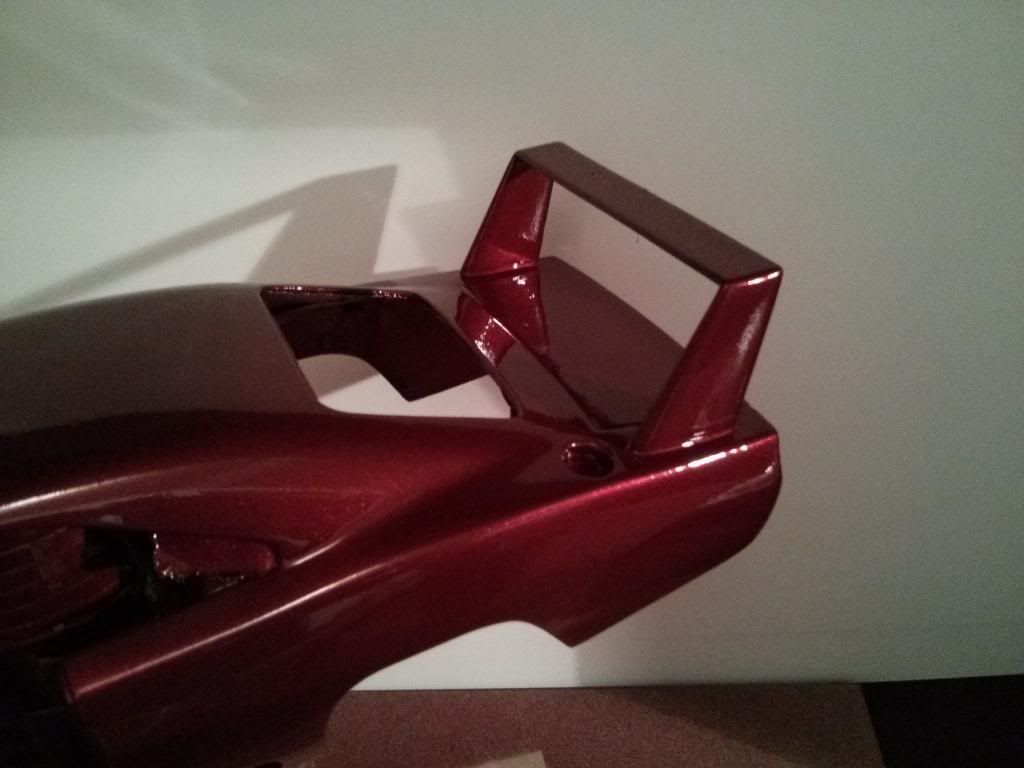
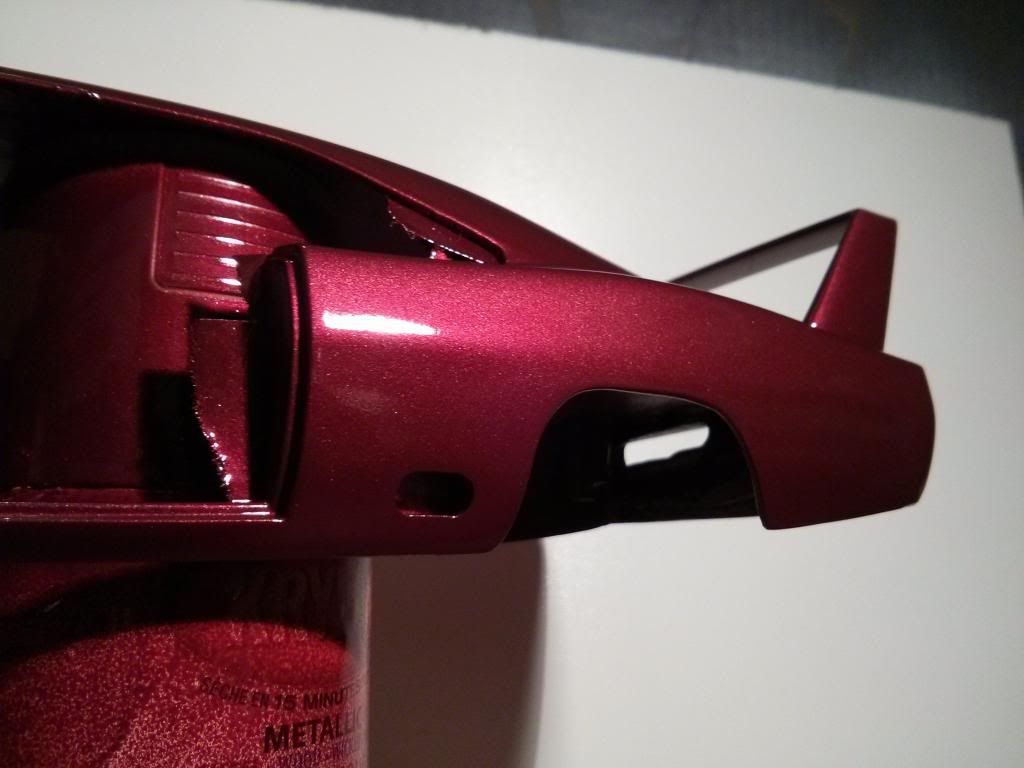
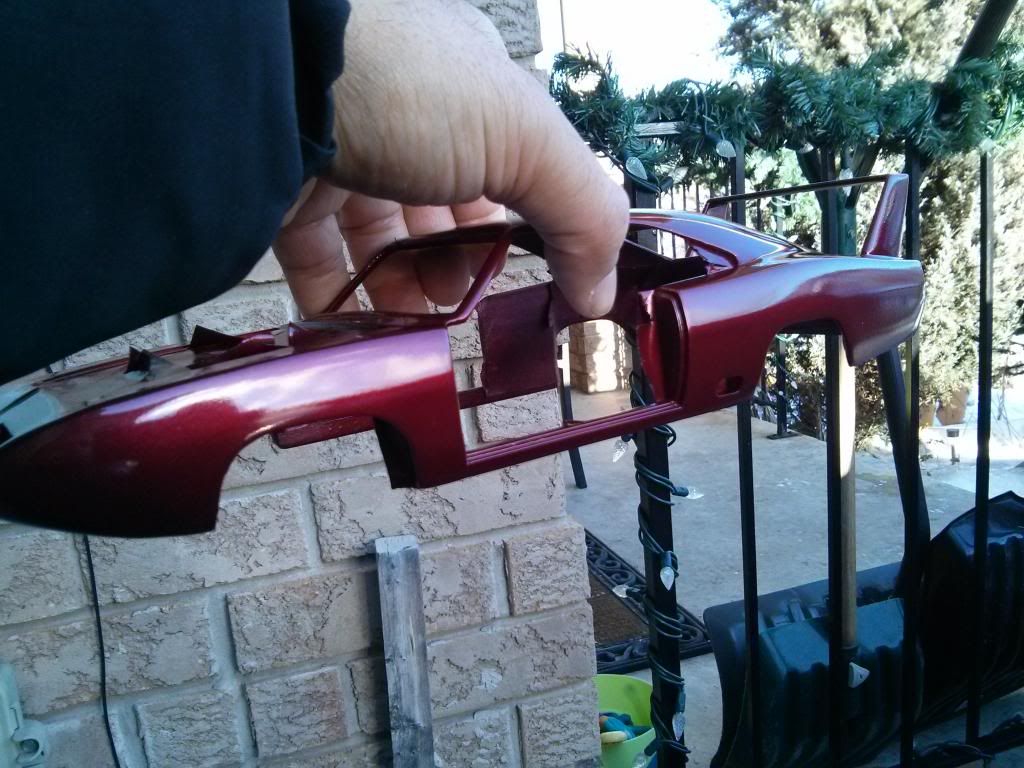
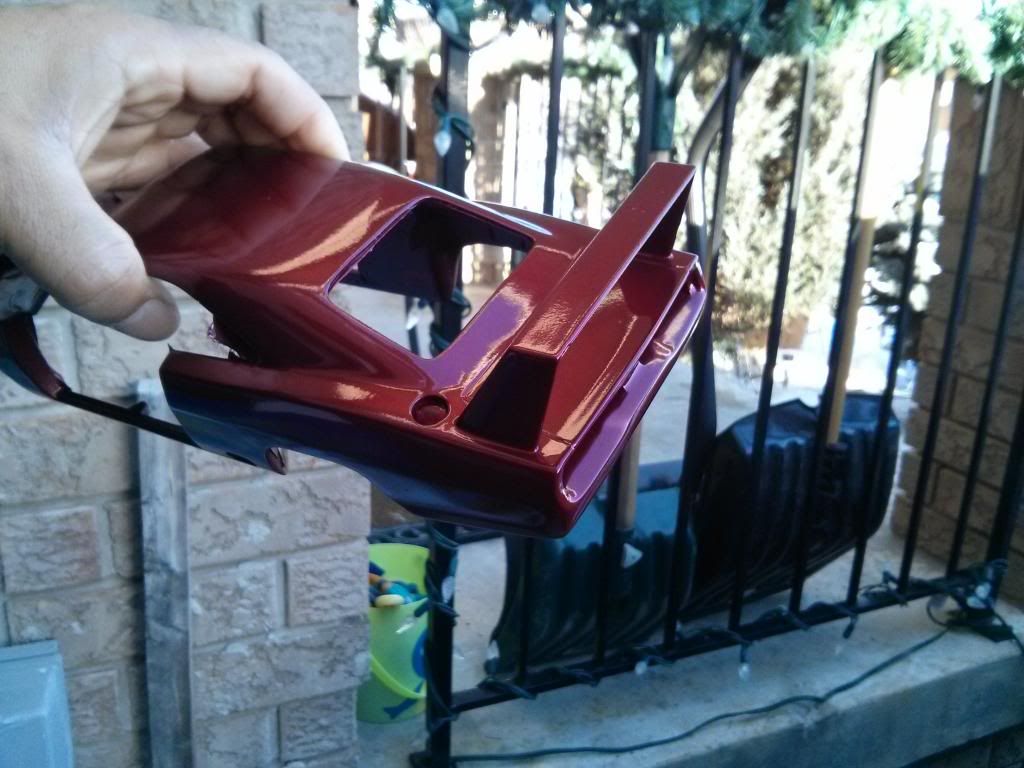
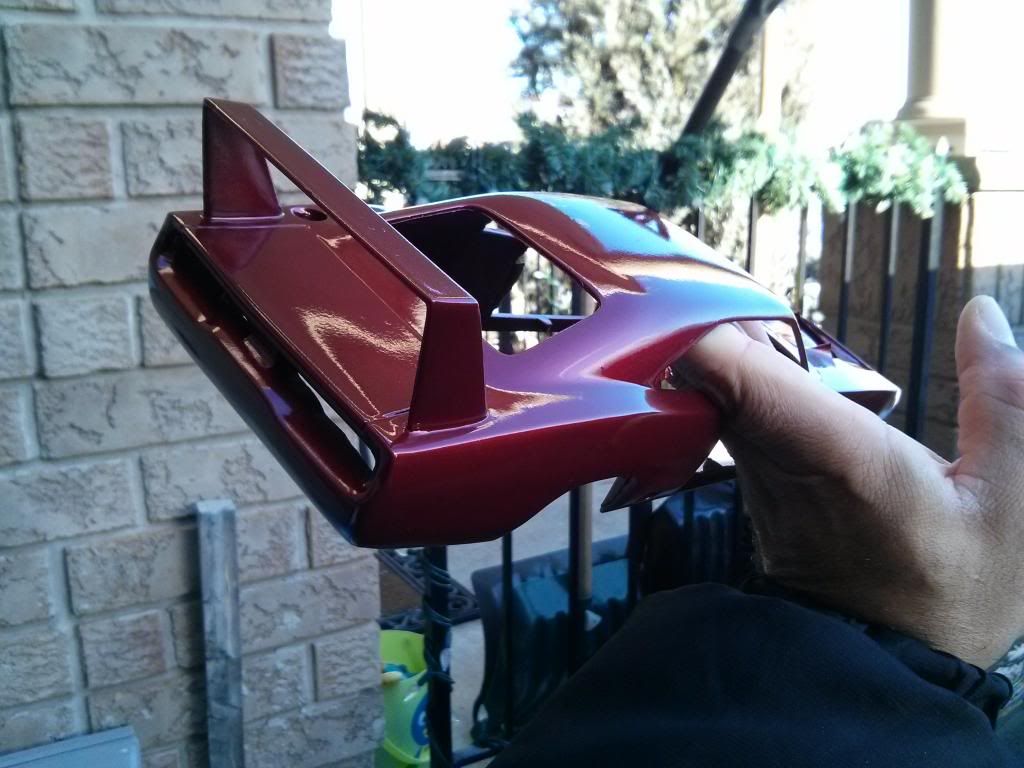
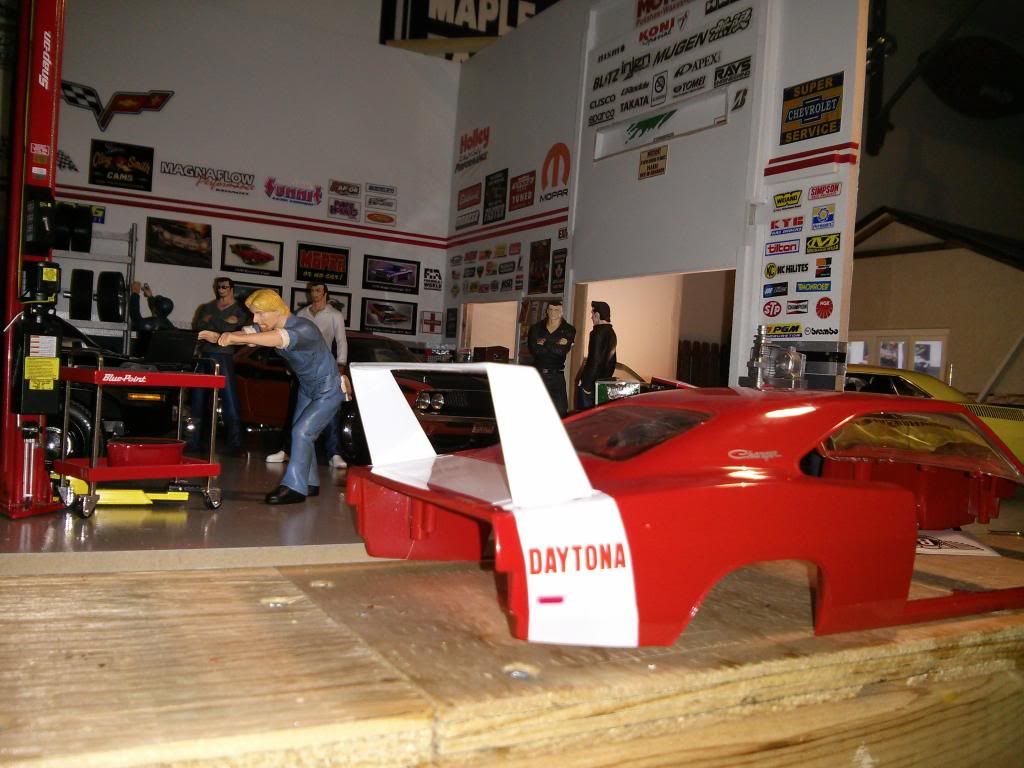
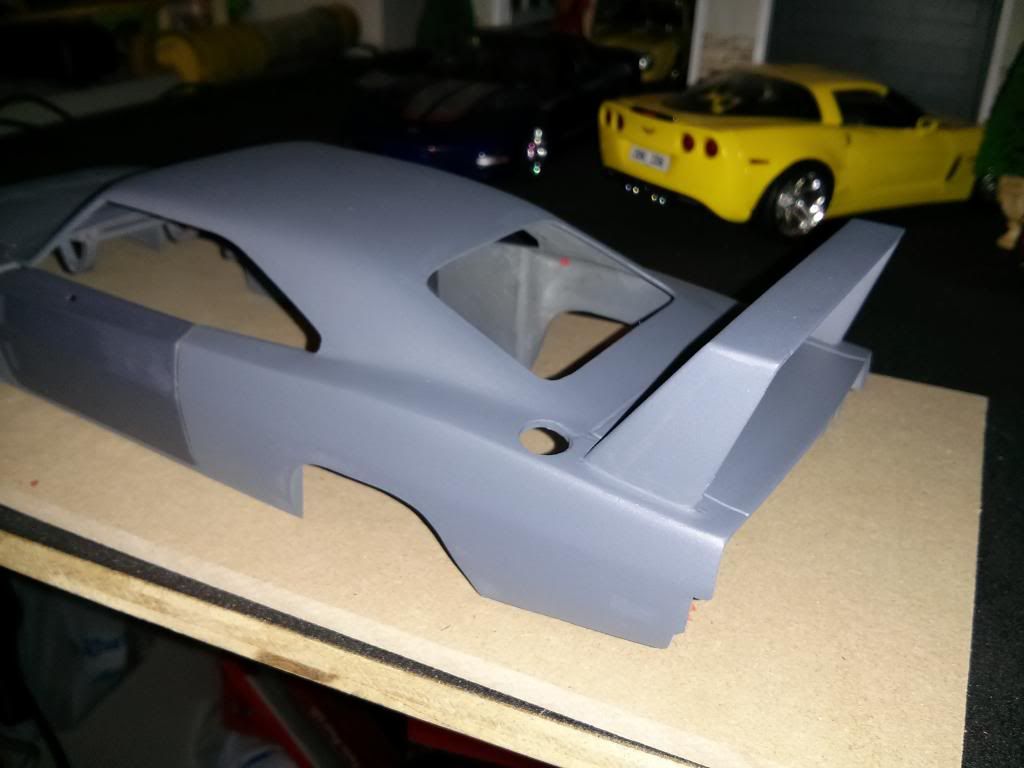
I shortened/lowered the height of the rear wing to match the 1:1, took off at least 1/4"-3/8(you can see the height difference from the pics above).

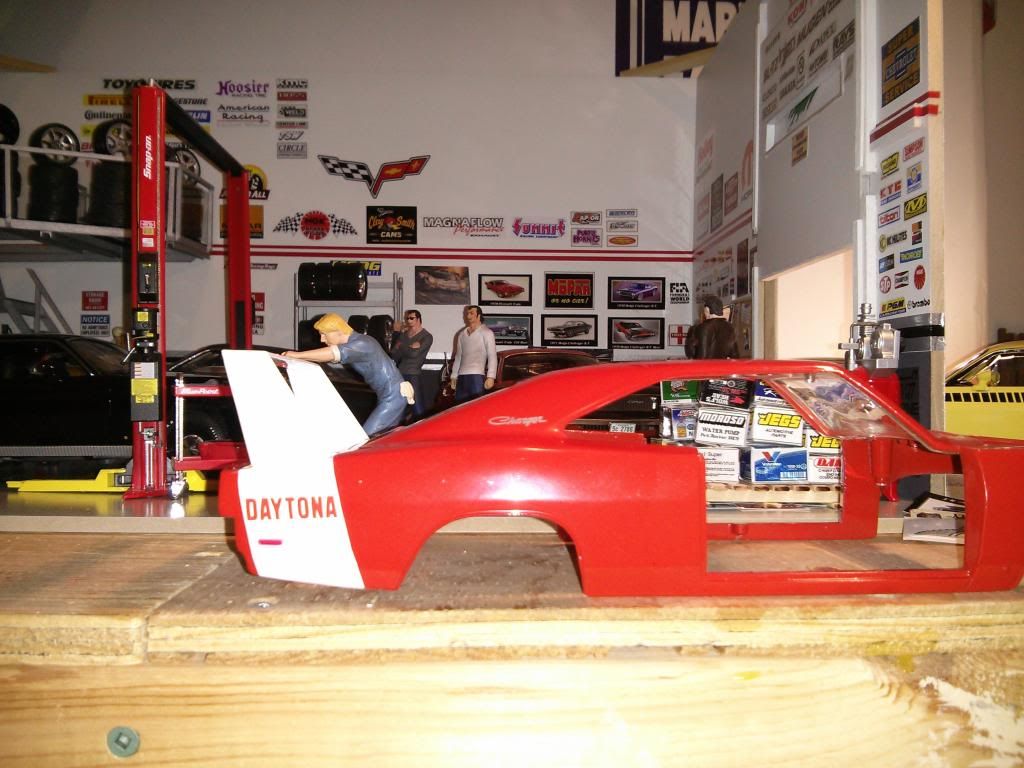
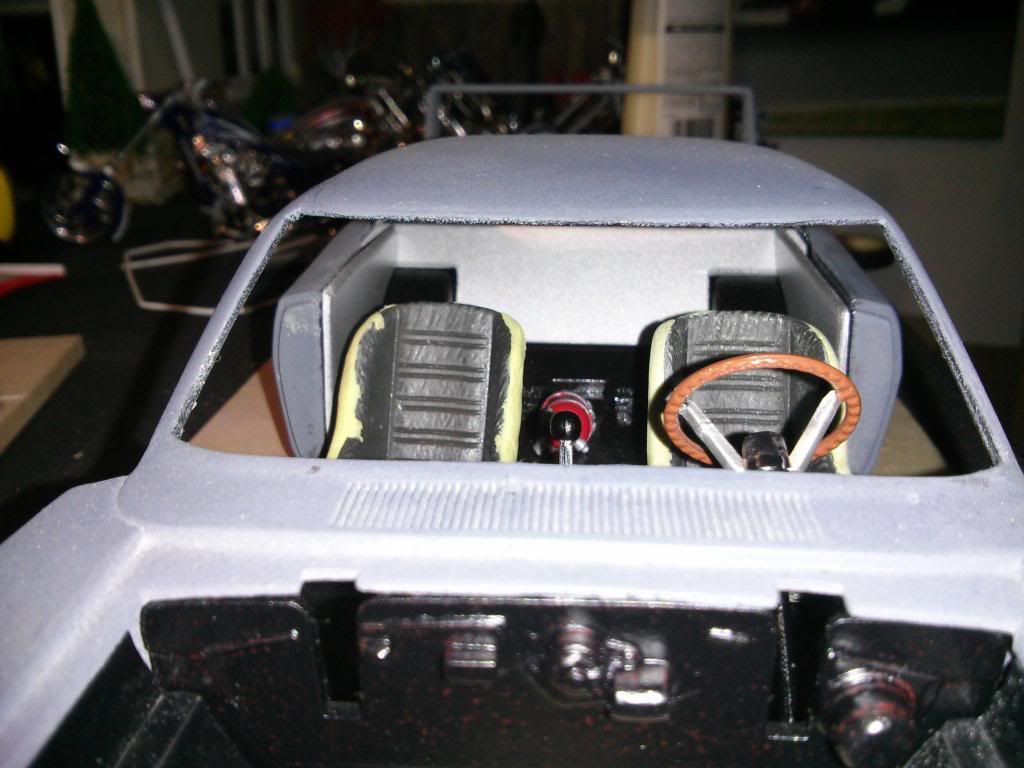
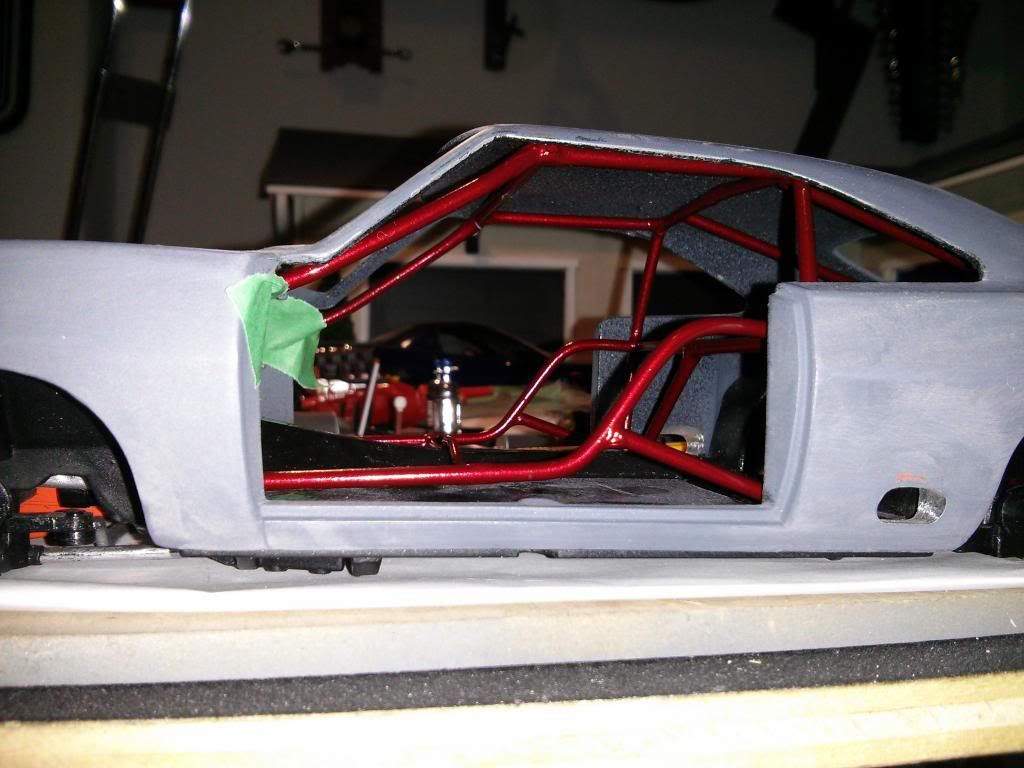
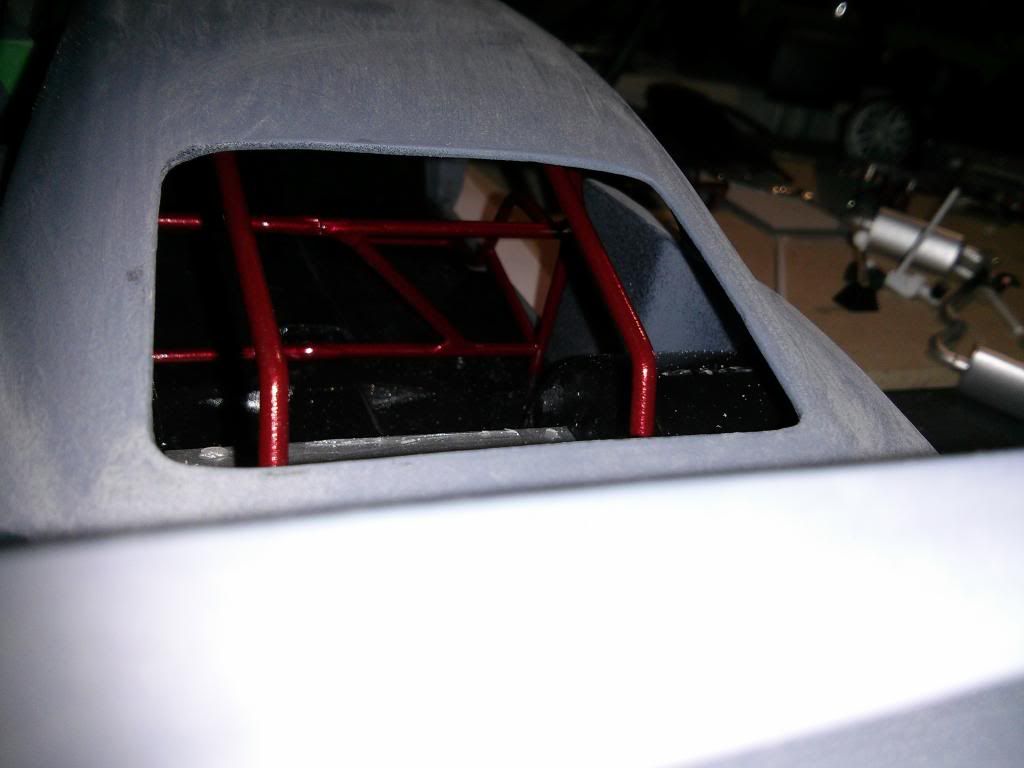
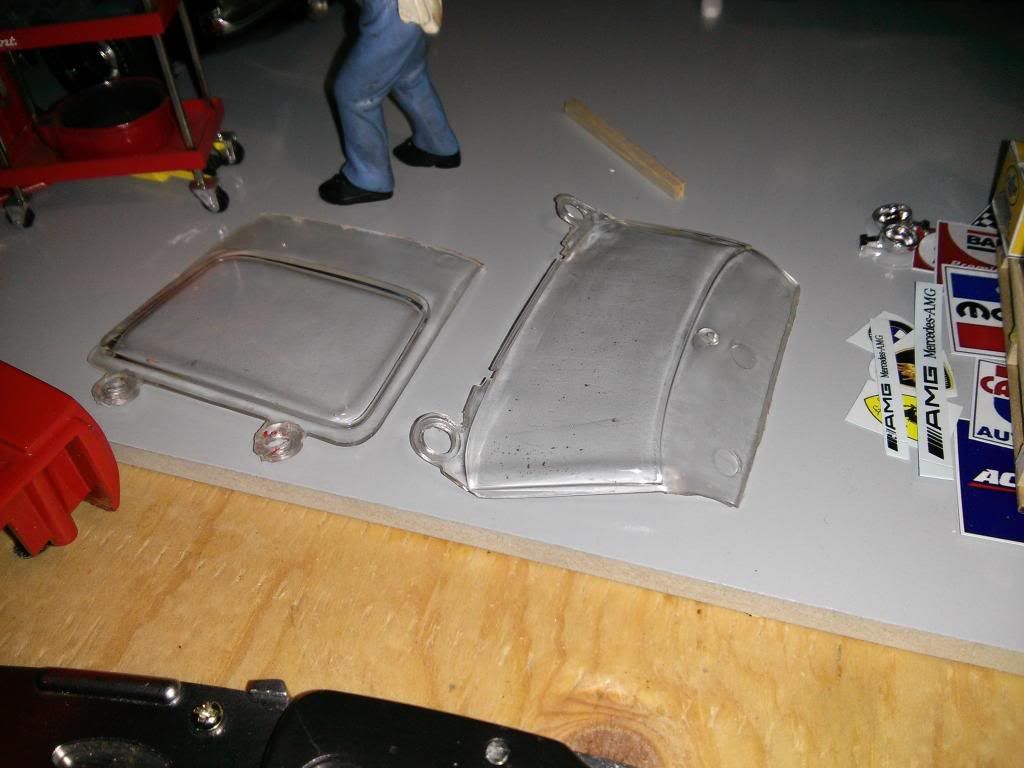
Also tried to separate the windows from the roof, but wasn't successful, so I just cut them out, now I can just take out the rest without the worry of cracking windows.
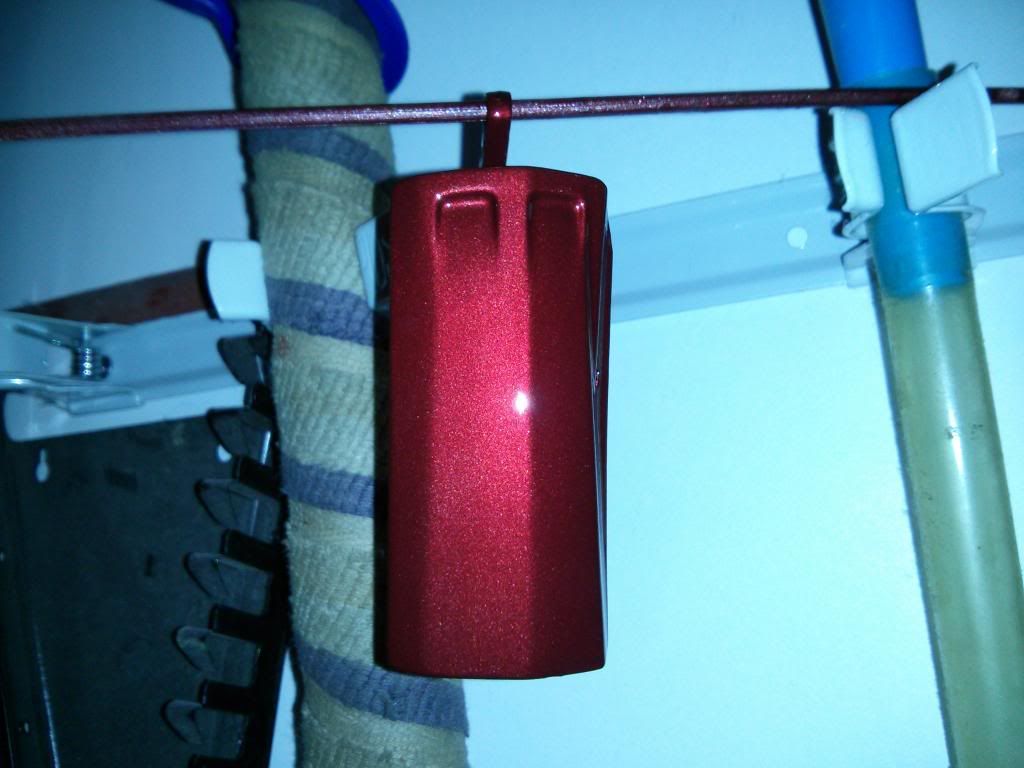
I was able to strip all the paint off using a spray on paint stripper, it worked fast and was a very easy process. Inside and outside, as well as both doors.
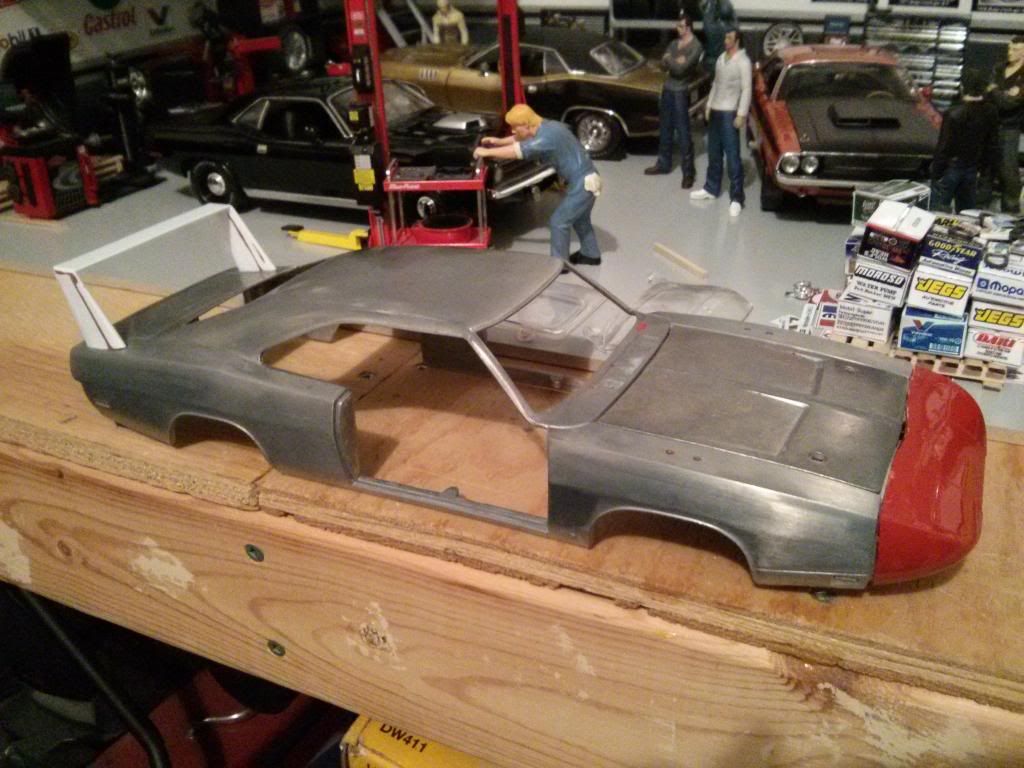
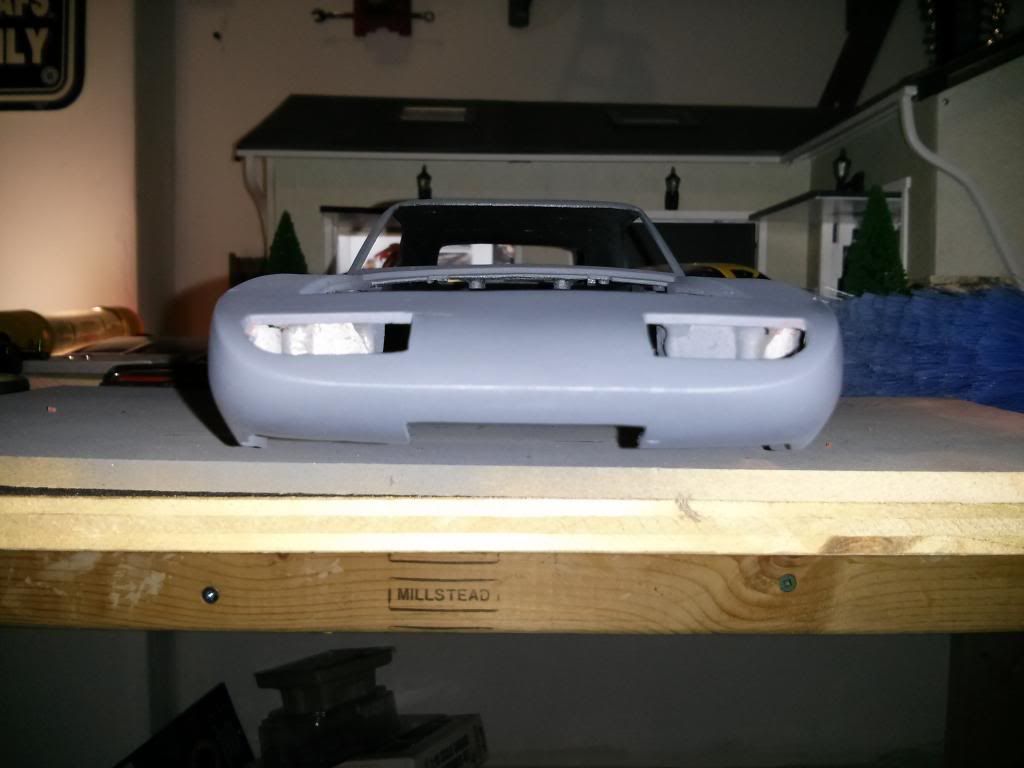
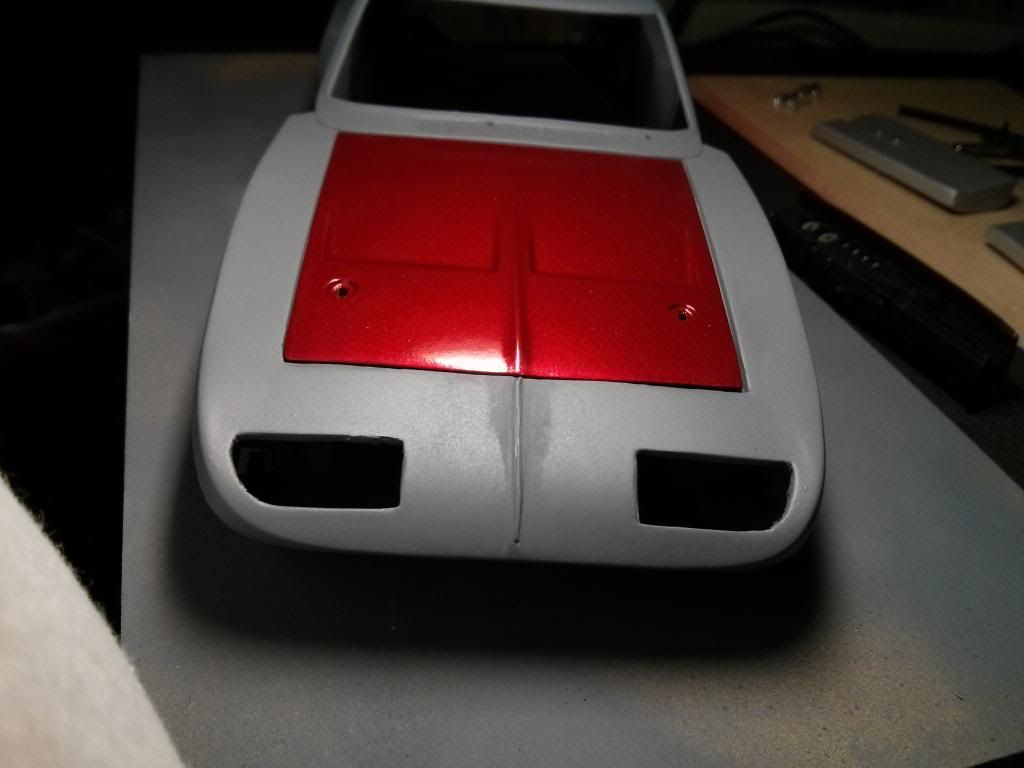
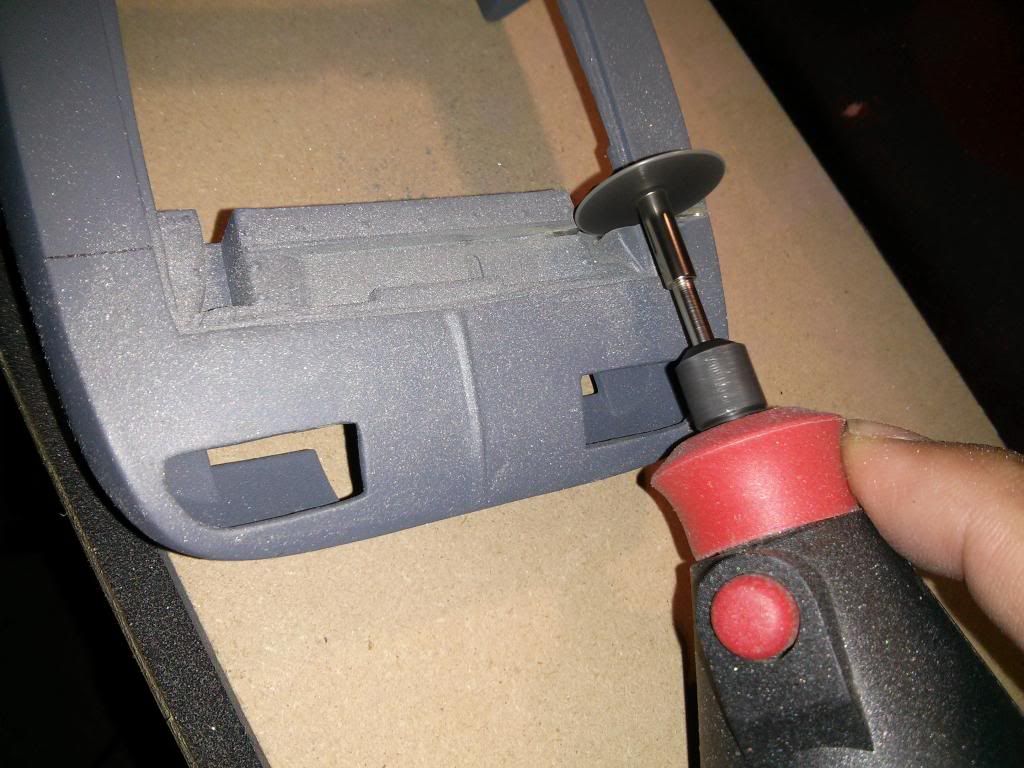
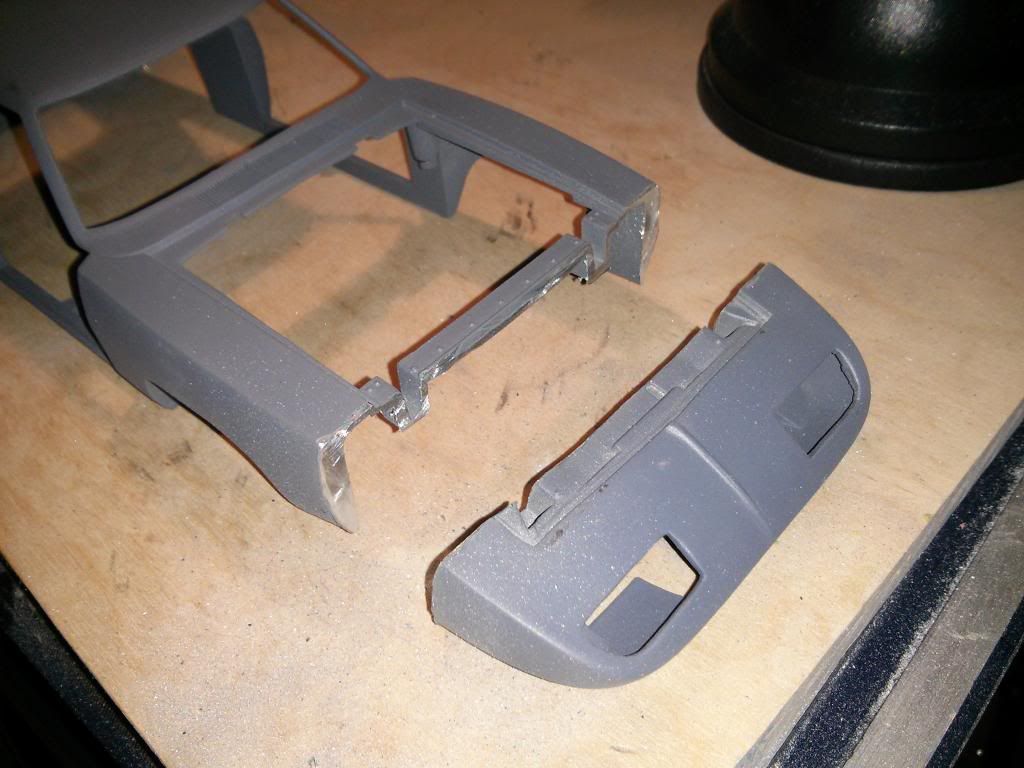
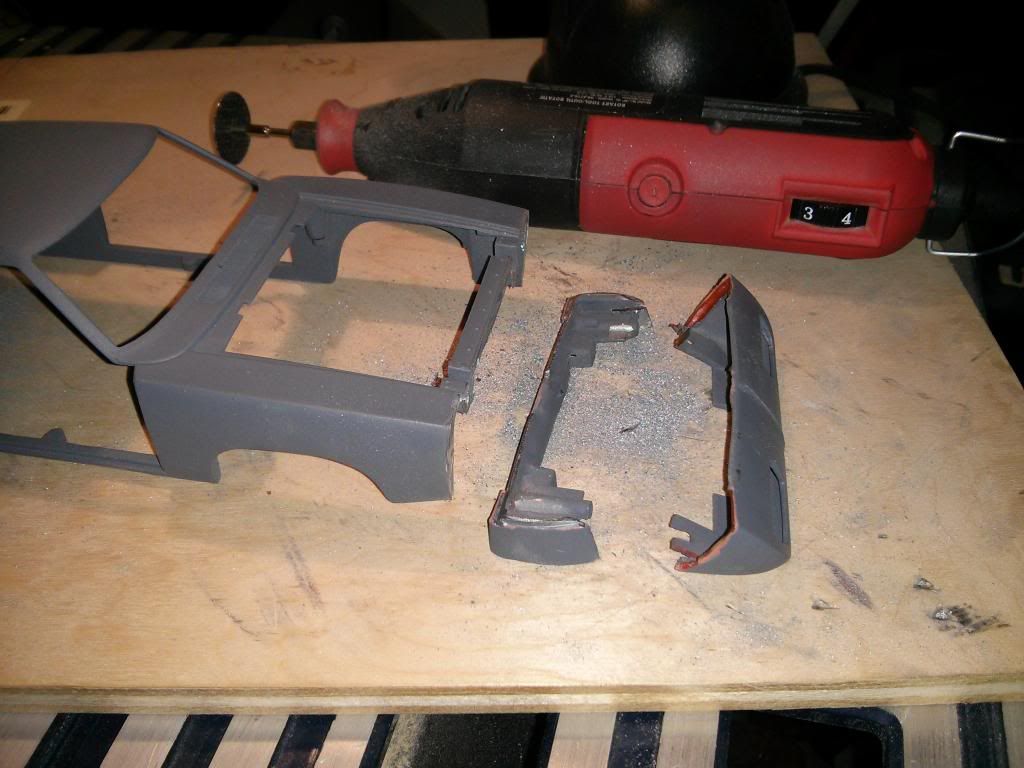
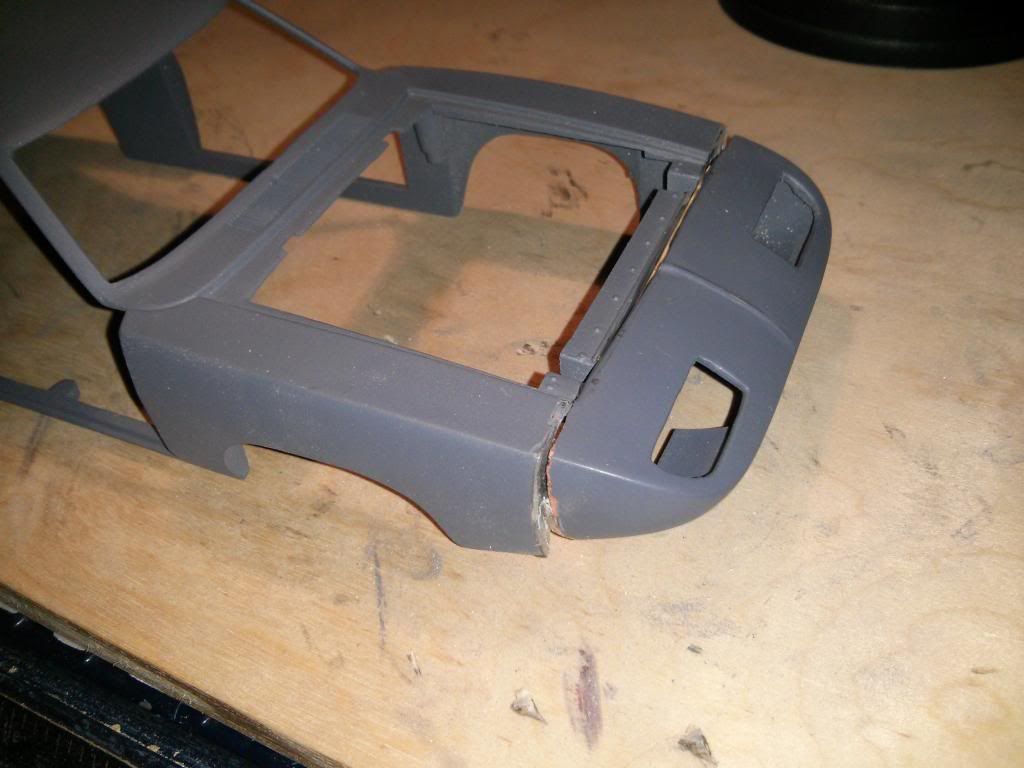
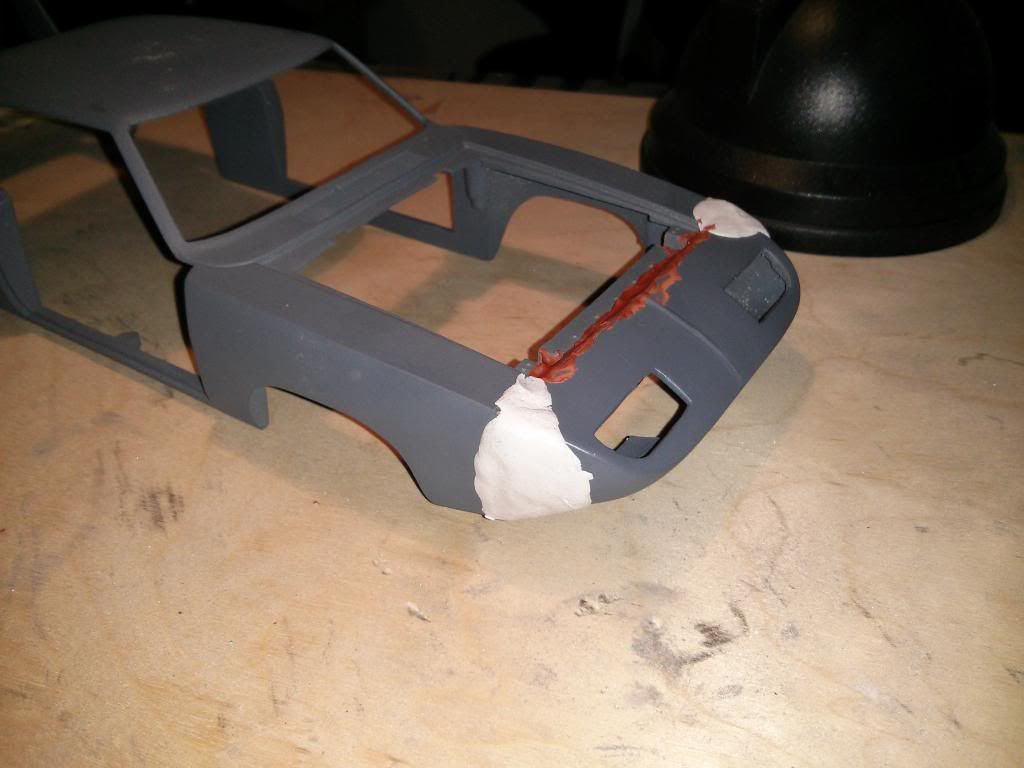
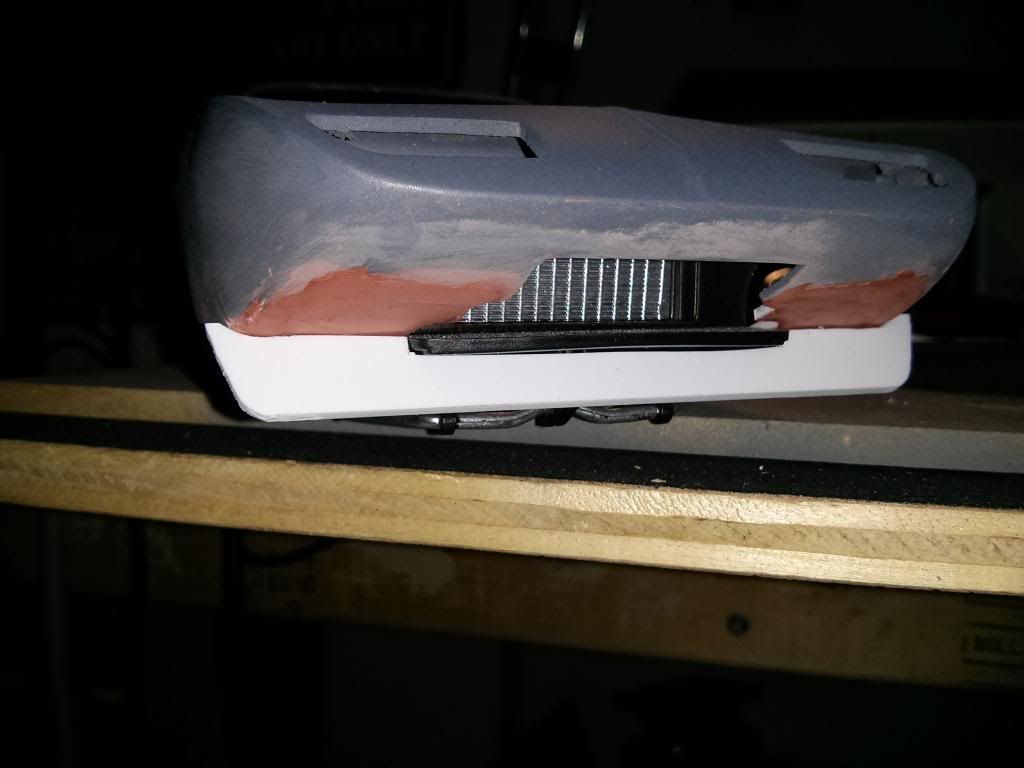
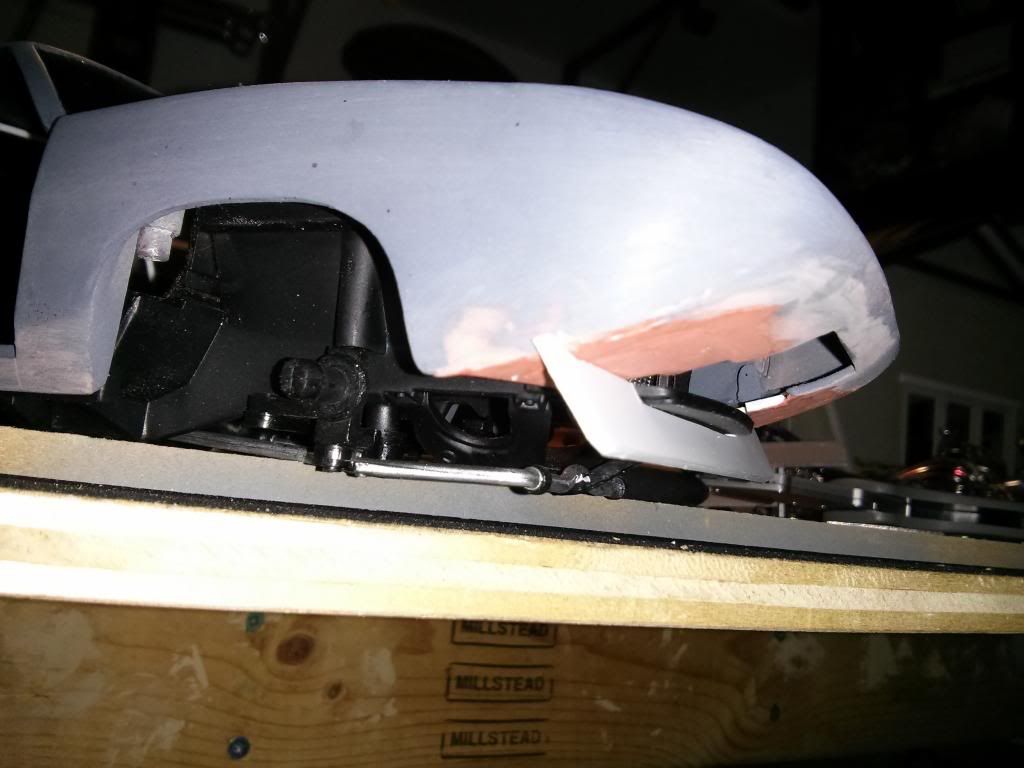
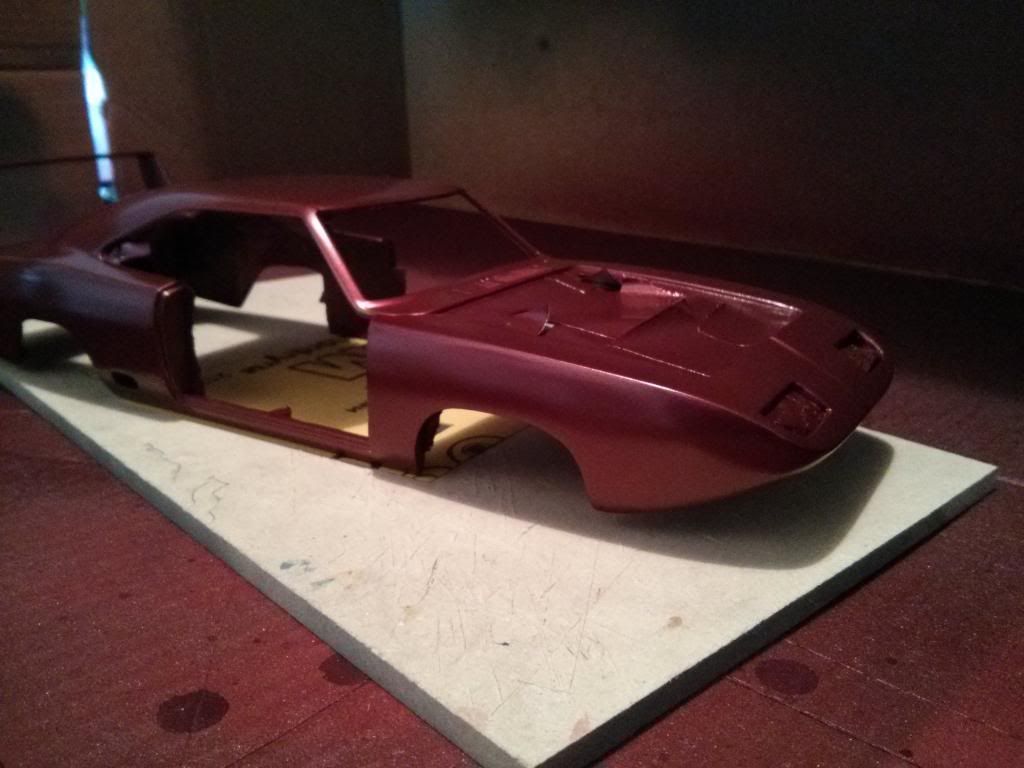
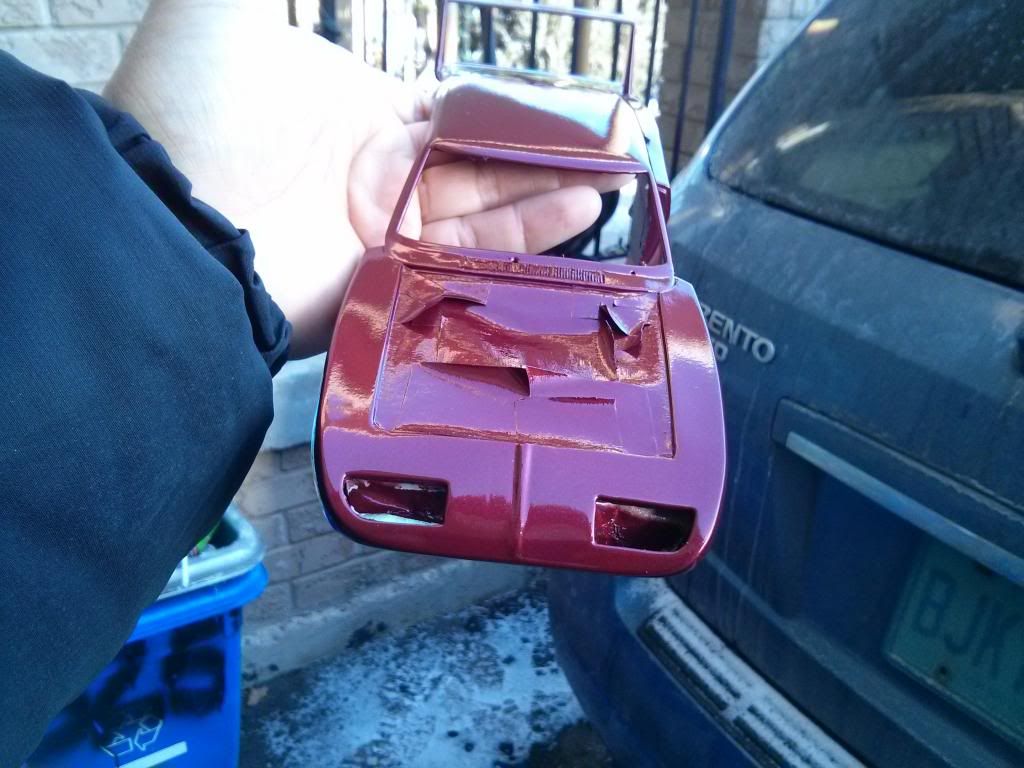
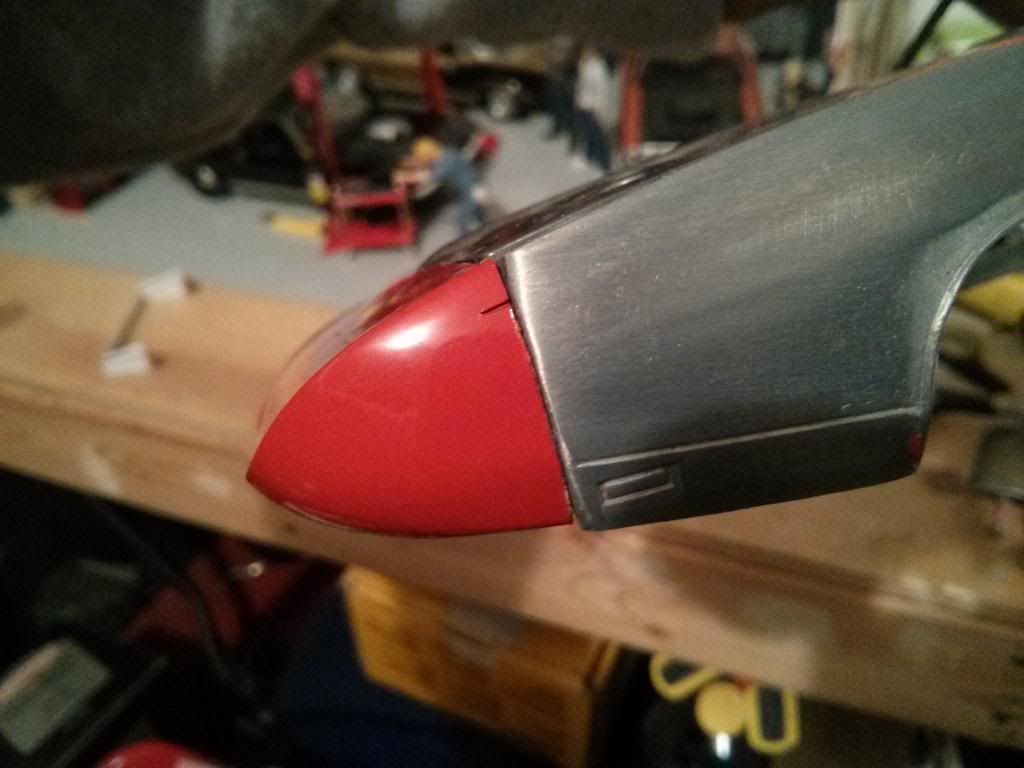
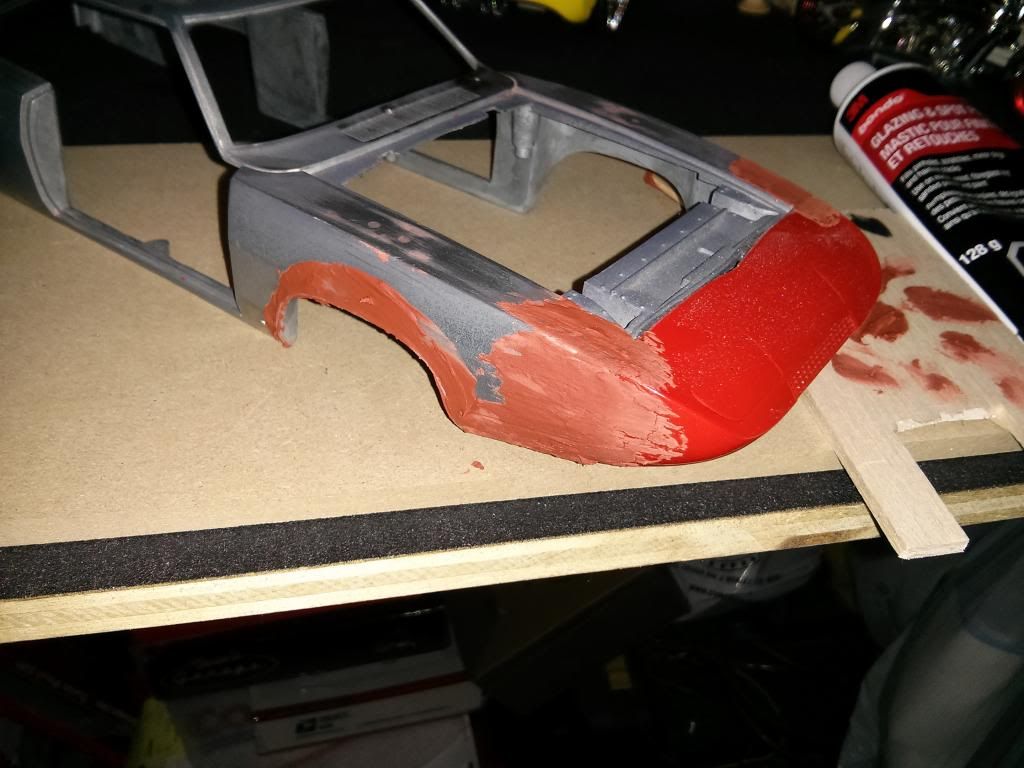
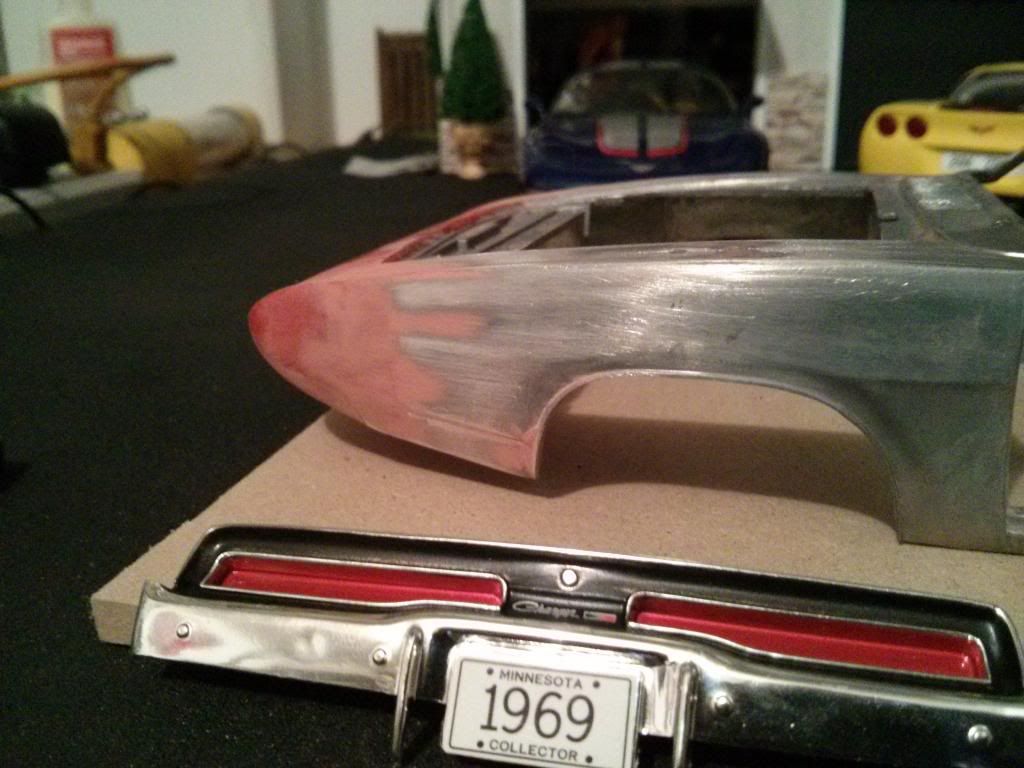
Also was able to shorten the nose to match the 1:1, removed about 1/8"-3/16" from it, still luckily fits onto the front clip, but what would be used to join/attach it permanently so I can blend it into the fenders? It is a plastic nose joining to the metal, would Steel Stik, Bondo, plastic weld, or milliput work best?
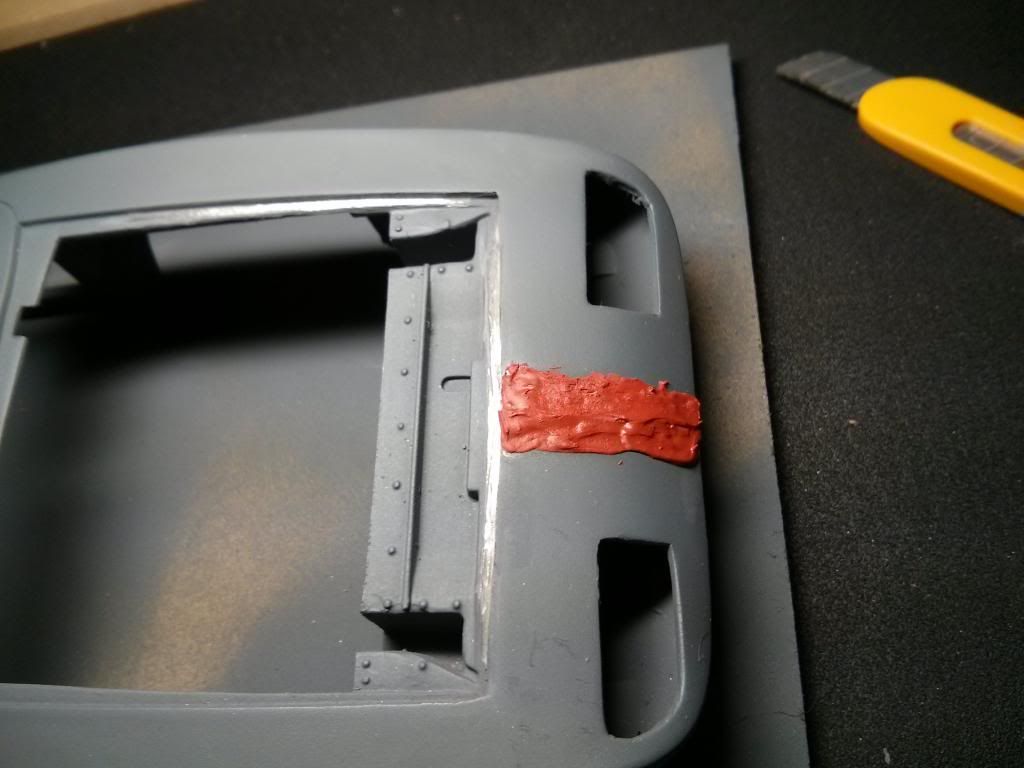
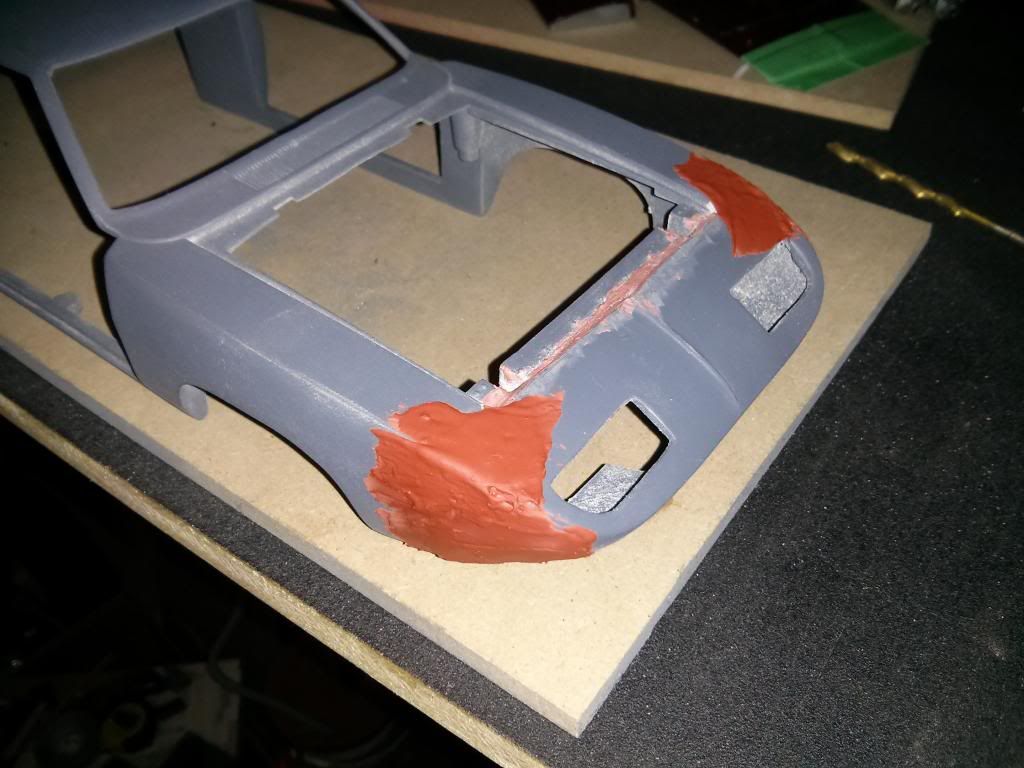
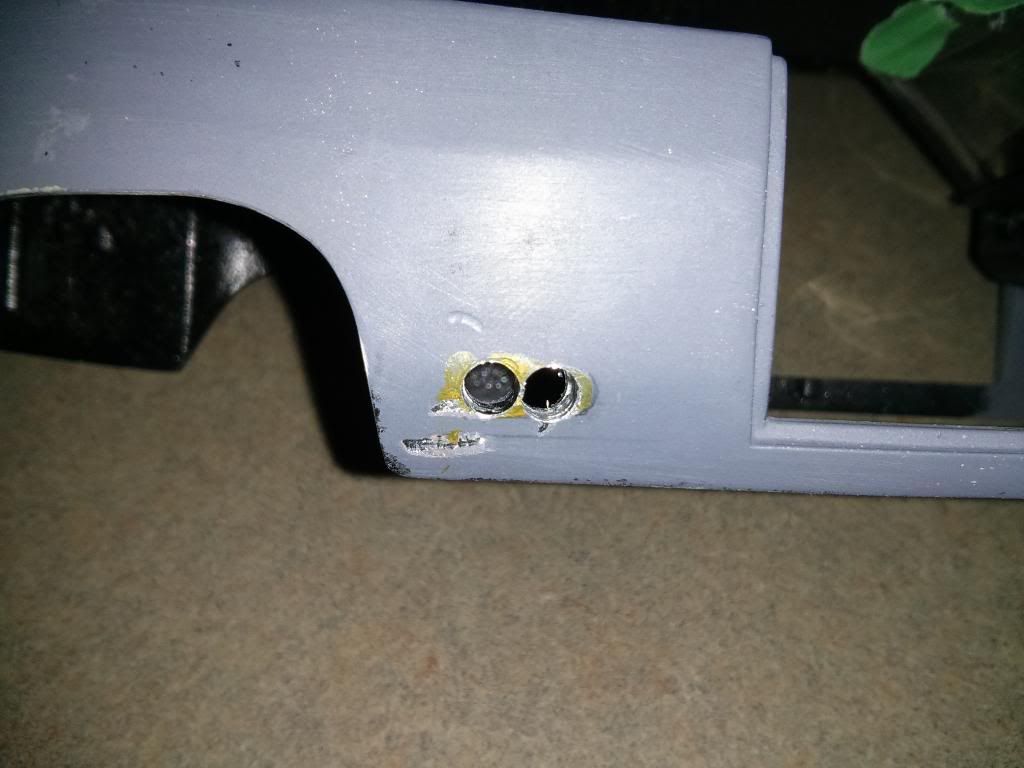
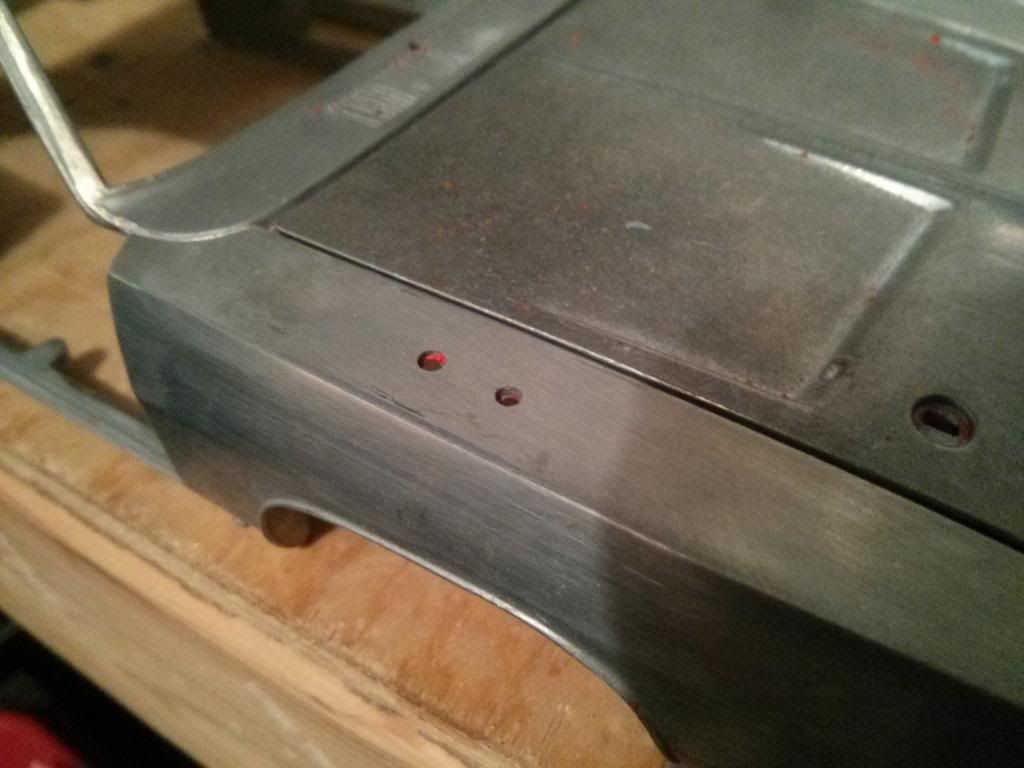
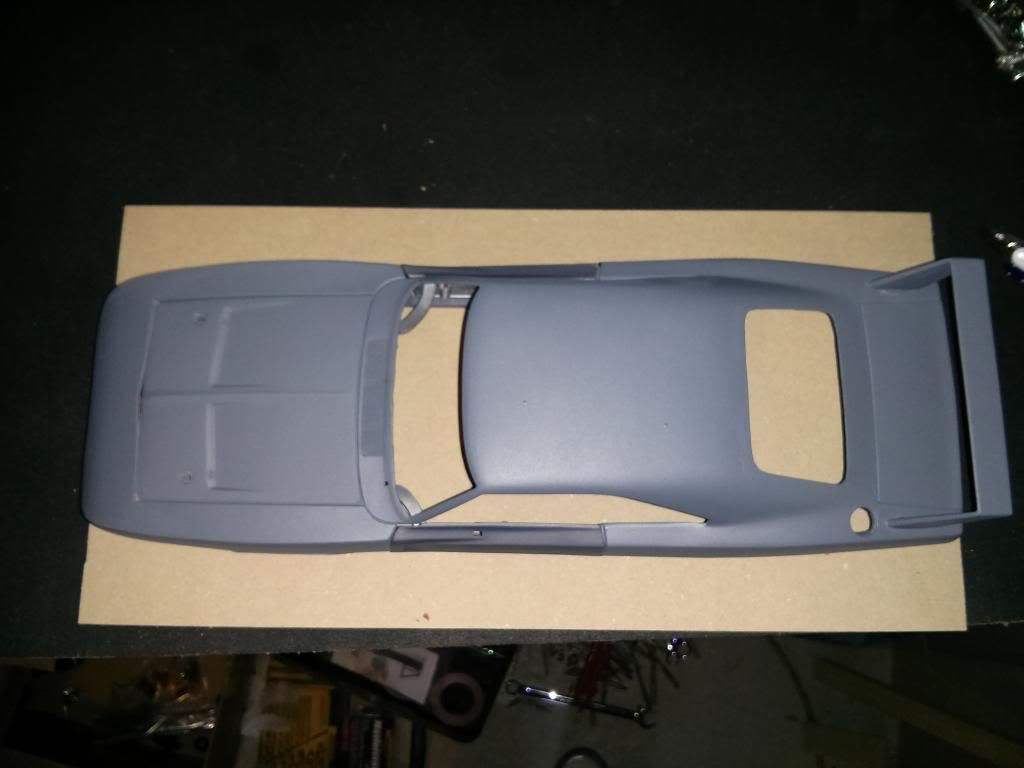
I ground off the keyholes on the doors, and also added putty to fill in the door handle holes, and holes on the top of the front fender and the rear wing mounting area.

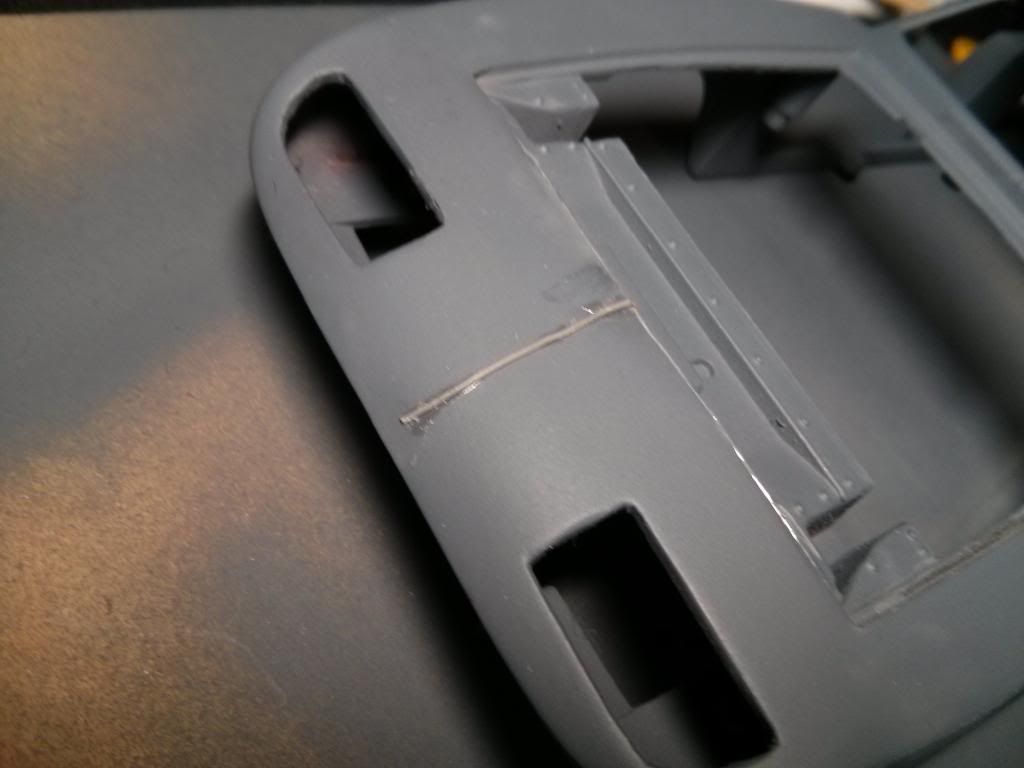
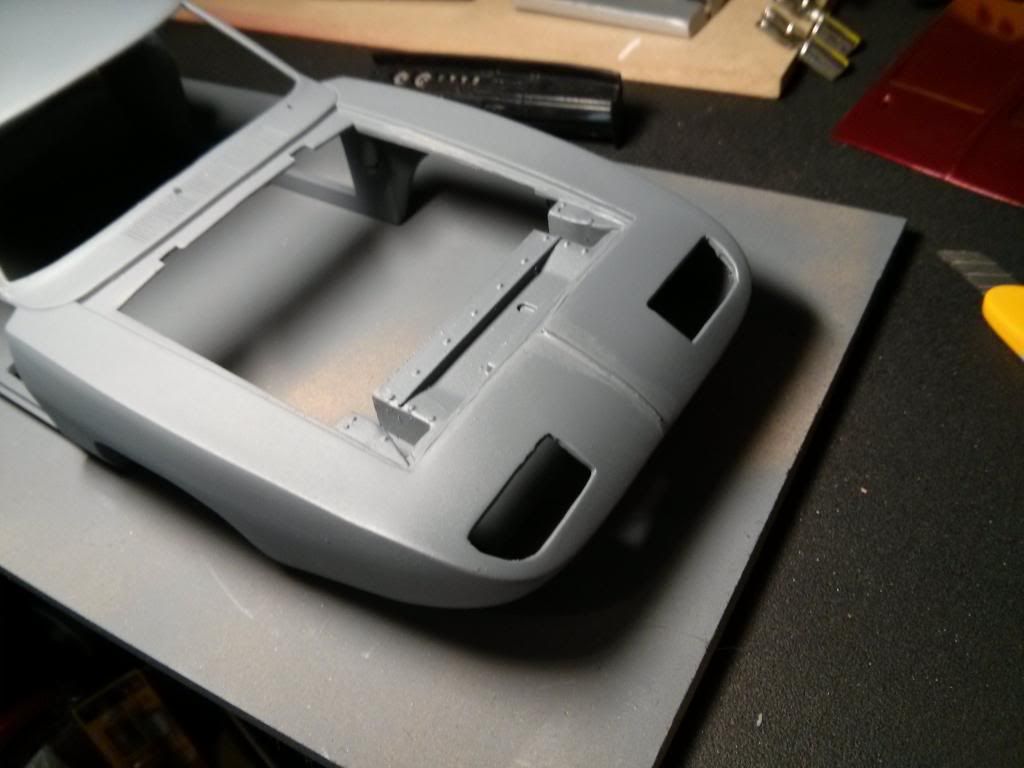
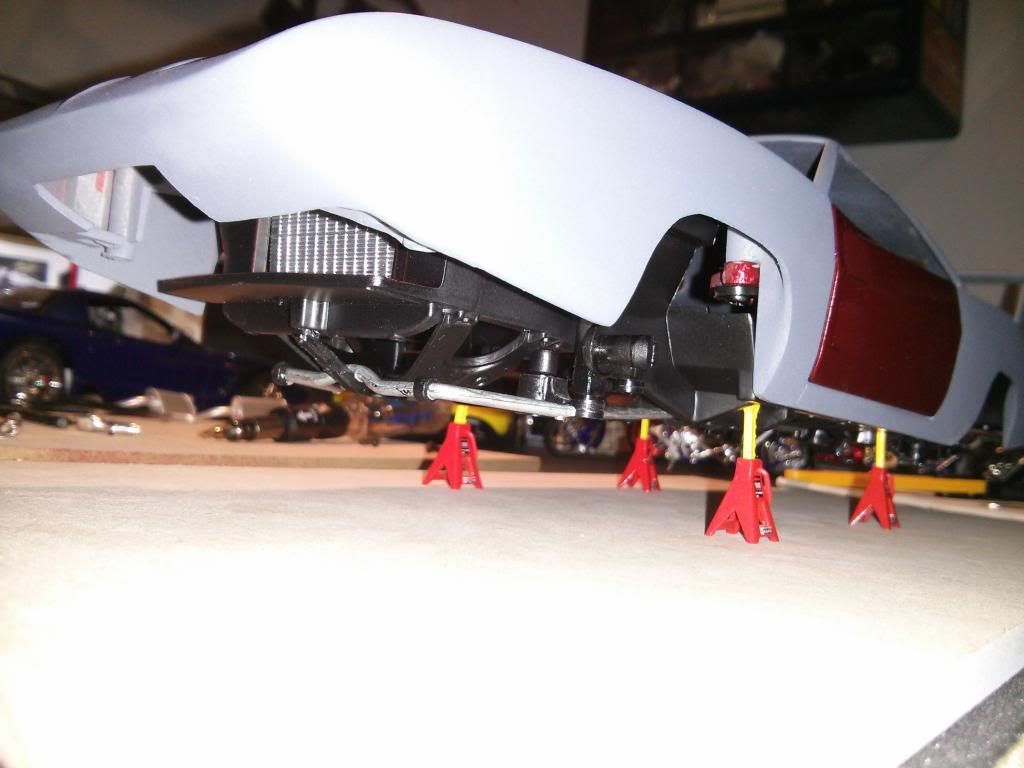
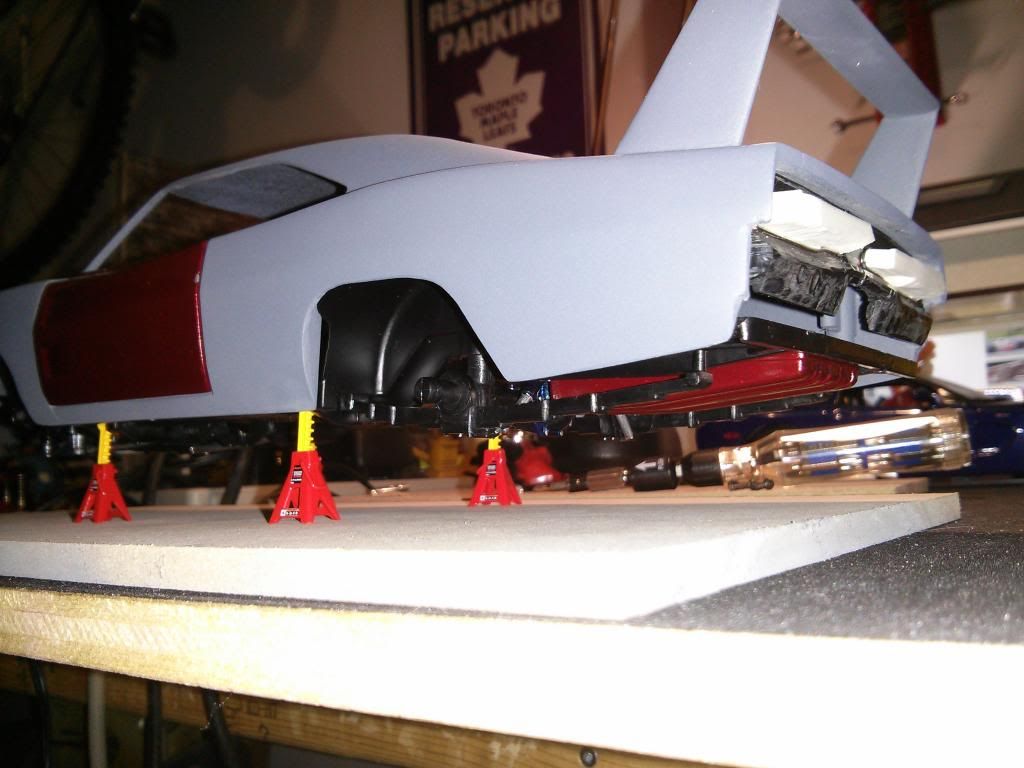
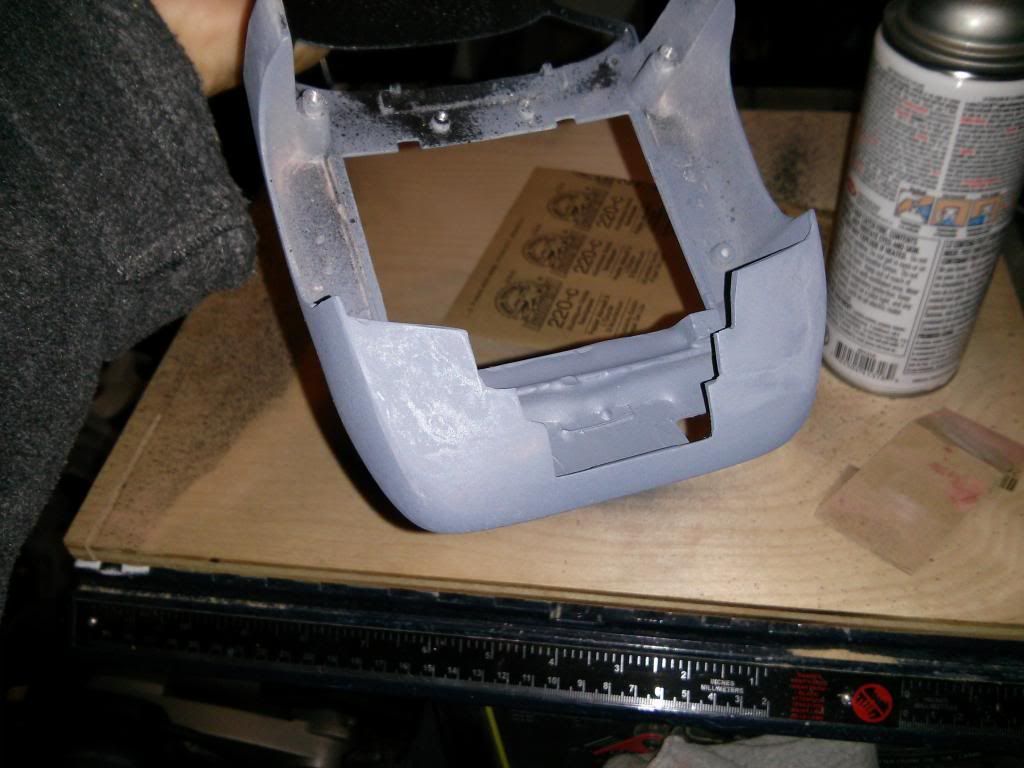
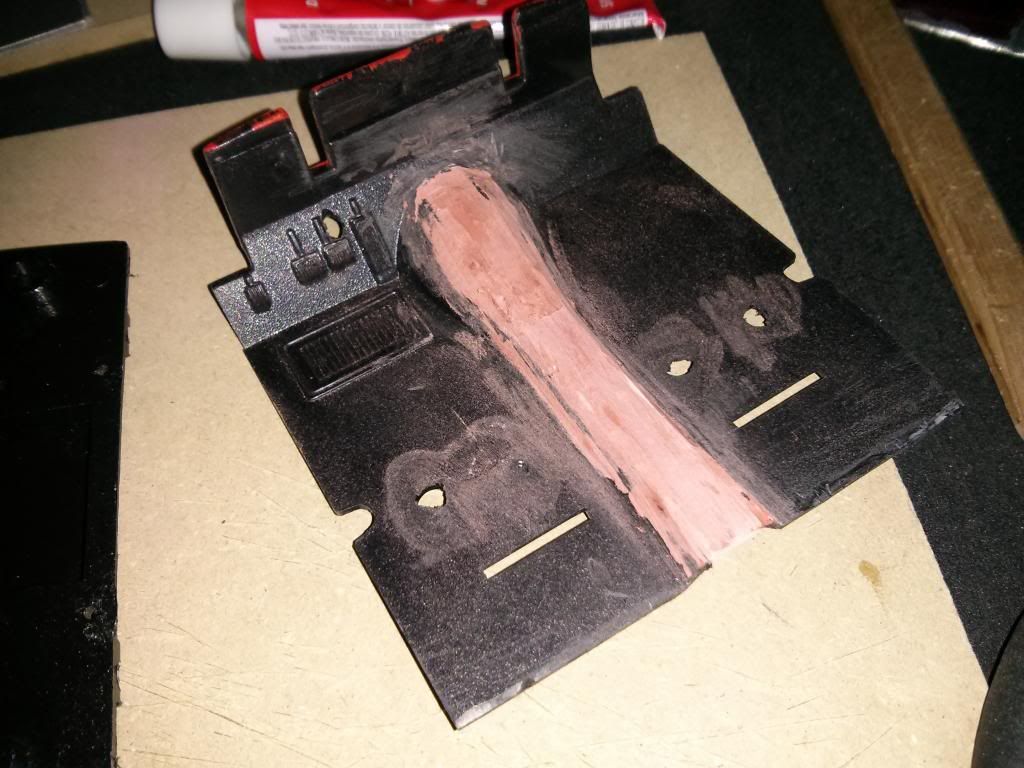
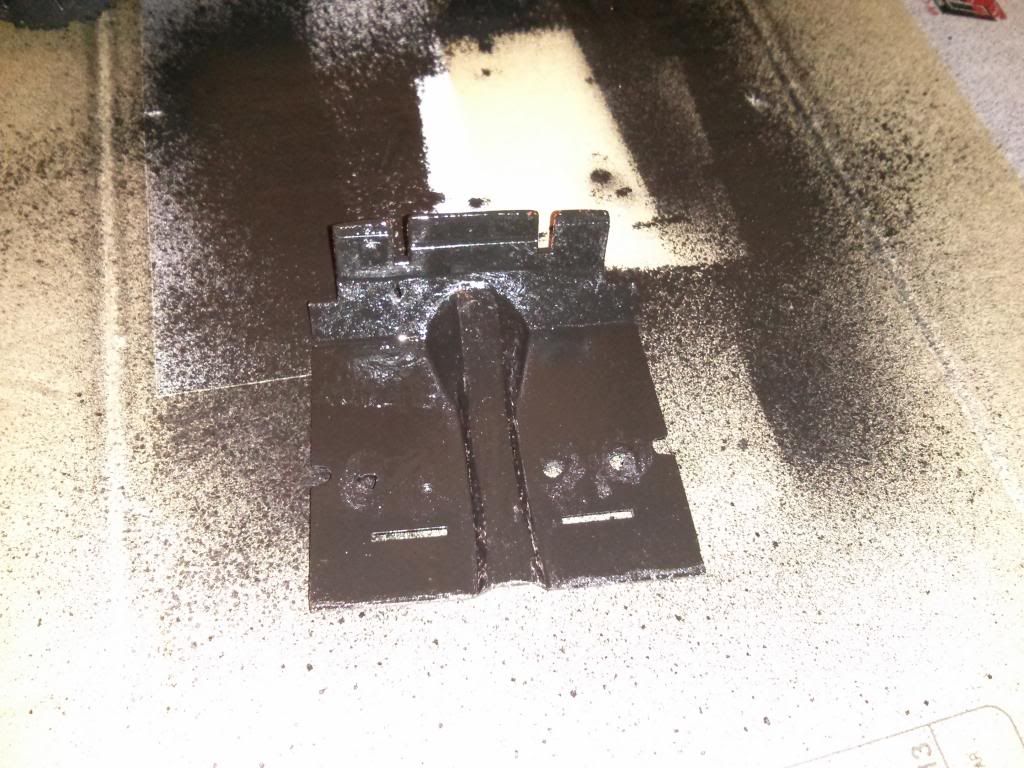
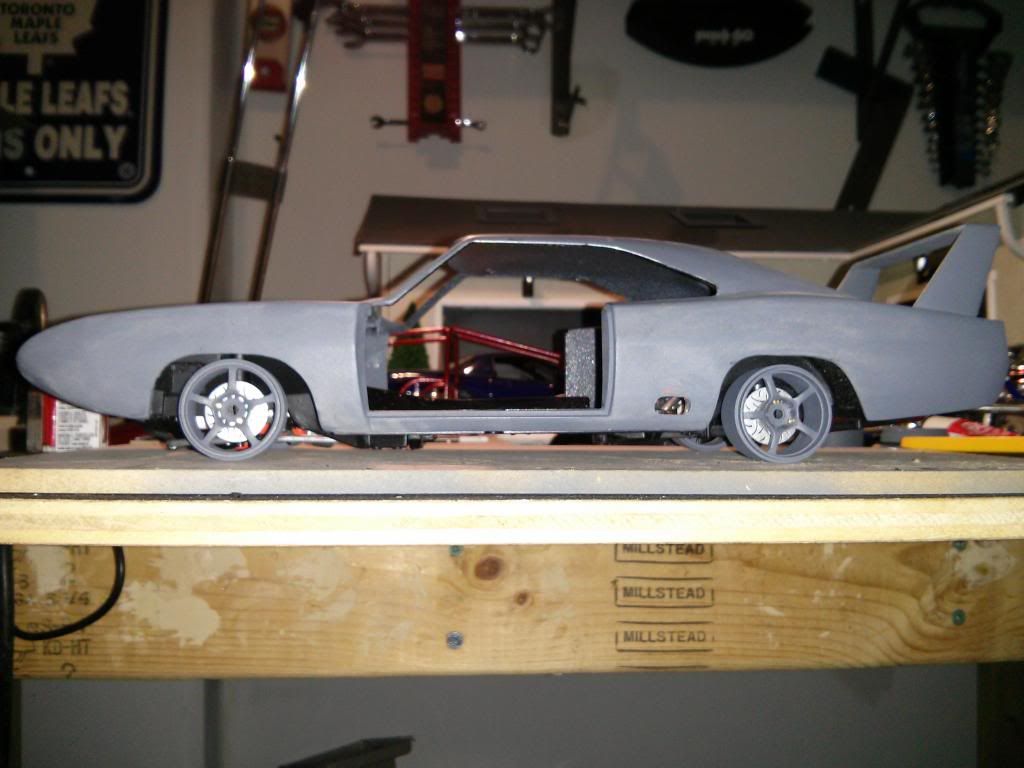
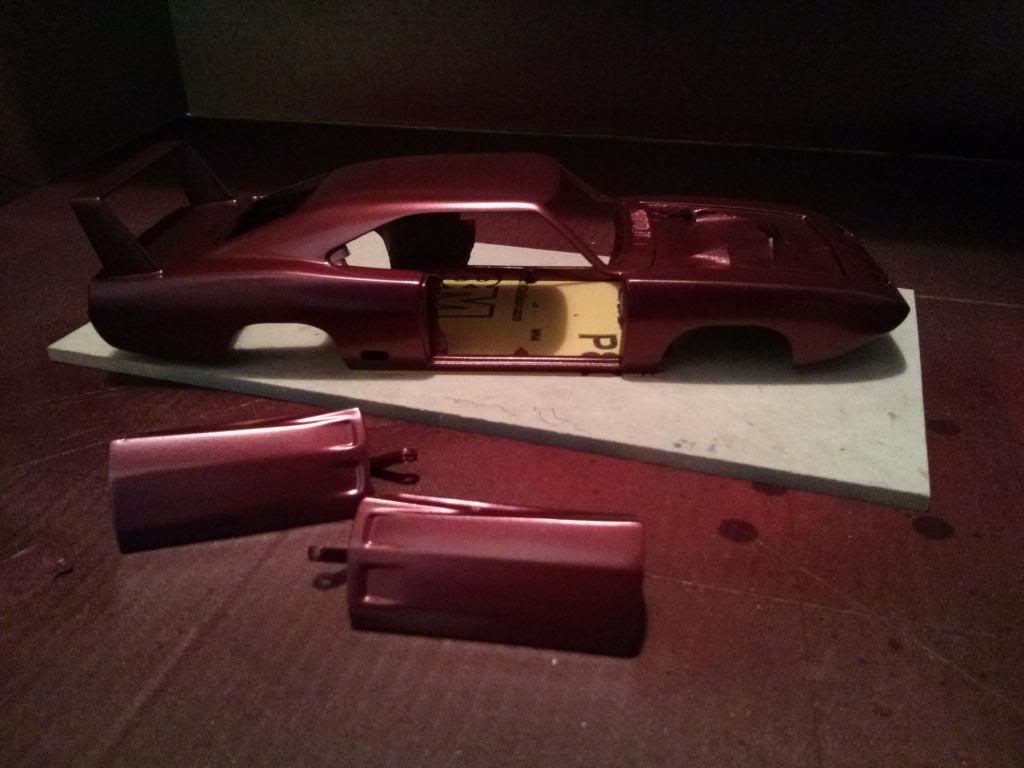
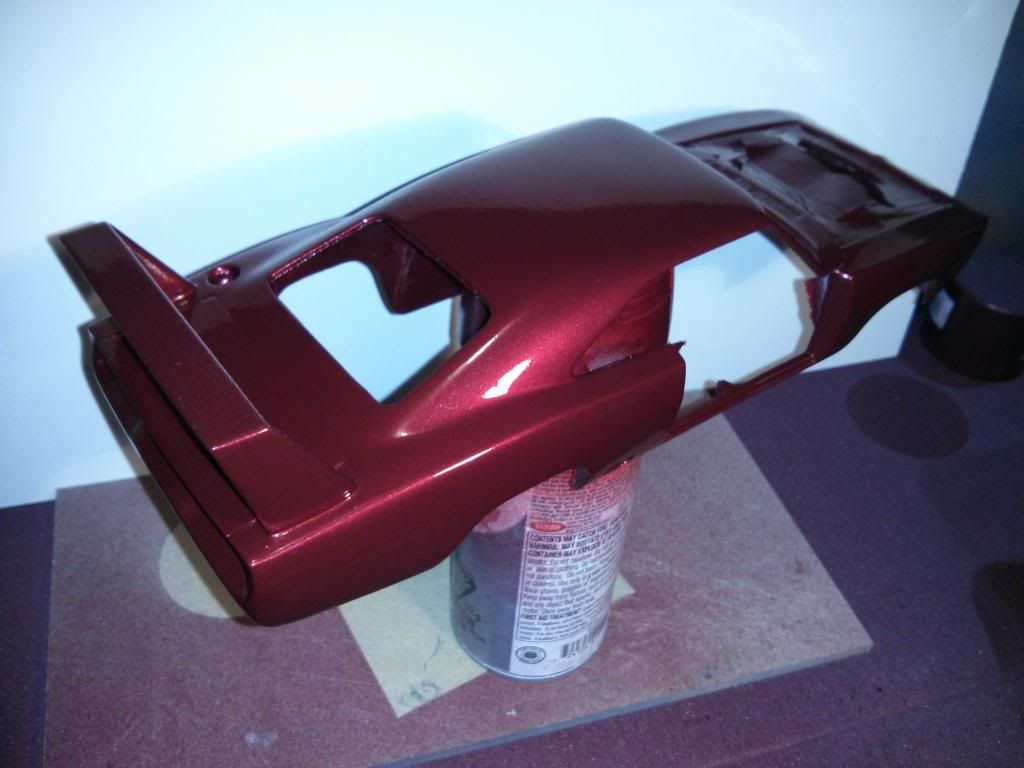
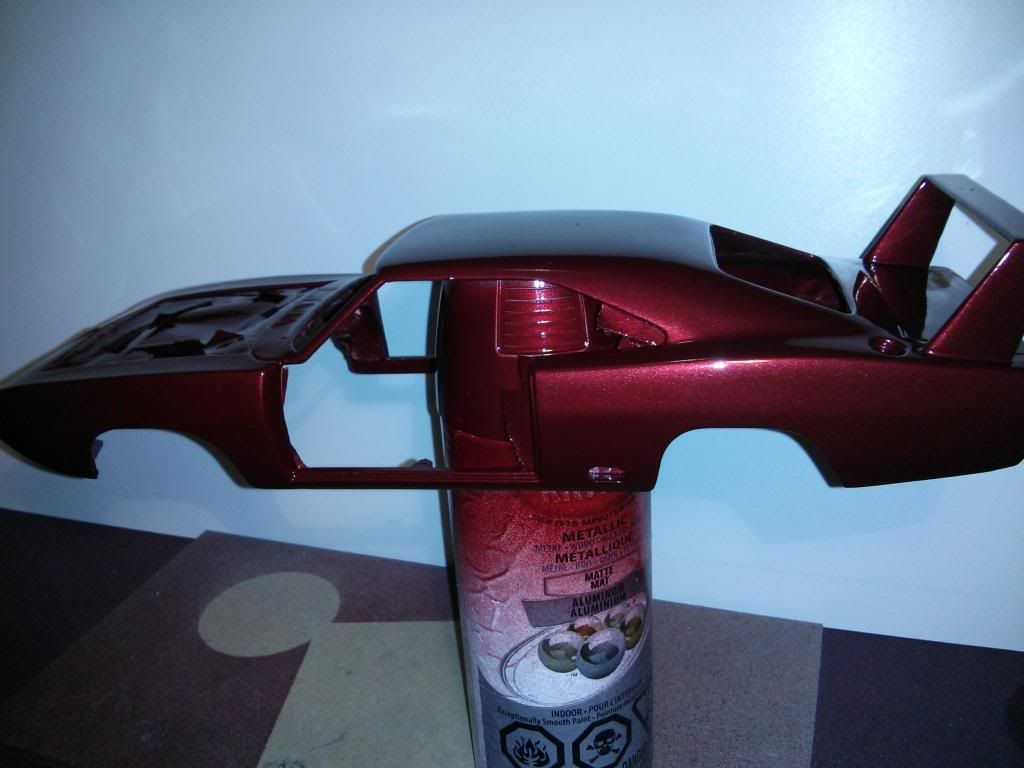
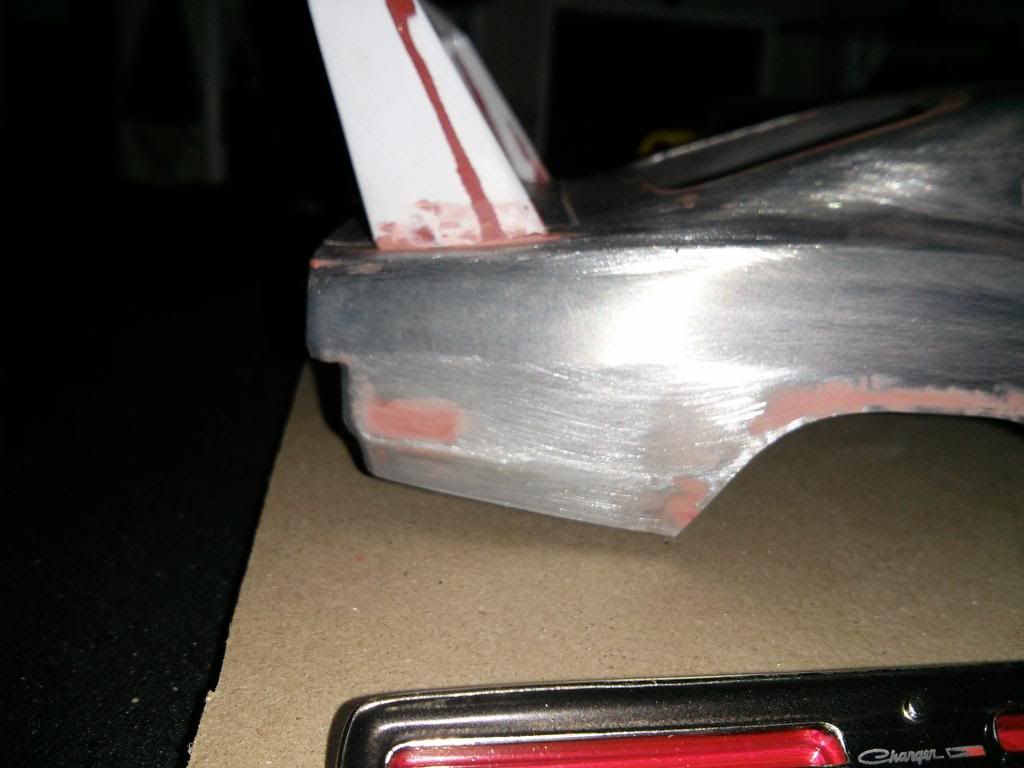
I did use an epoxy to glue the nose to the chassis, the wing to the rear(thx 2 Rinceman for his advice), and proceeded to do some bodywork. I used an automotive spot putty to fill in the gaps all around, and sanded it down.
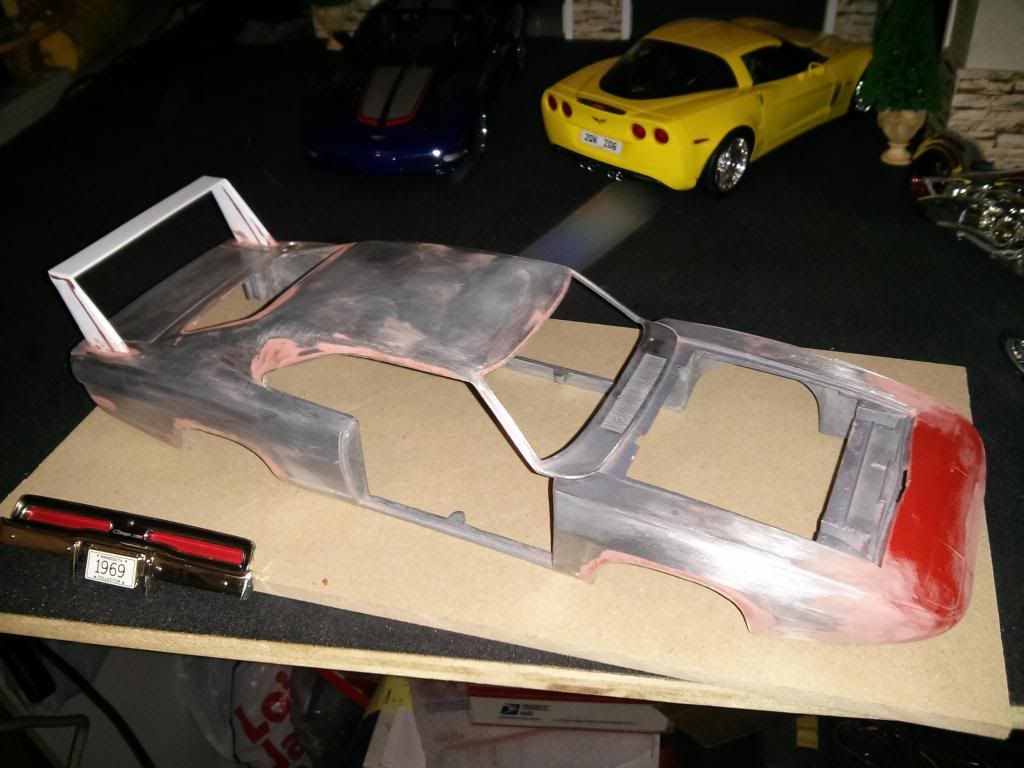
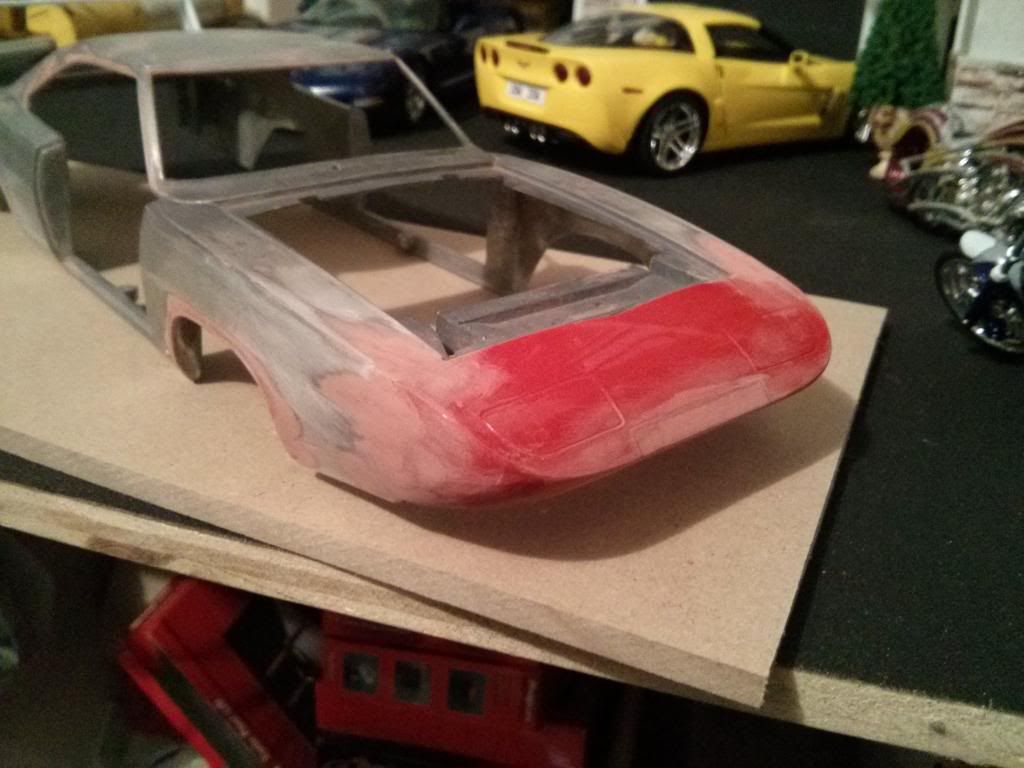
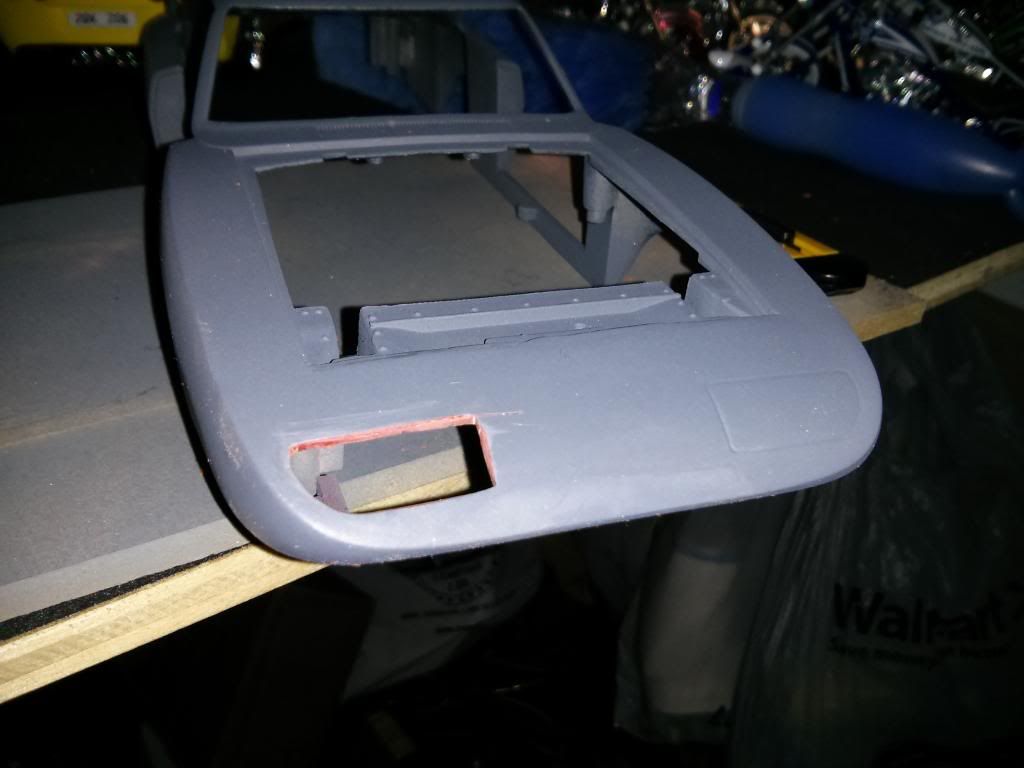
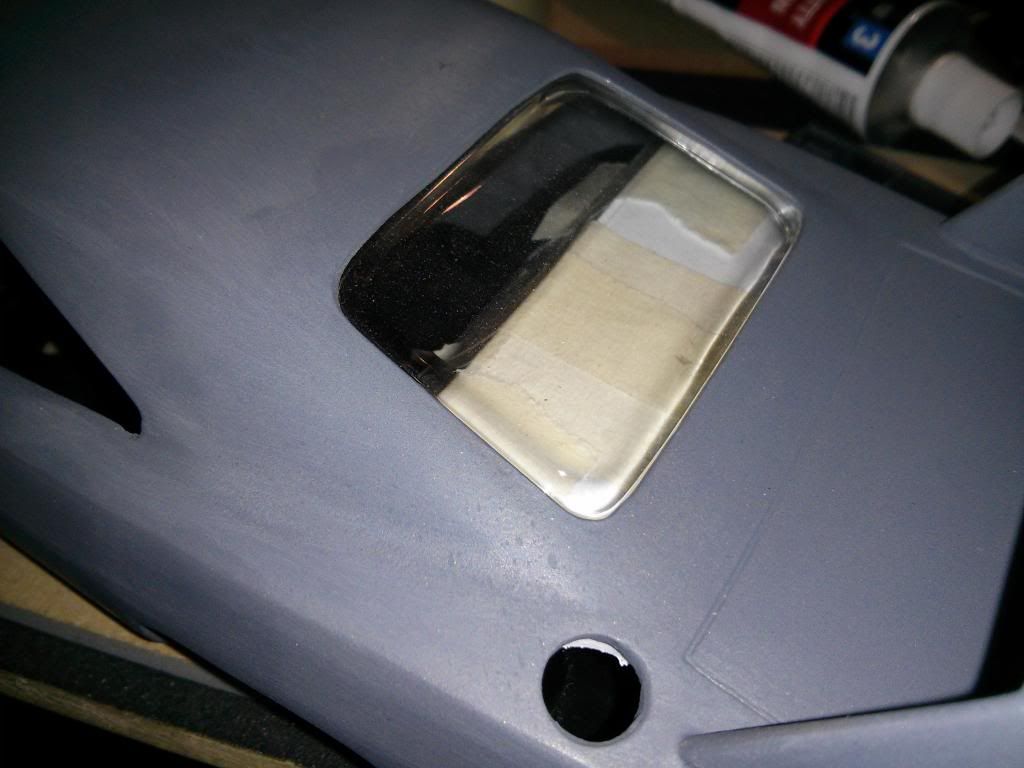
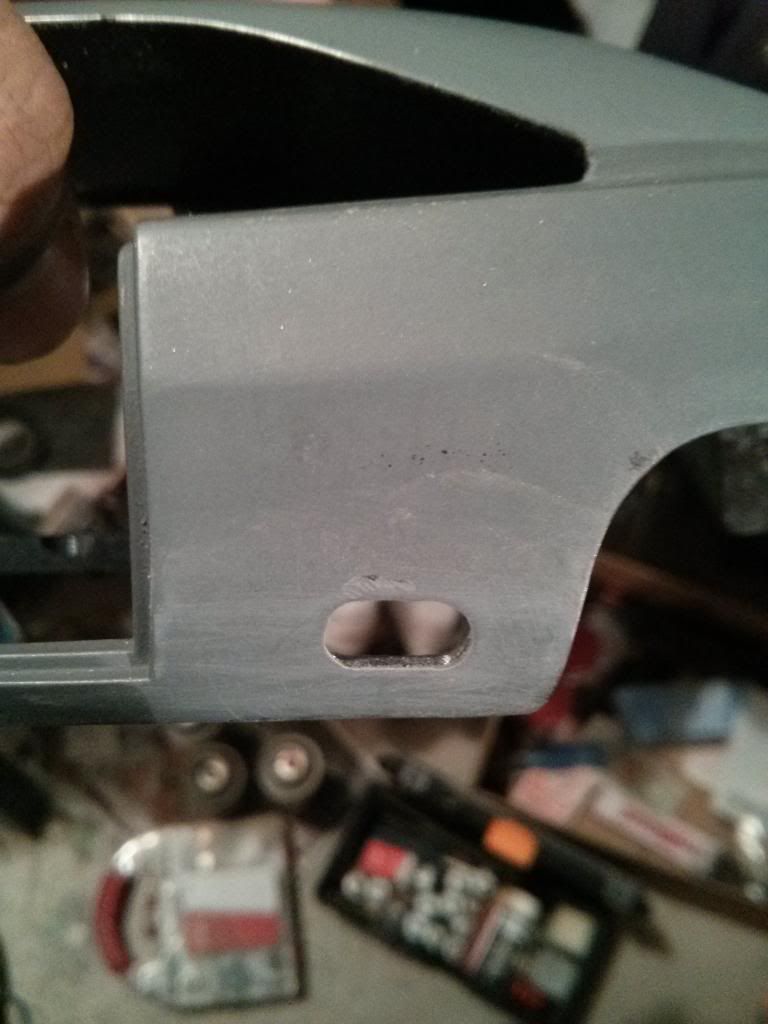
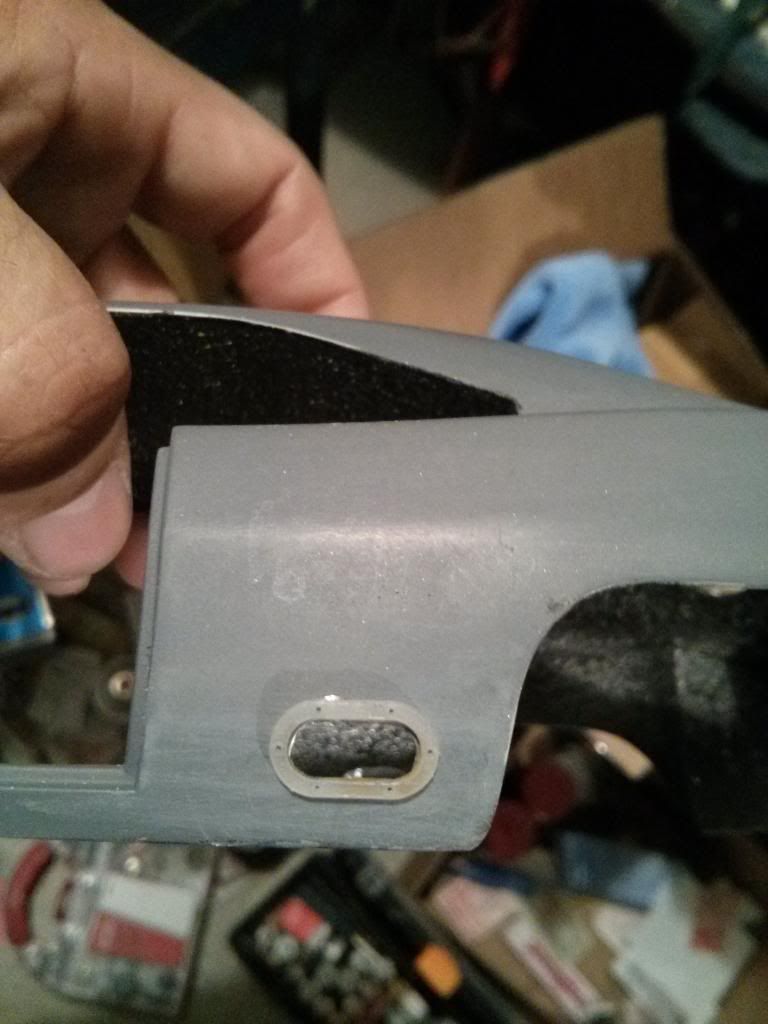
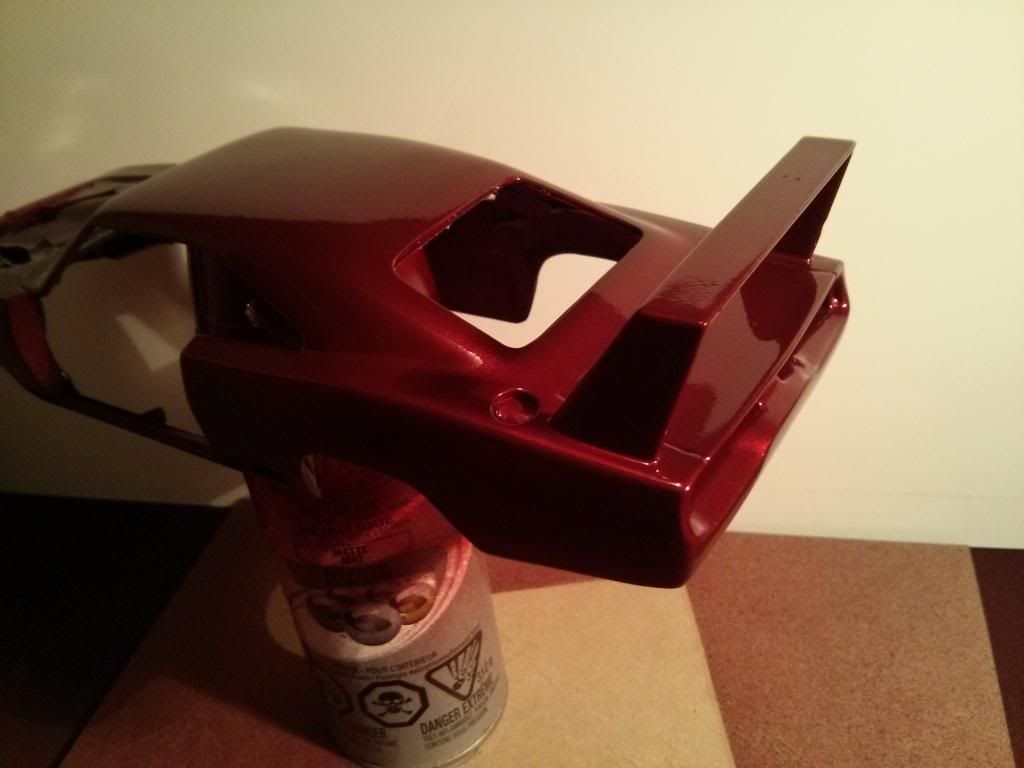
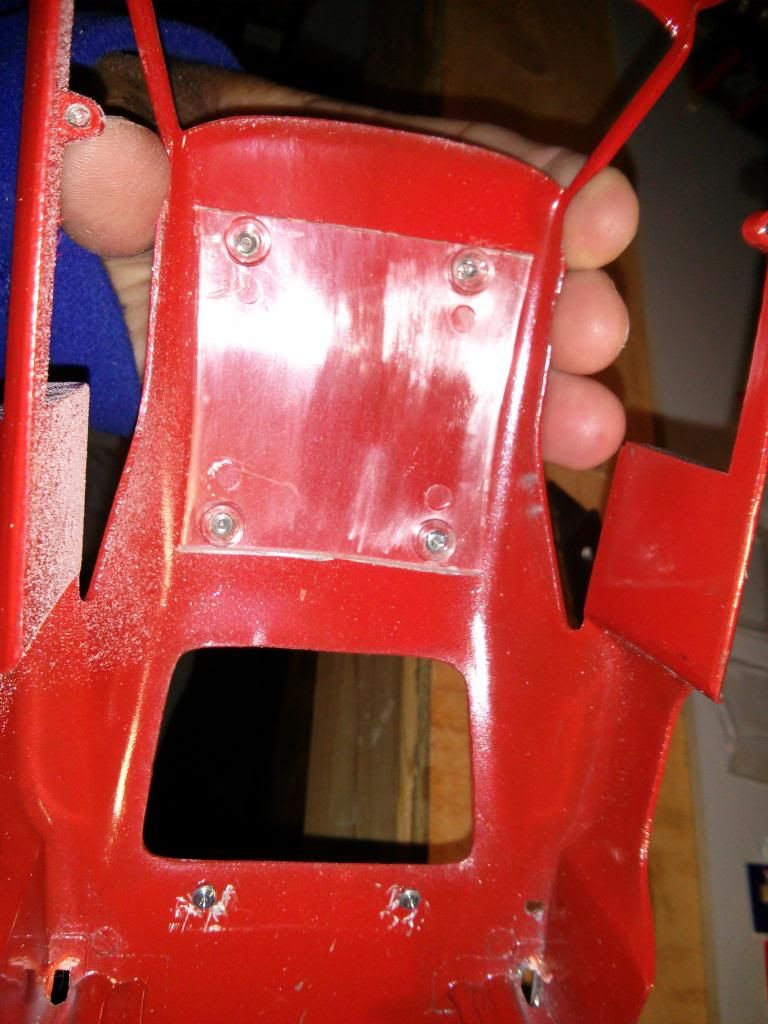
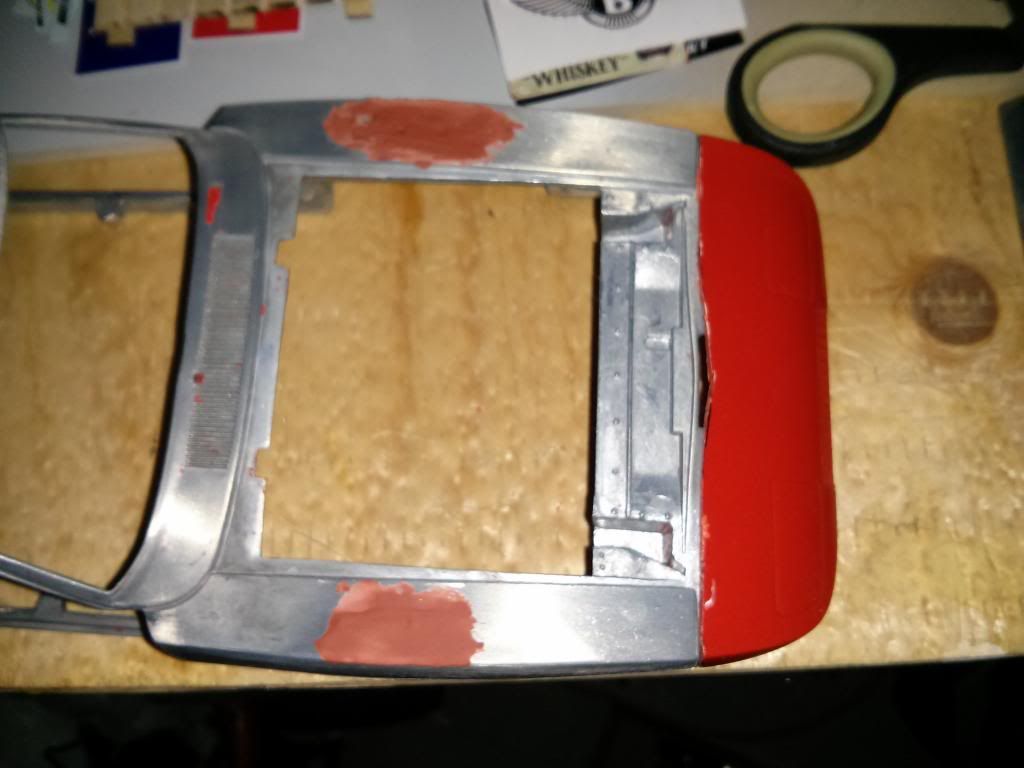
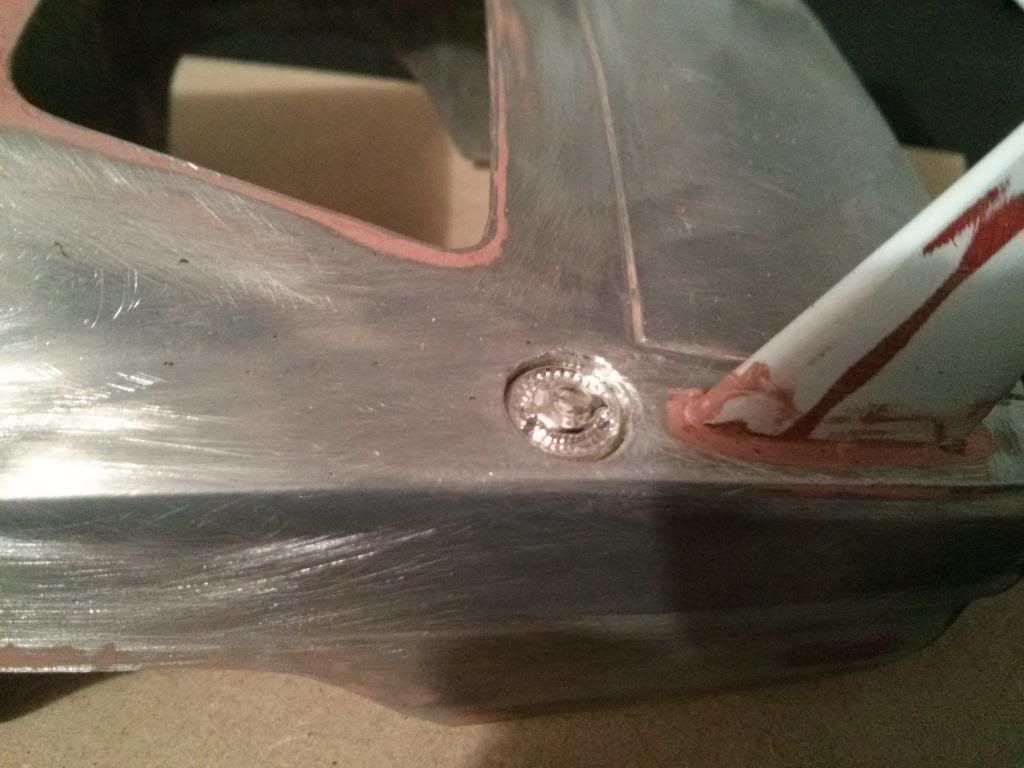
Also cut out the gas cap hole and recessed/sunk it into the body like the 1:1 has it.
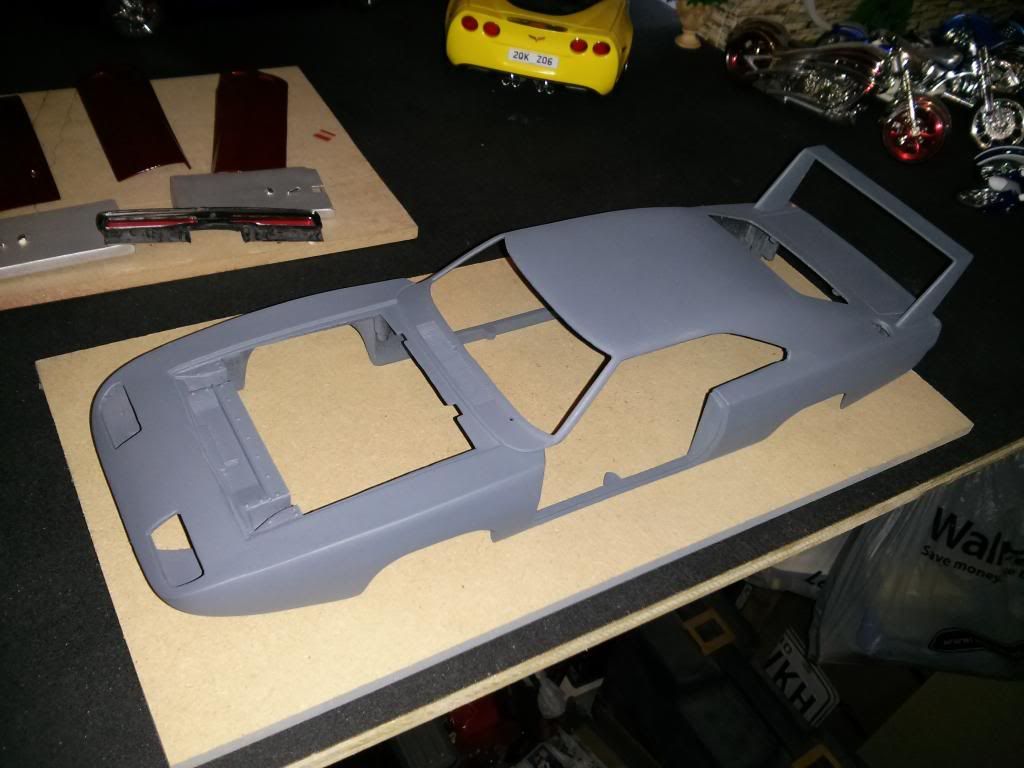
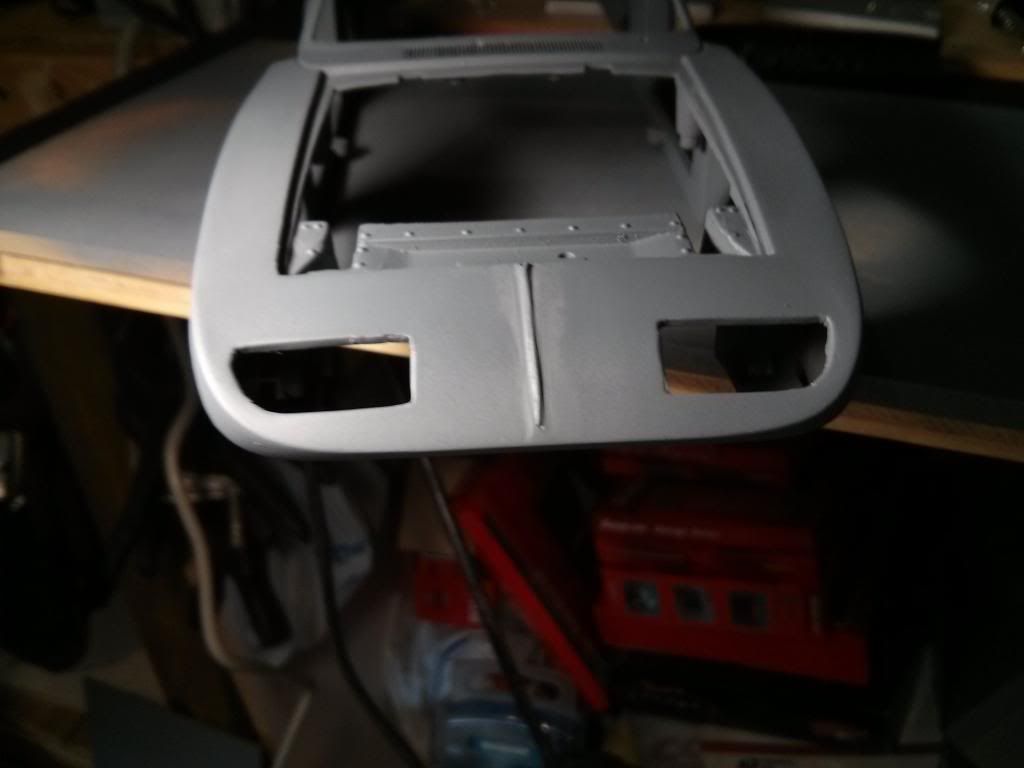
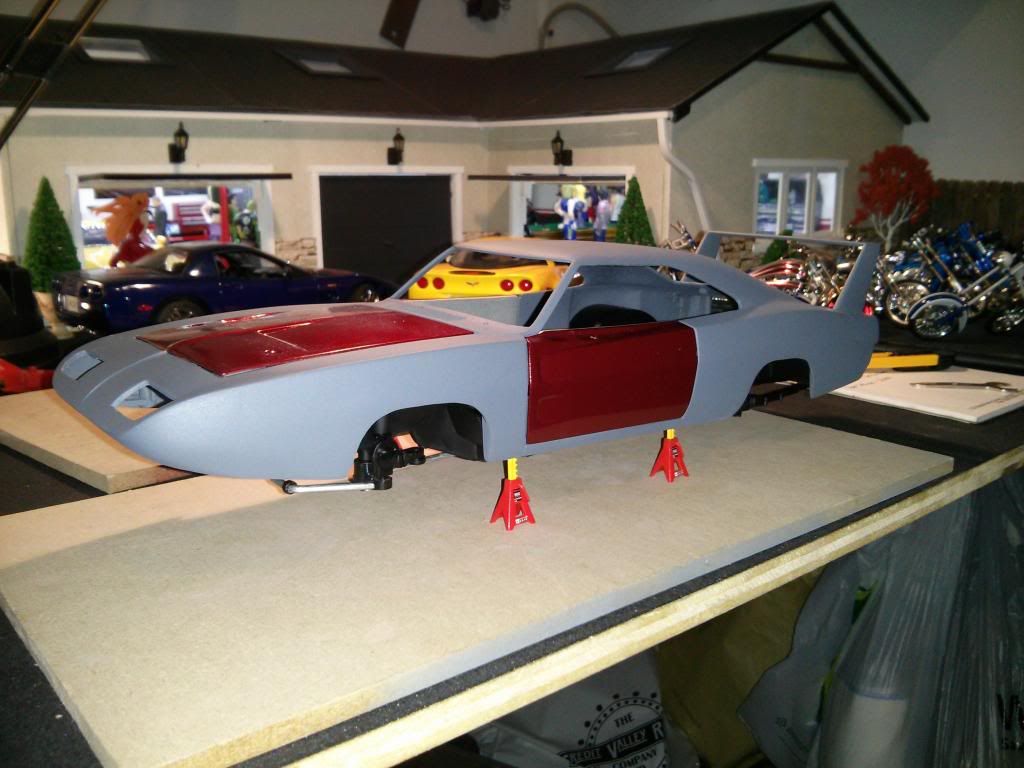
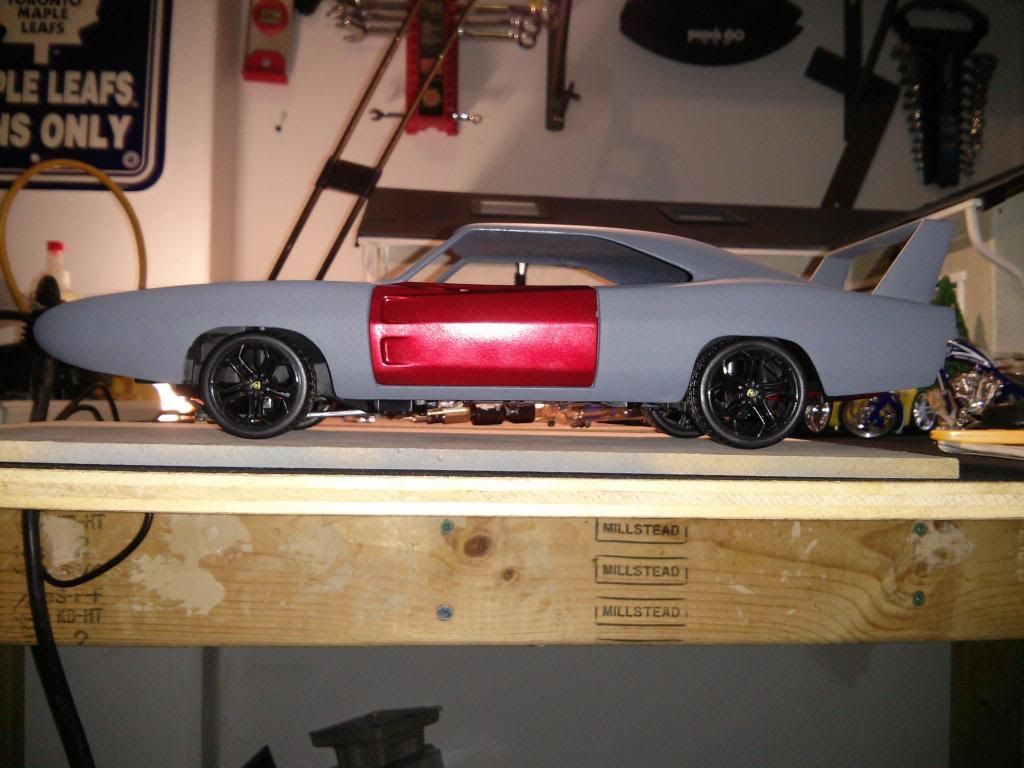
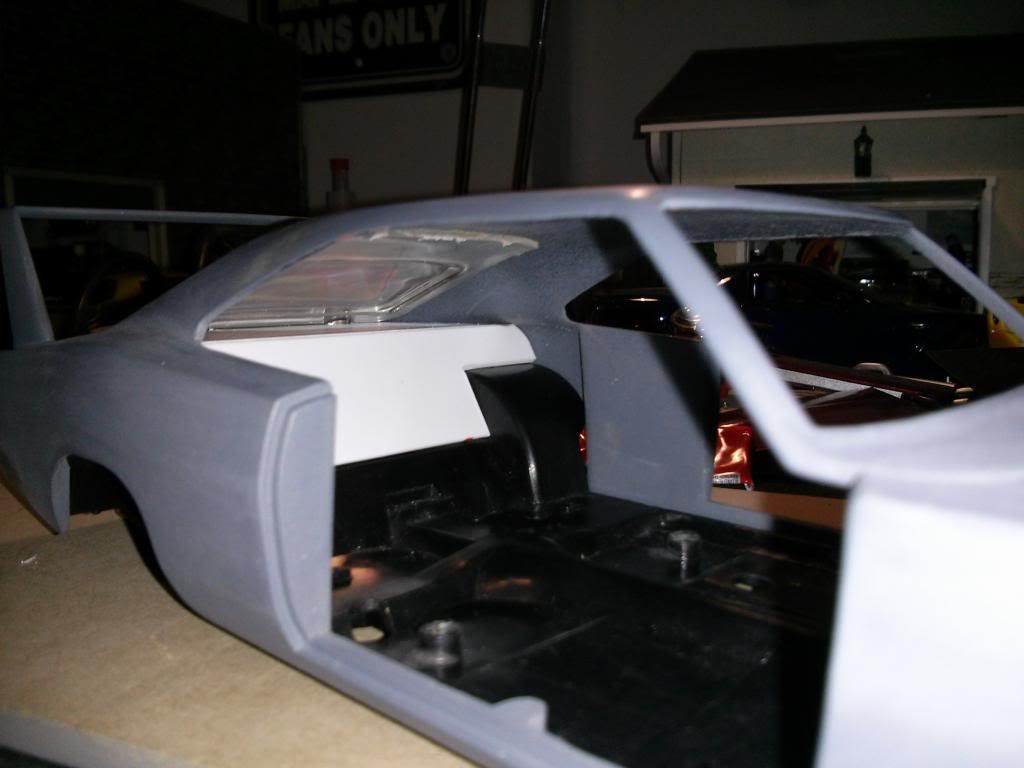
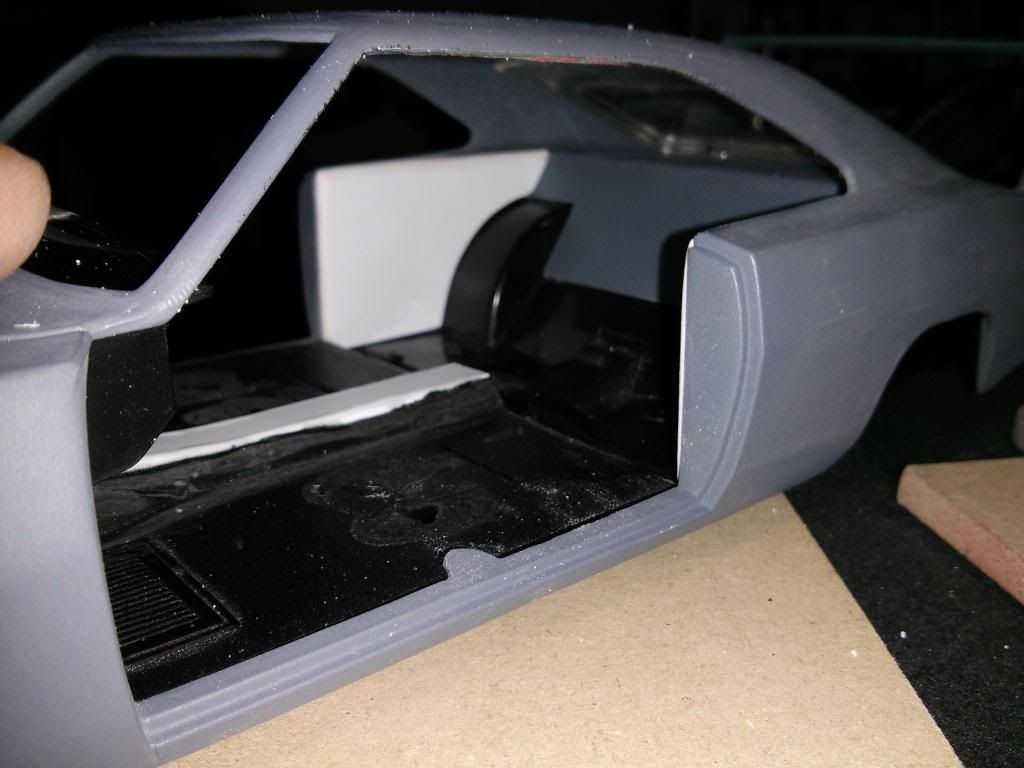
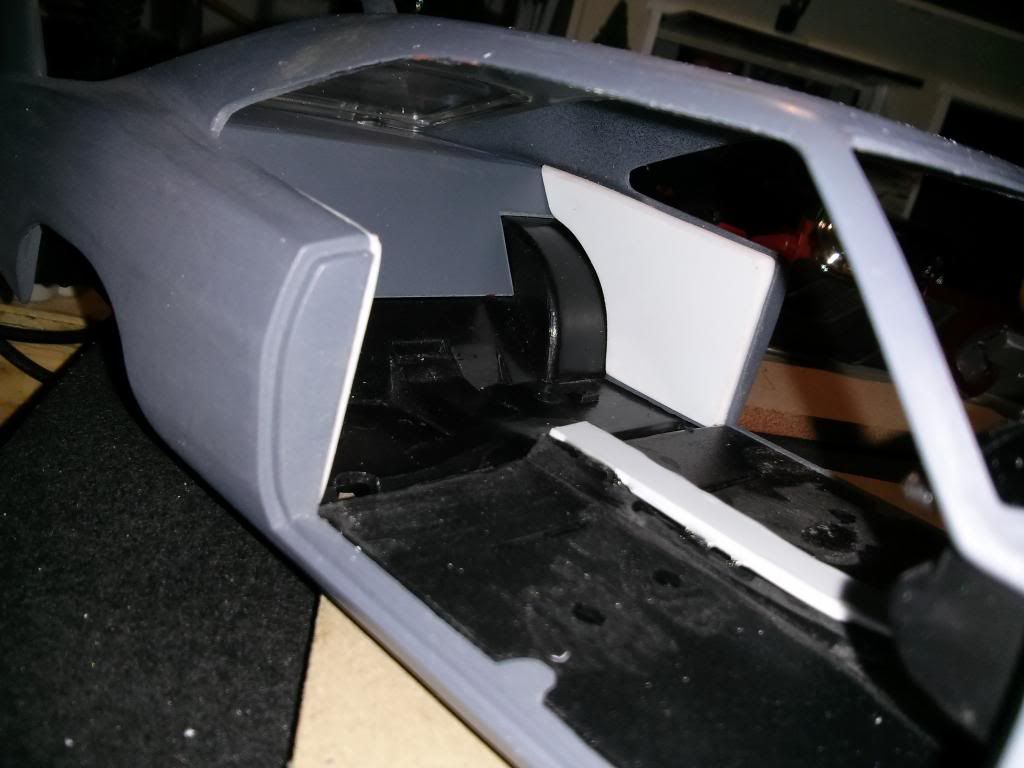
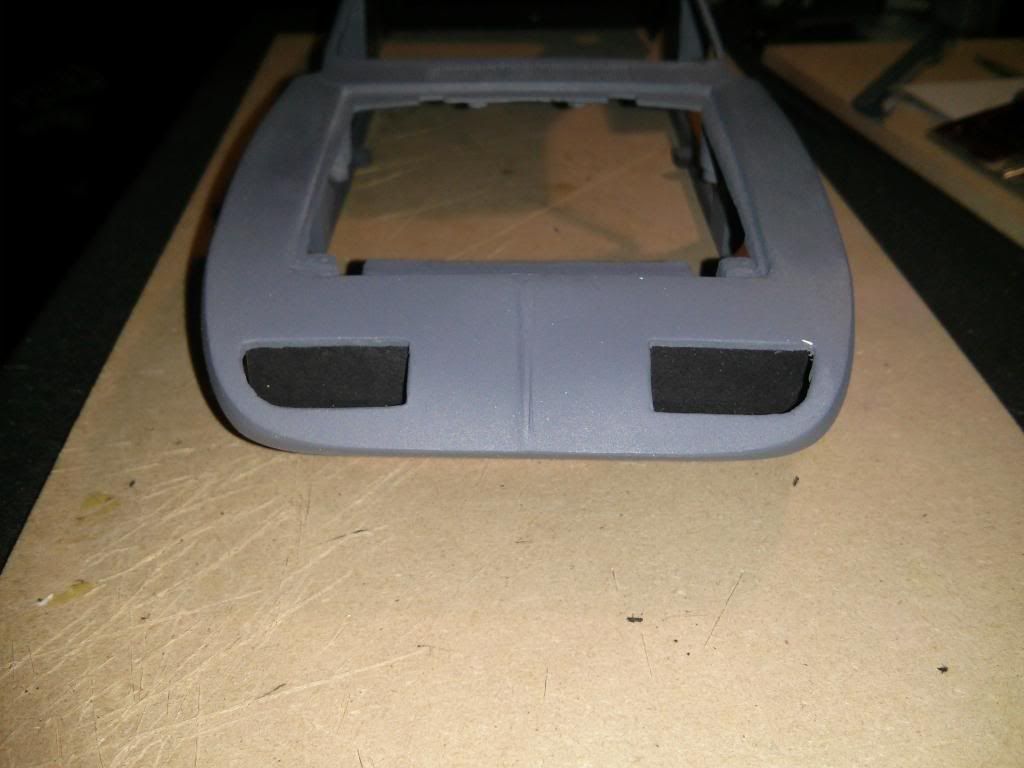
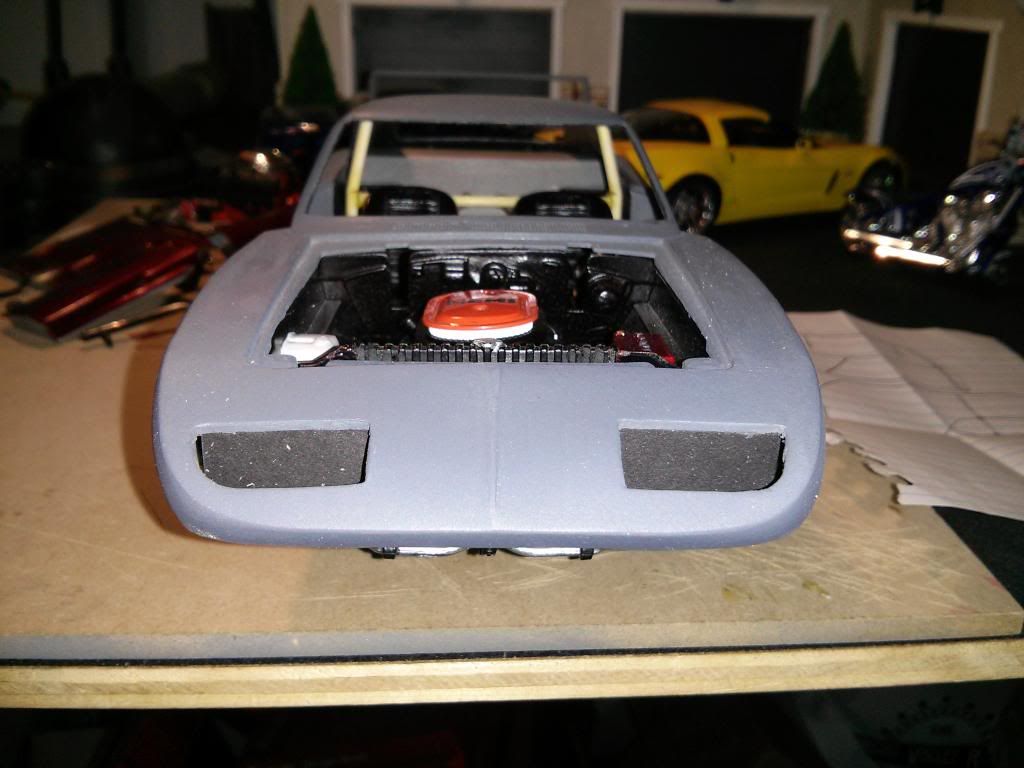
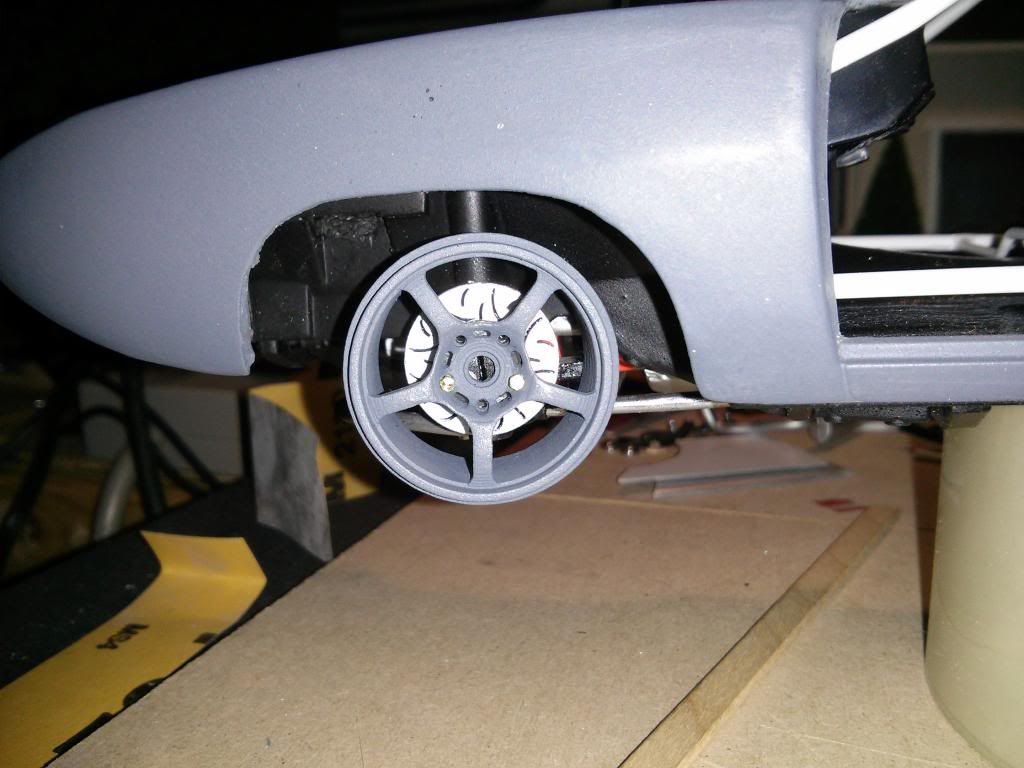
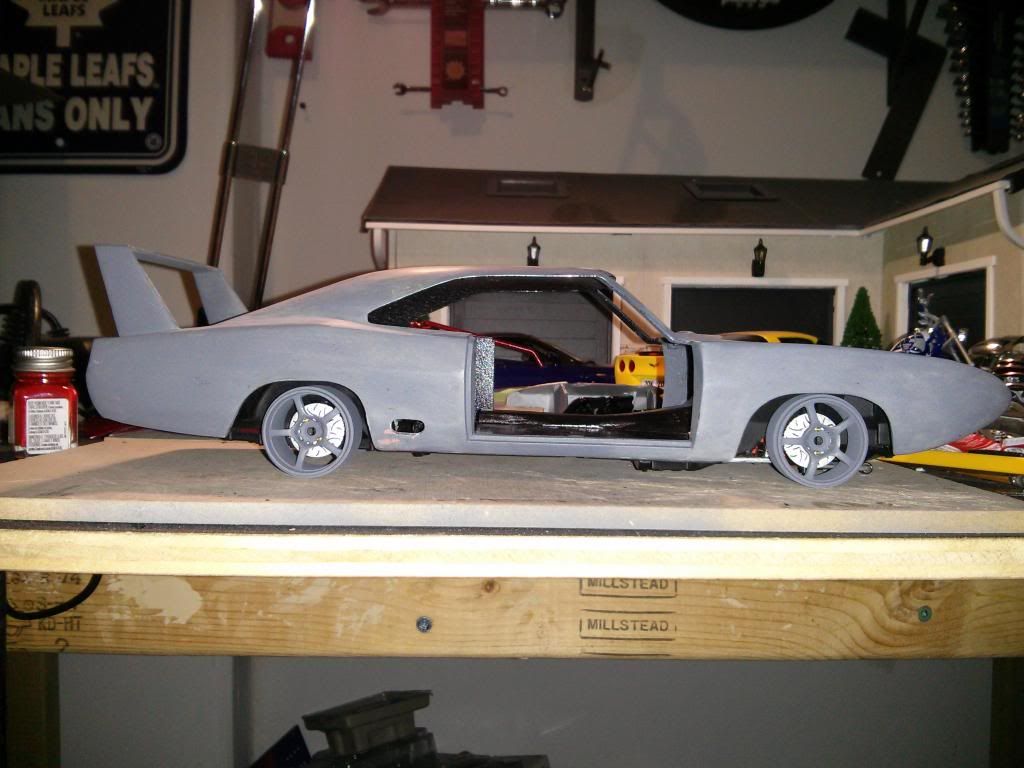
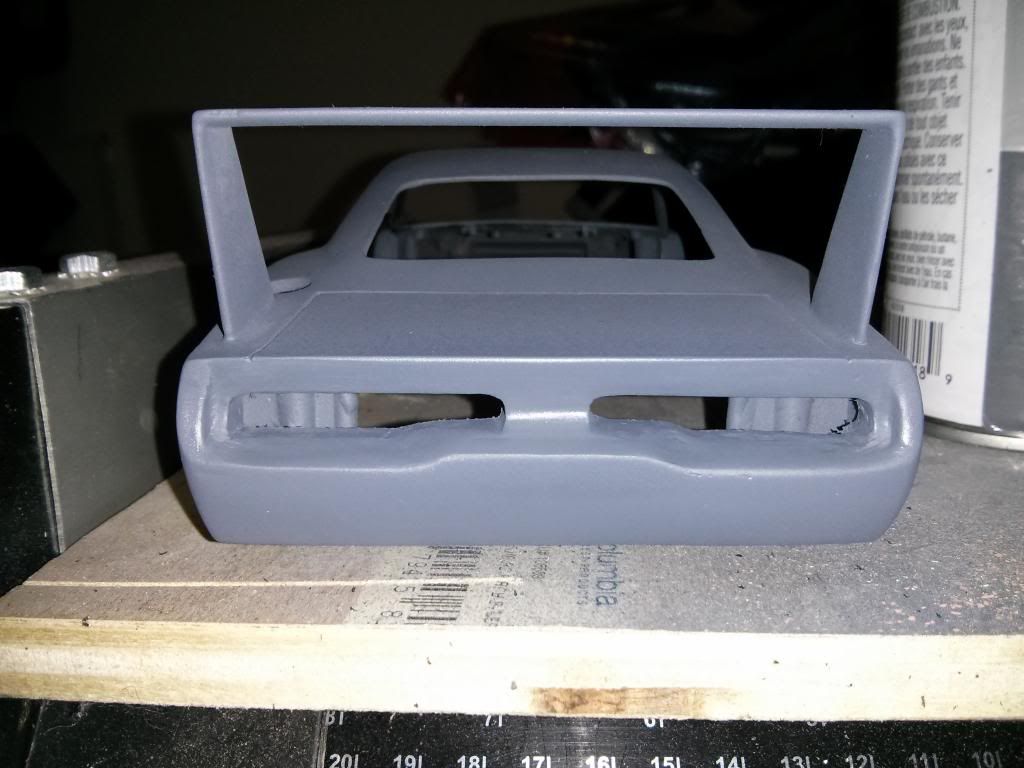
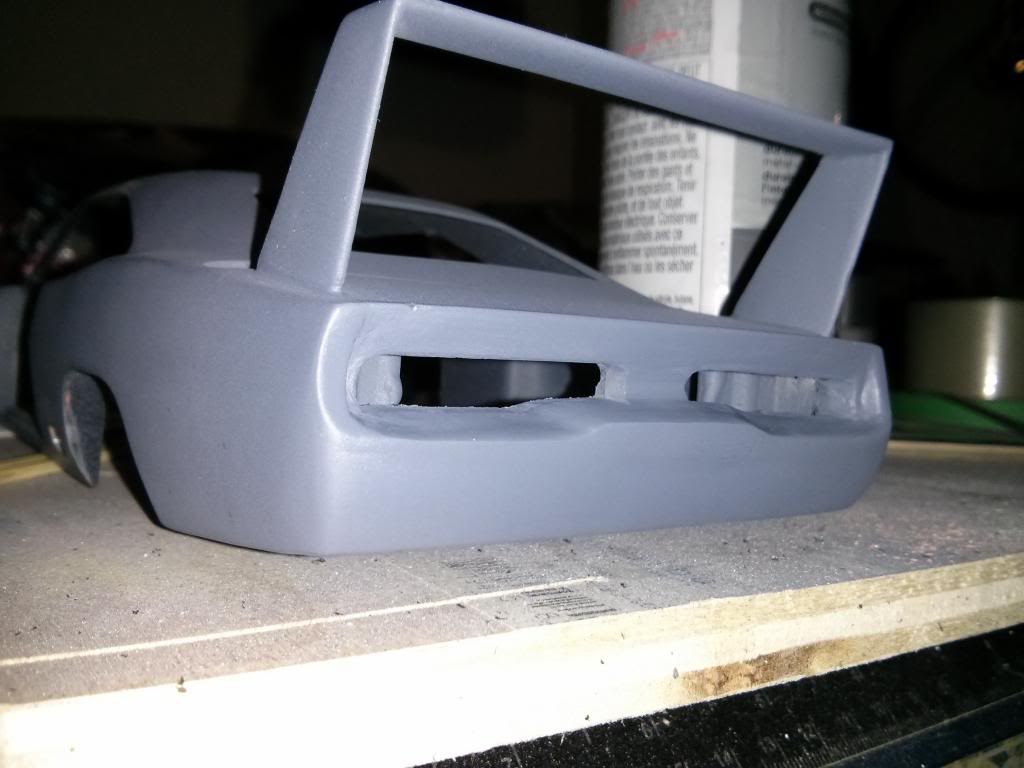
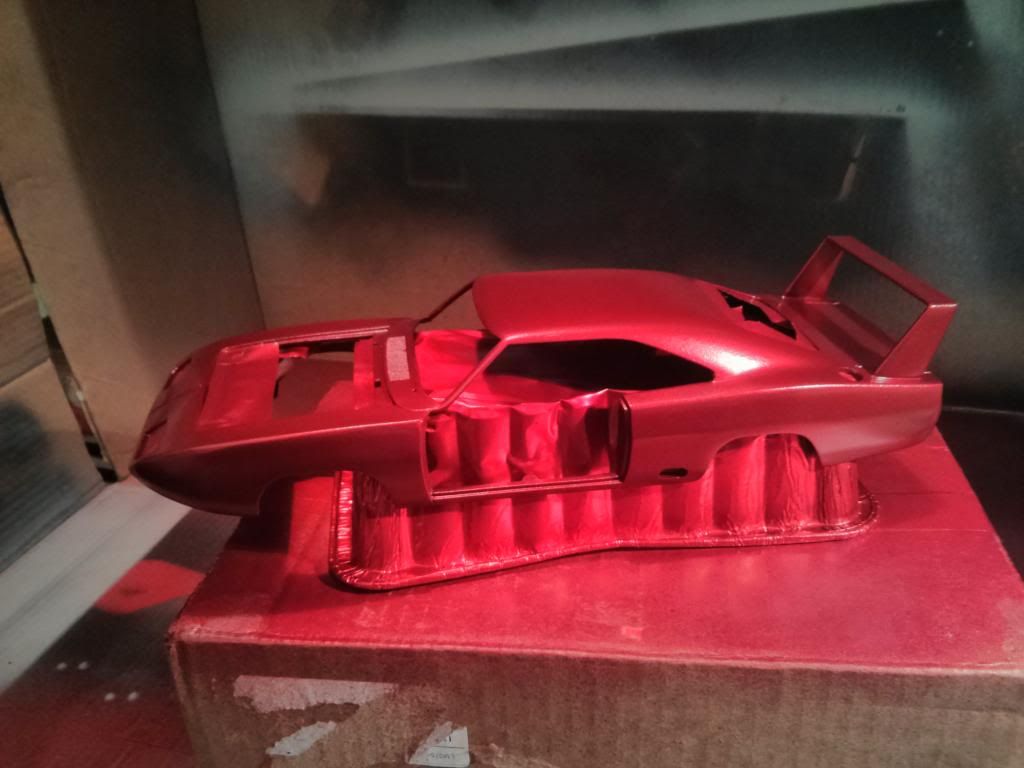
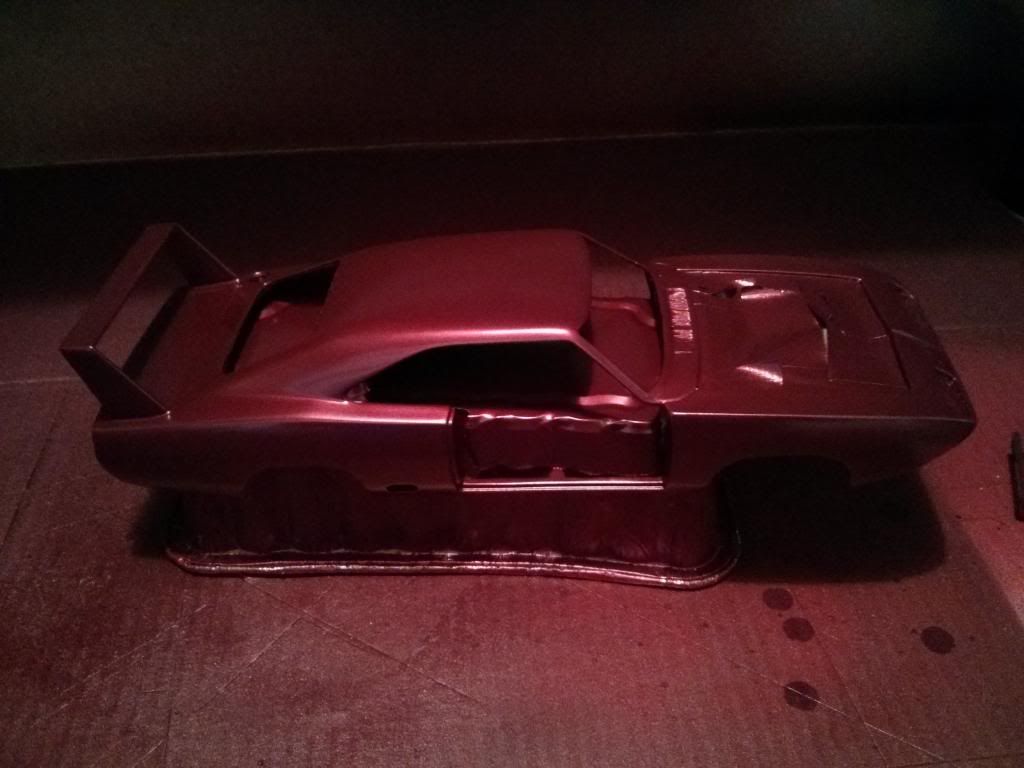
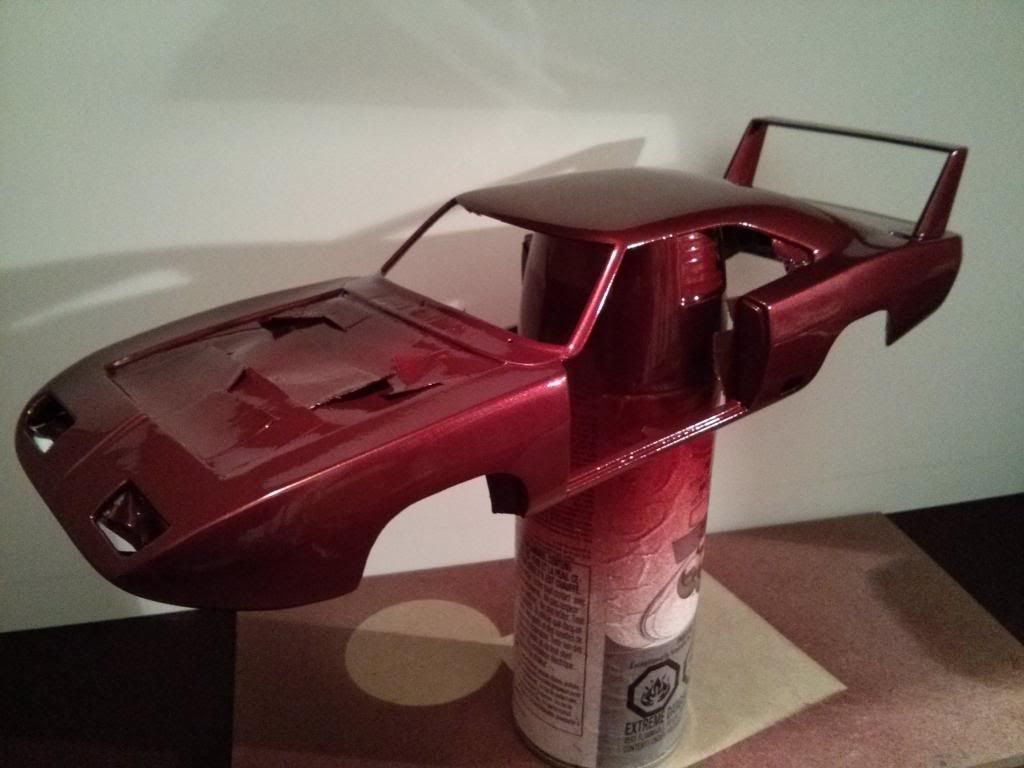
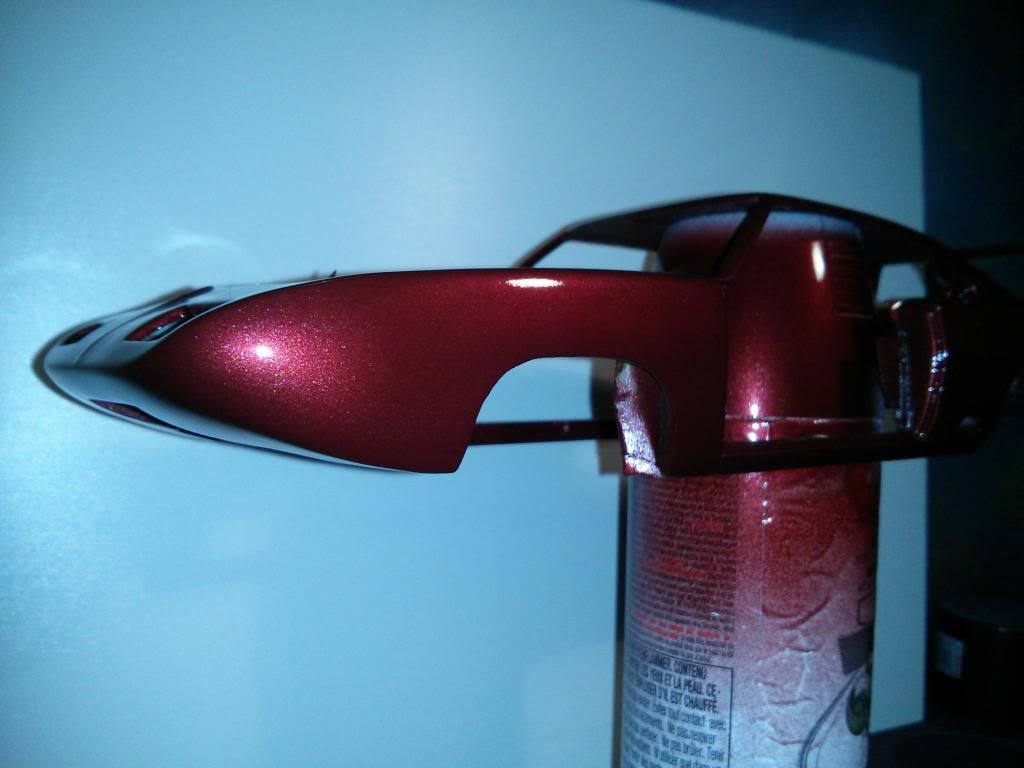
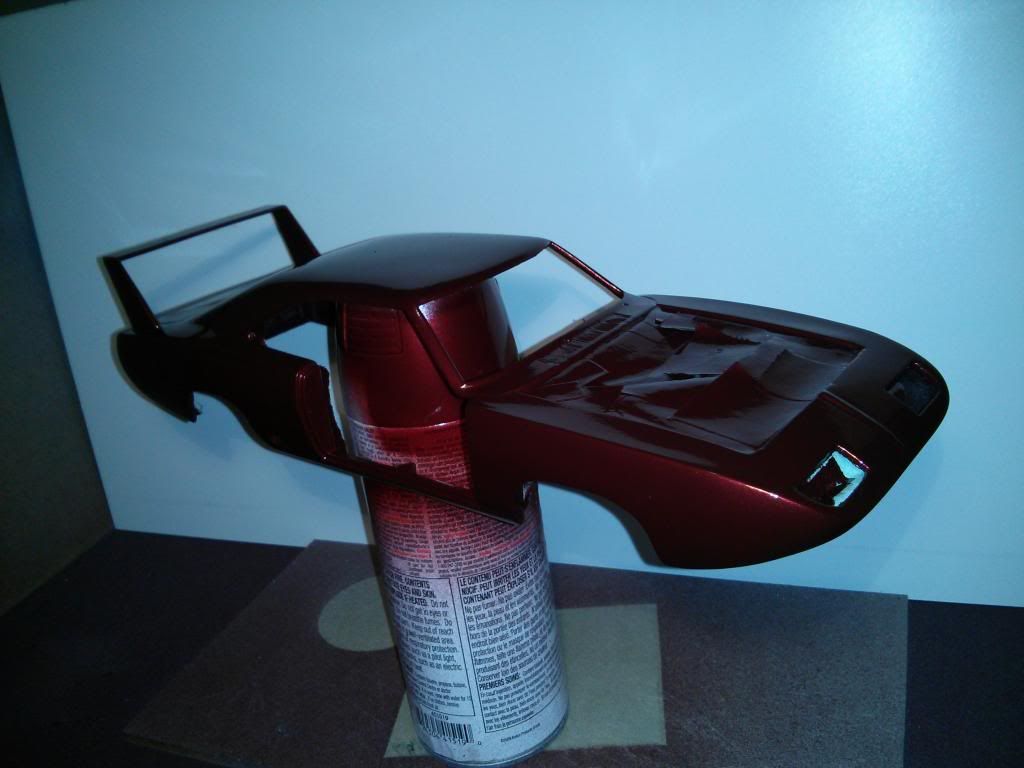
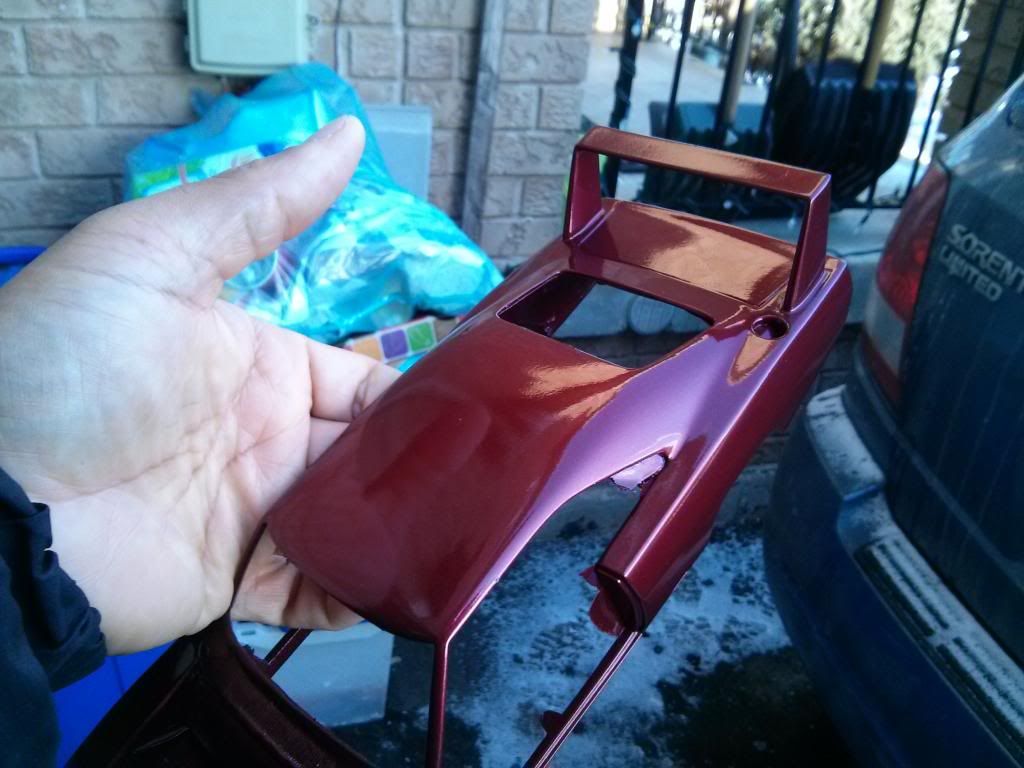
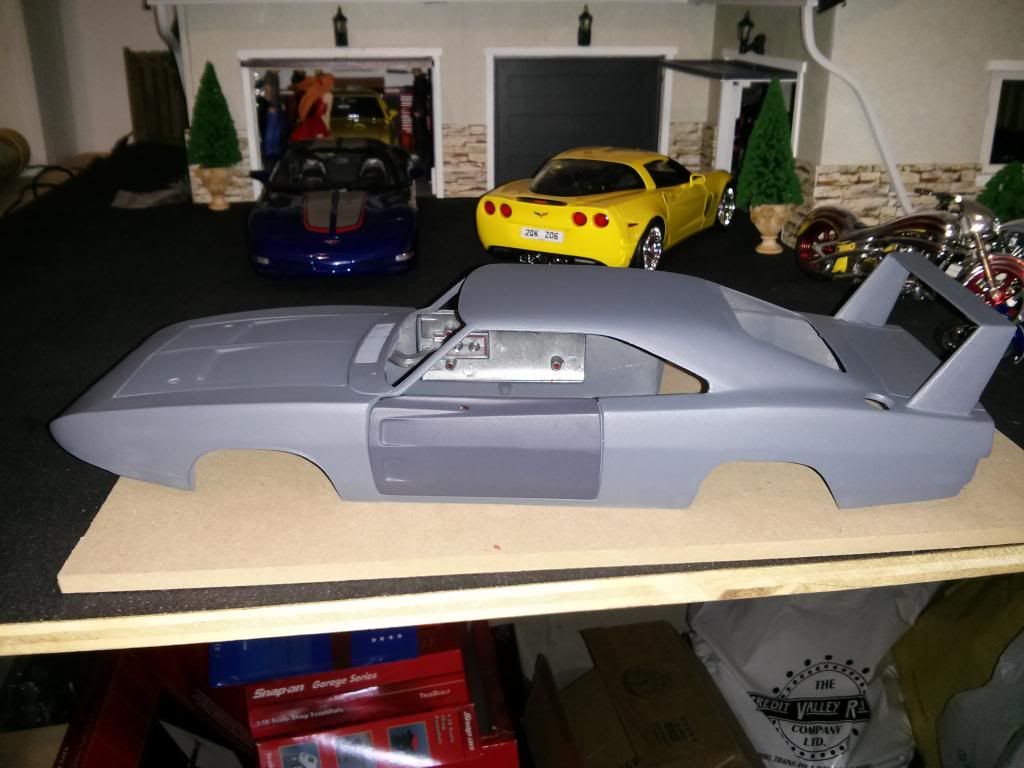
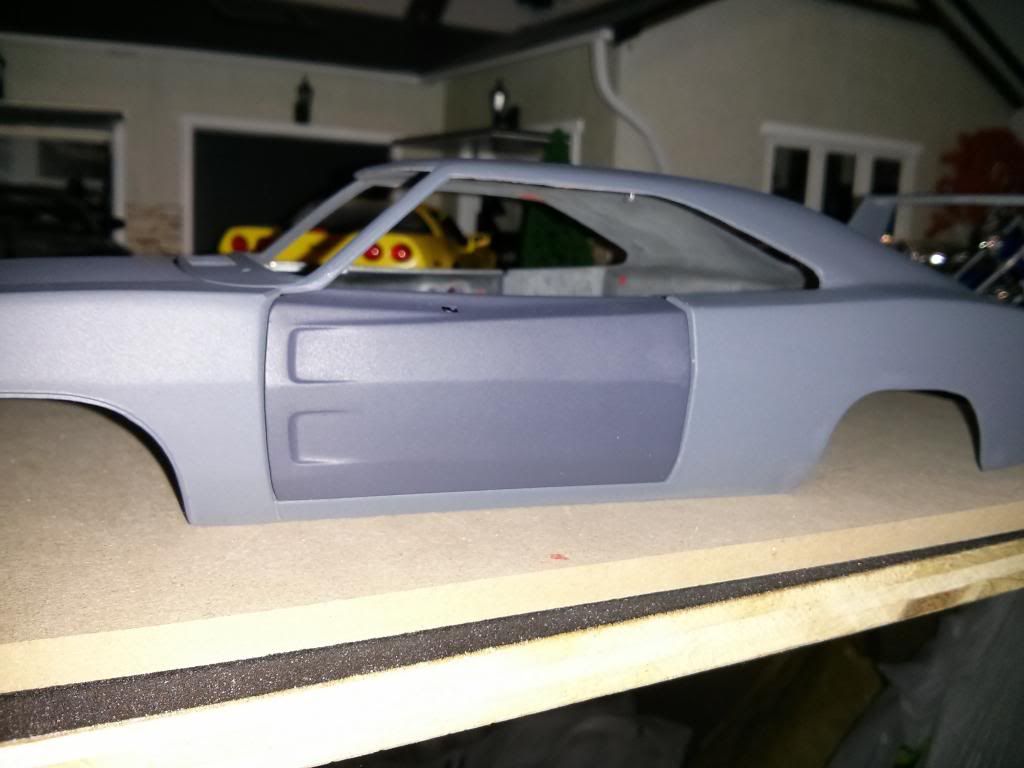
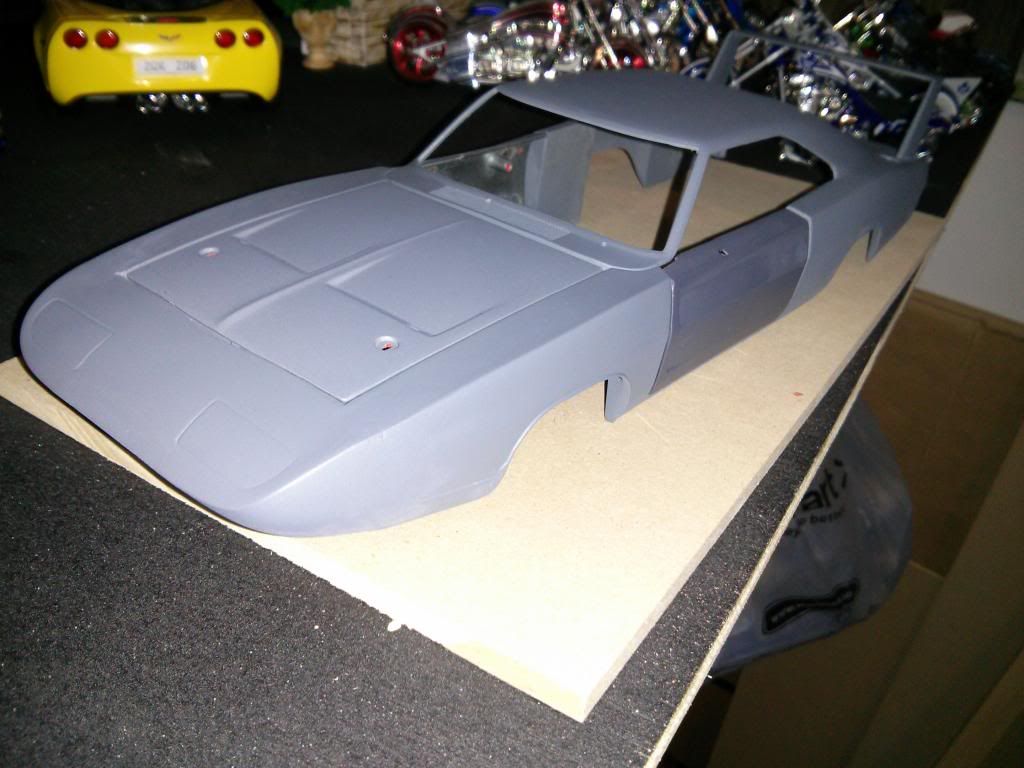
Laid down the first coat of primer to check around for areas in need of touch-ups. Looking good so far.
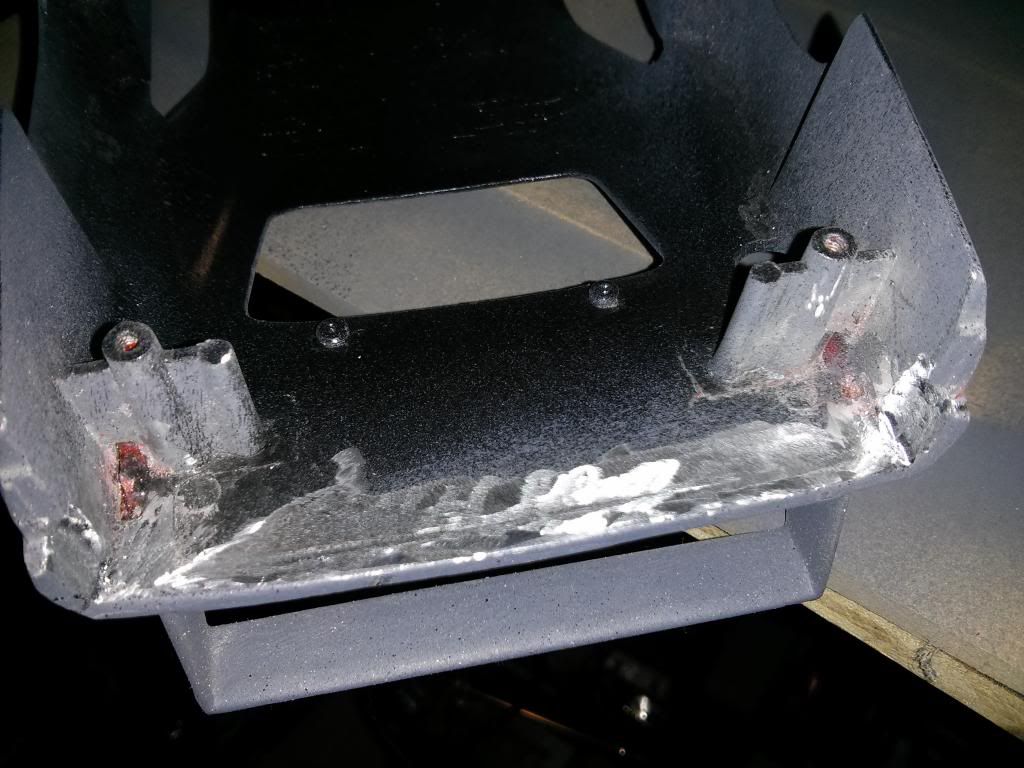
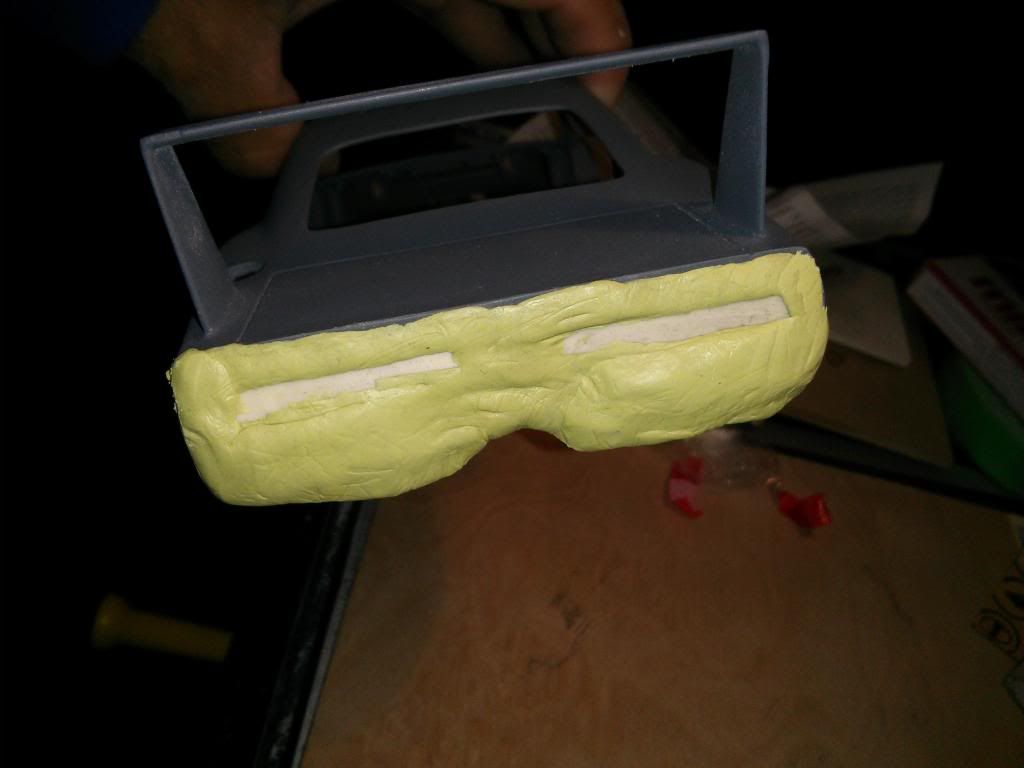
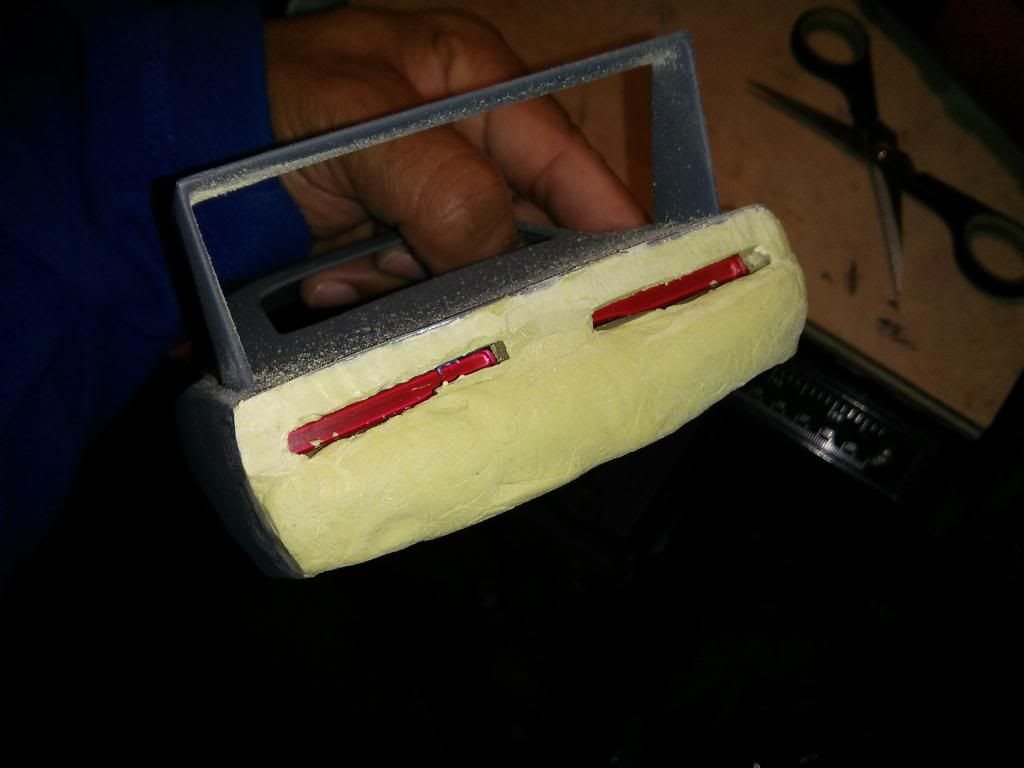
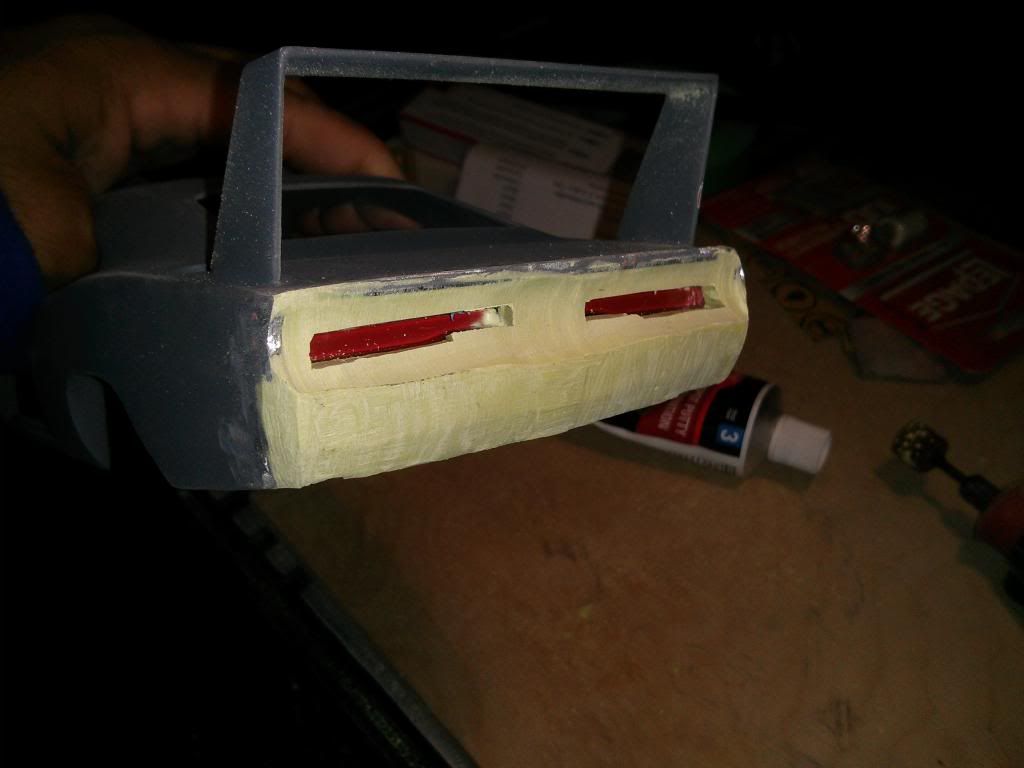
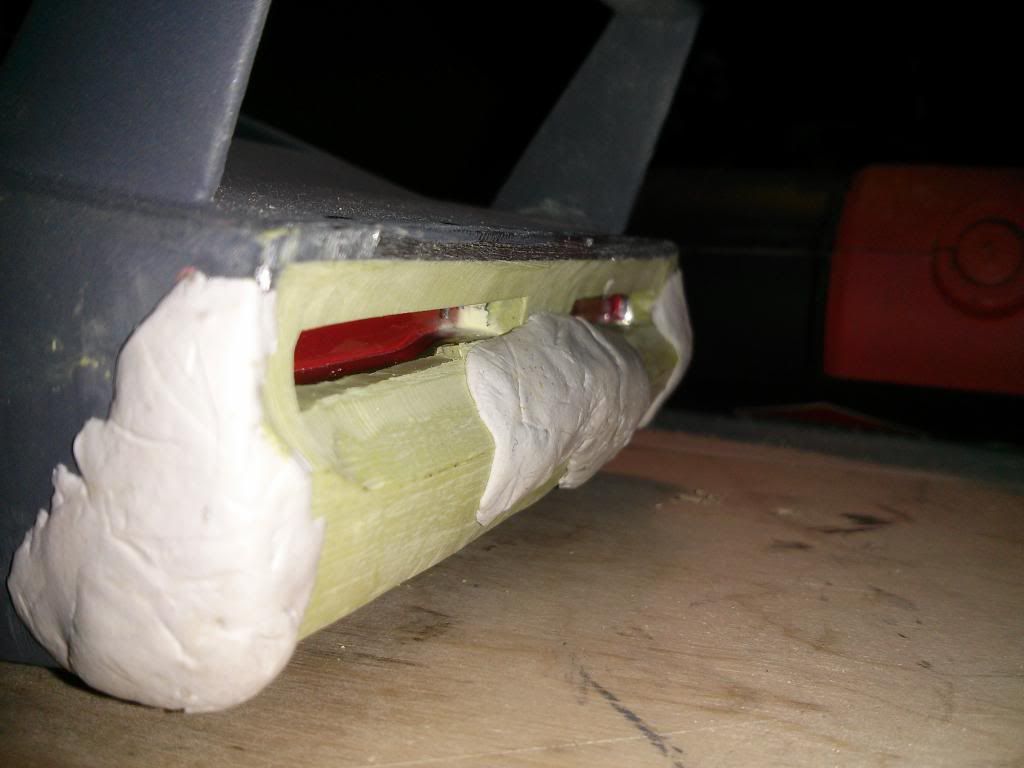
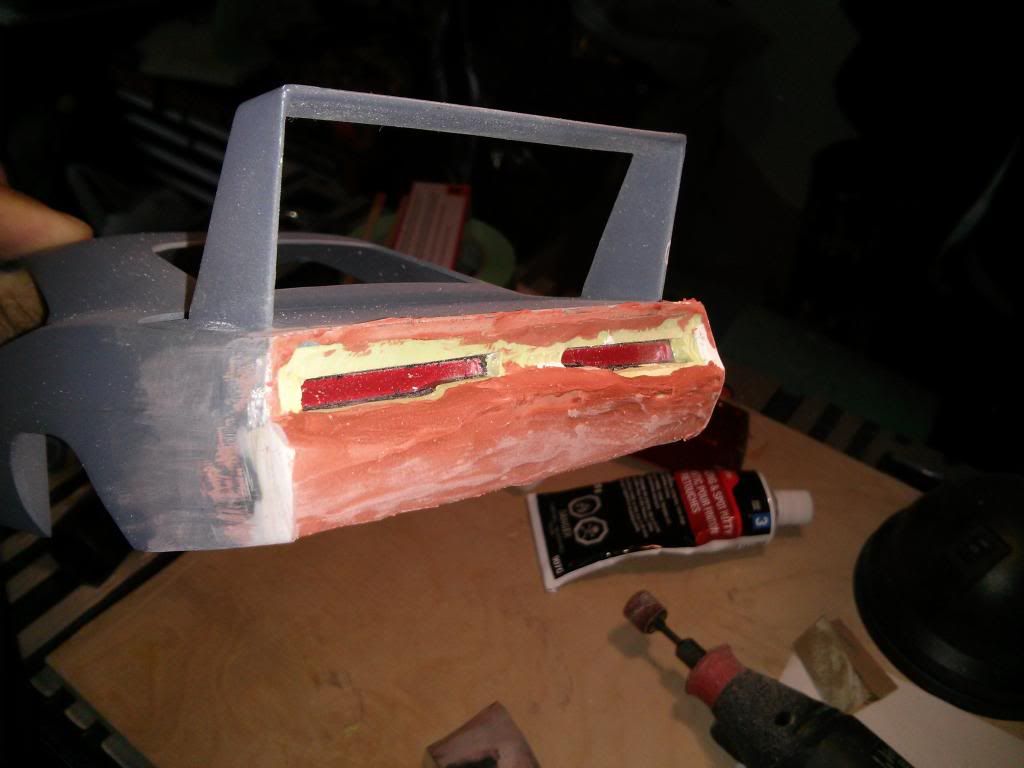
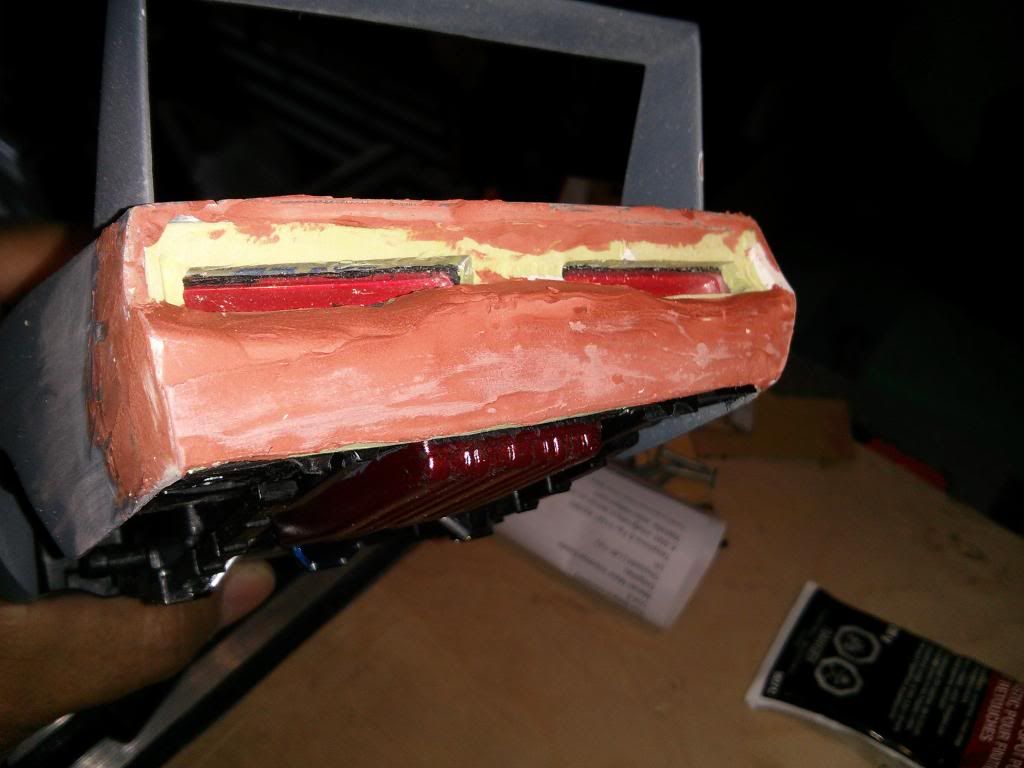
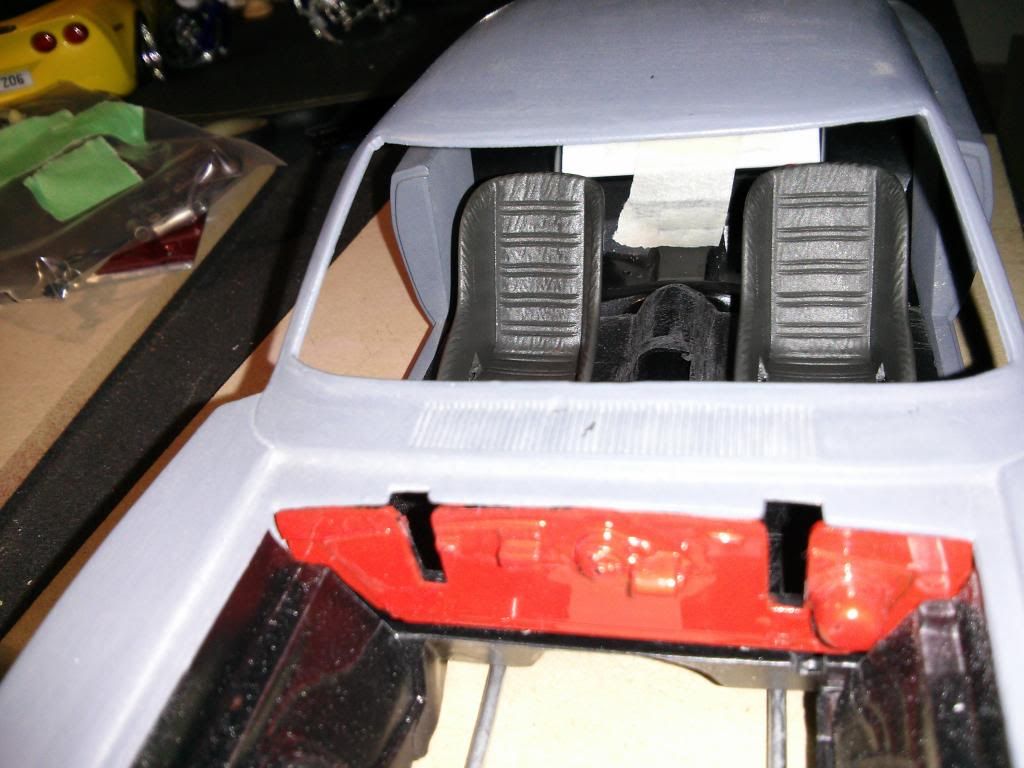
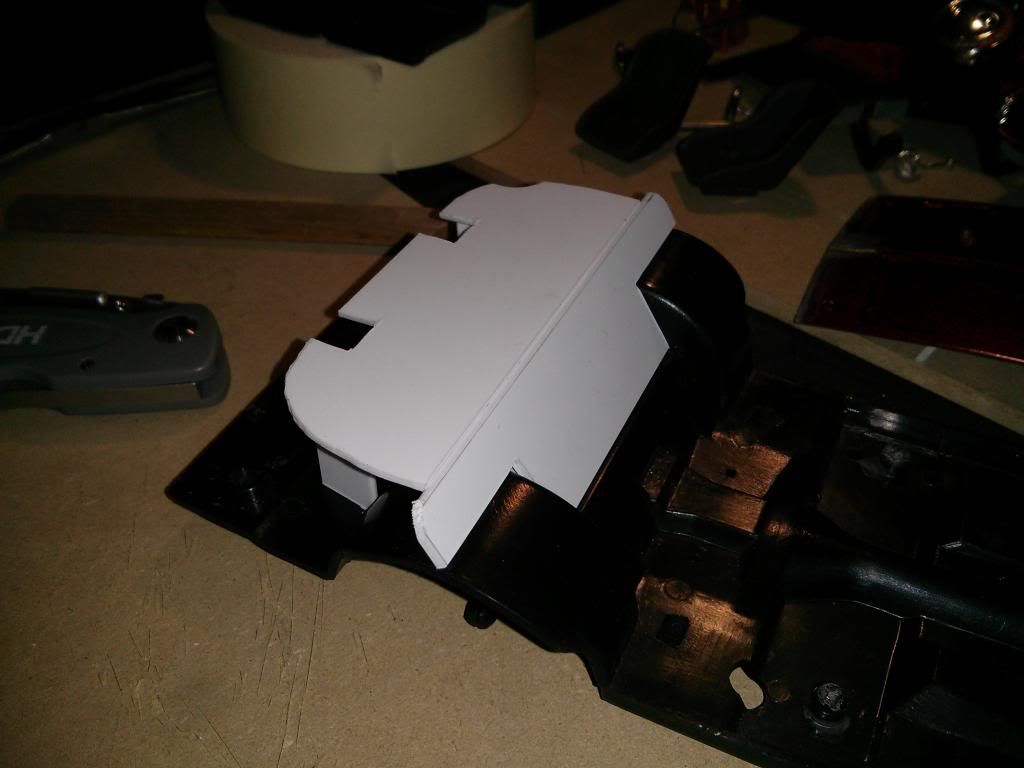
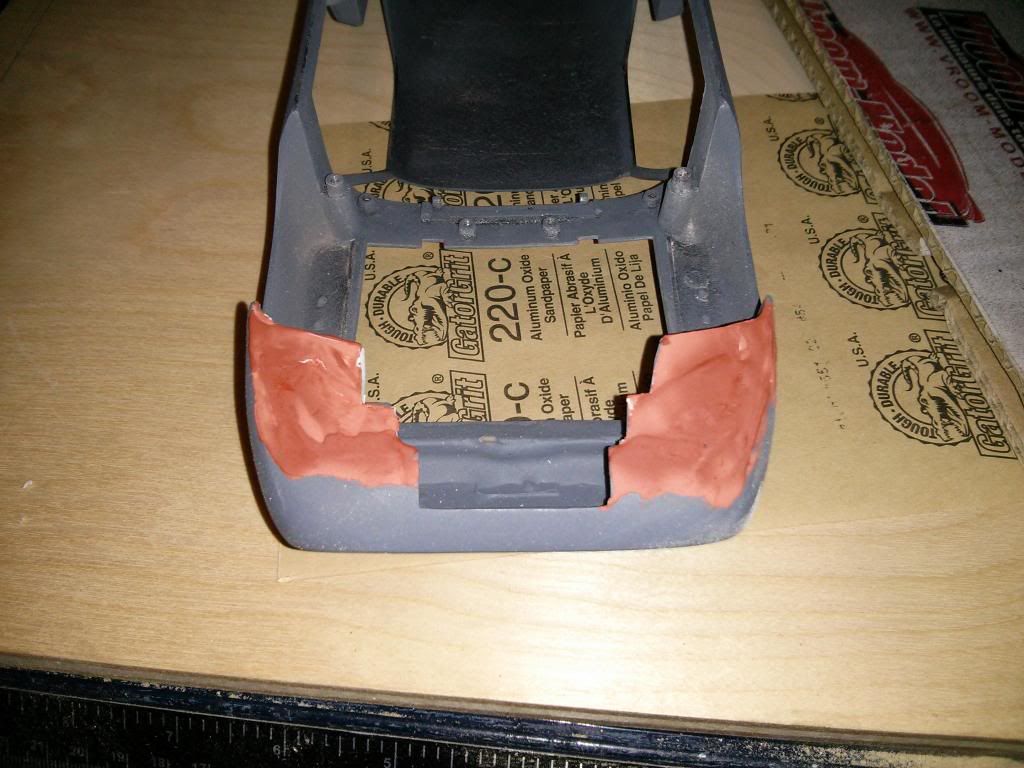
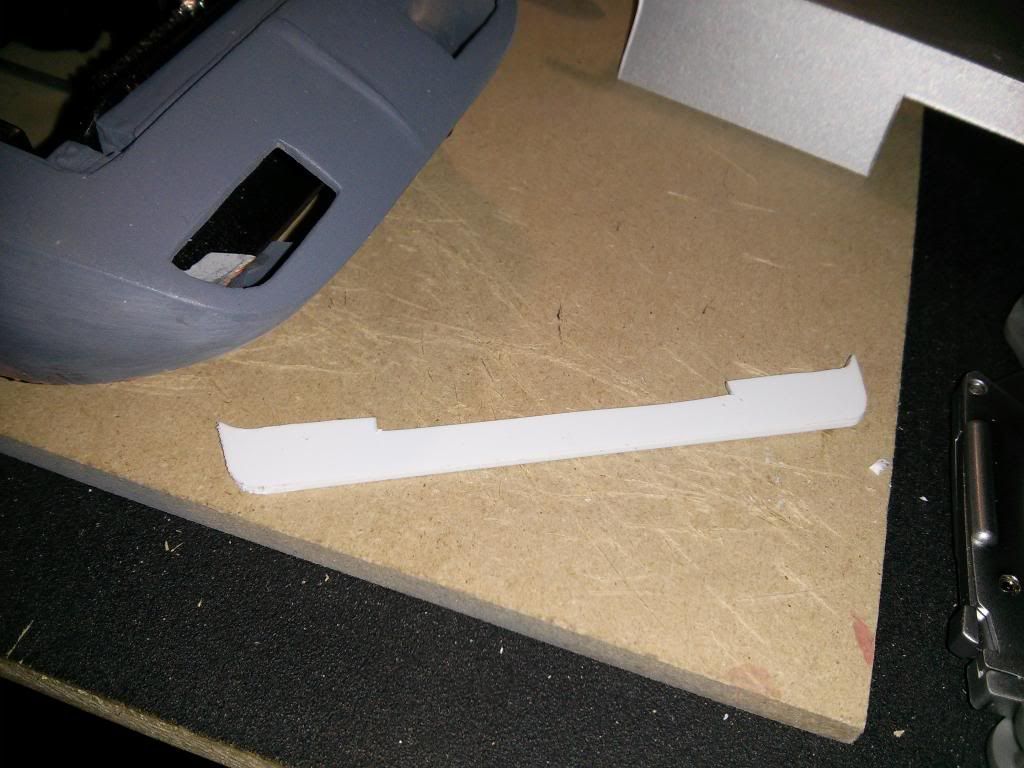
Now just waiting for some milliput to arrive to start on the rear bumper.