
yea, though the color is different from most of what is in my build collection, I think i want the car to have the iconic look of the 911R....so the side graphic and stripe are a must.Gavin wrote:On a 1:1, I do think no stripes would be cool...but on a 1:18 in a sea of other 911's, the stripes will really stand out (in a good way).
Update 9Sept2016 - 911R Custom Build-COMPLETED!
-
mazspd3jase
- .

- Posts: 337
- Joined: Tue Oct 14, 2014 1:54 am
- Location: Houston, Texas
Re: 991 - 911r Custom Build
-
mazspd3jase
- .
- Posts: 337
- Joined: Tue Oct 14, 2014 1:54 am
- Location: Houston, Texas
Re: Update 30Aug2016 - 911R Custom Build
911R Update
Here are some update shots of my 911R build. I finally received my laser decal paper and man am I glad that I made the switch from printing decals on an inkjet printer to doing them on a laser printer. The whole extra steps of having to put a clear coat over the printed decal can be skipped! To boot, the new paper I got (bought clear backing and white backing variations) was a great deal on Amazon (10 sheets @$8.99-my local hobby store charges that price for 3 sheets). At any rate, the decal material is nice and thin but unlike other types I have bought before, it is actually extremely durable and seems to resist tearing better. Anyhow, enjoy the pics!
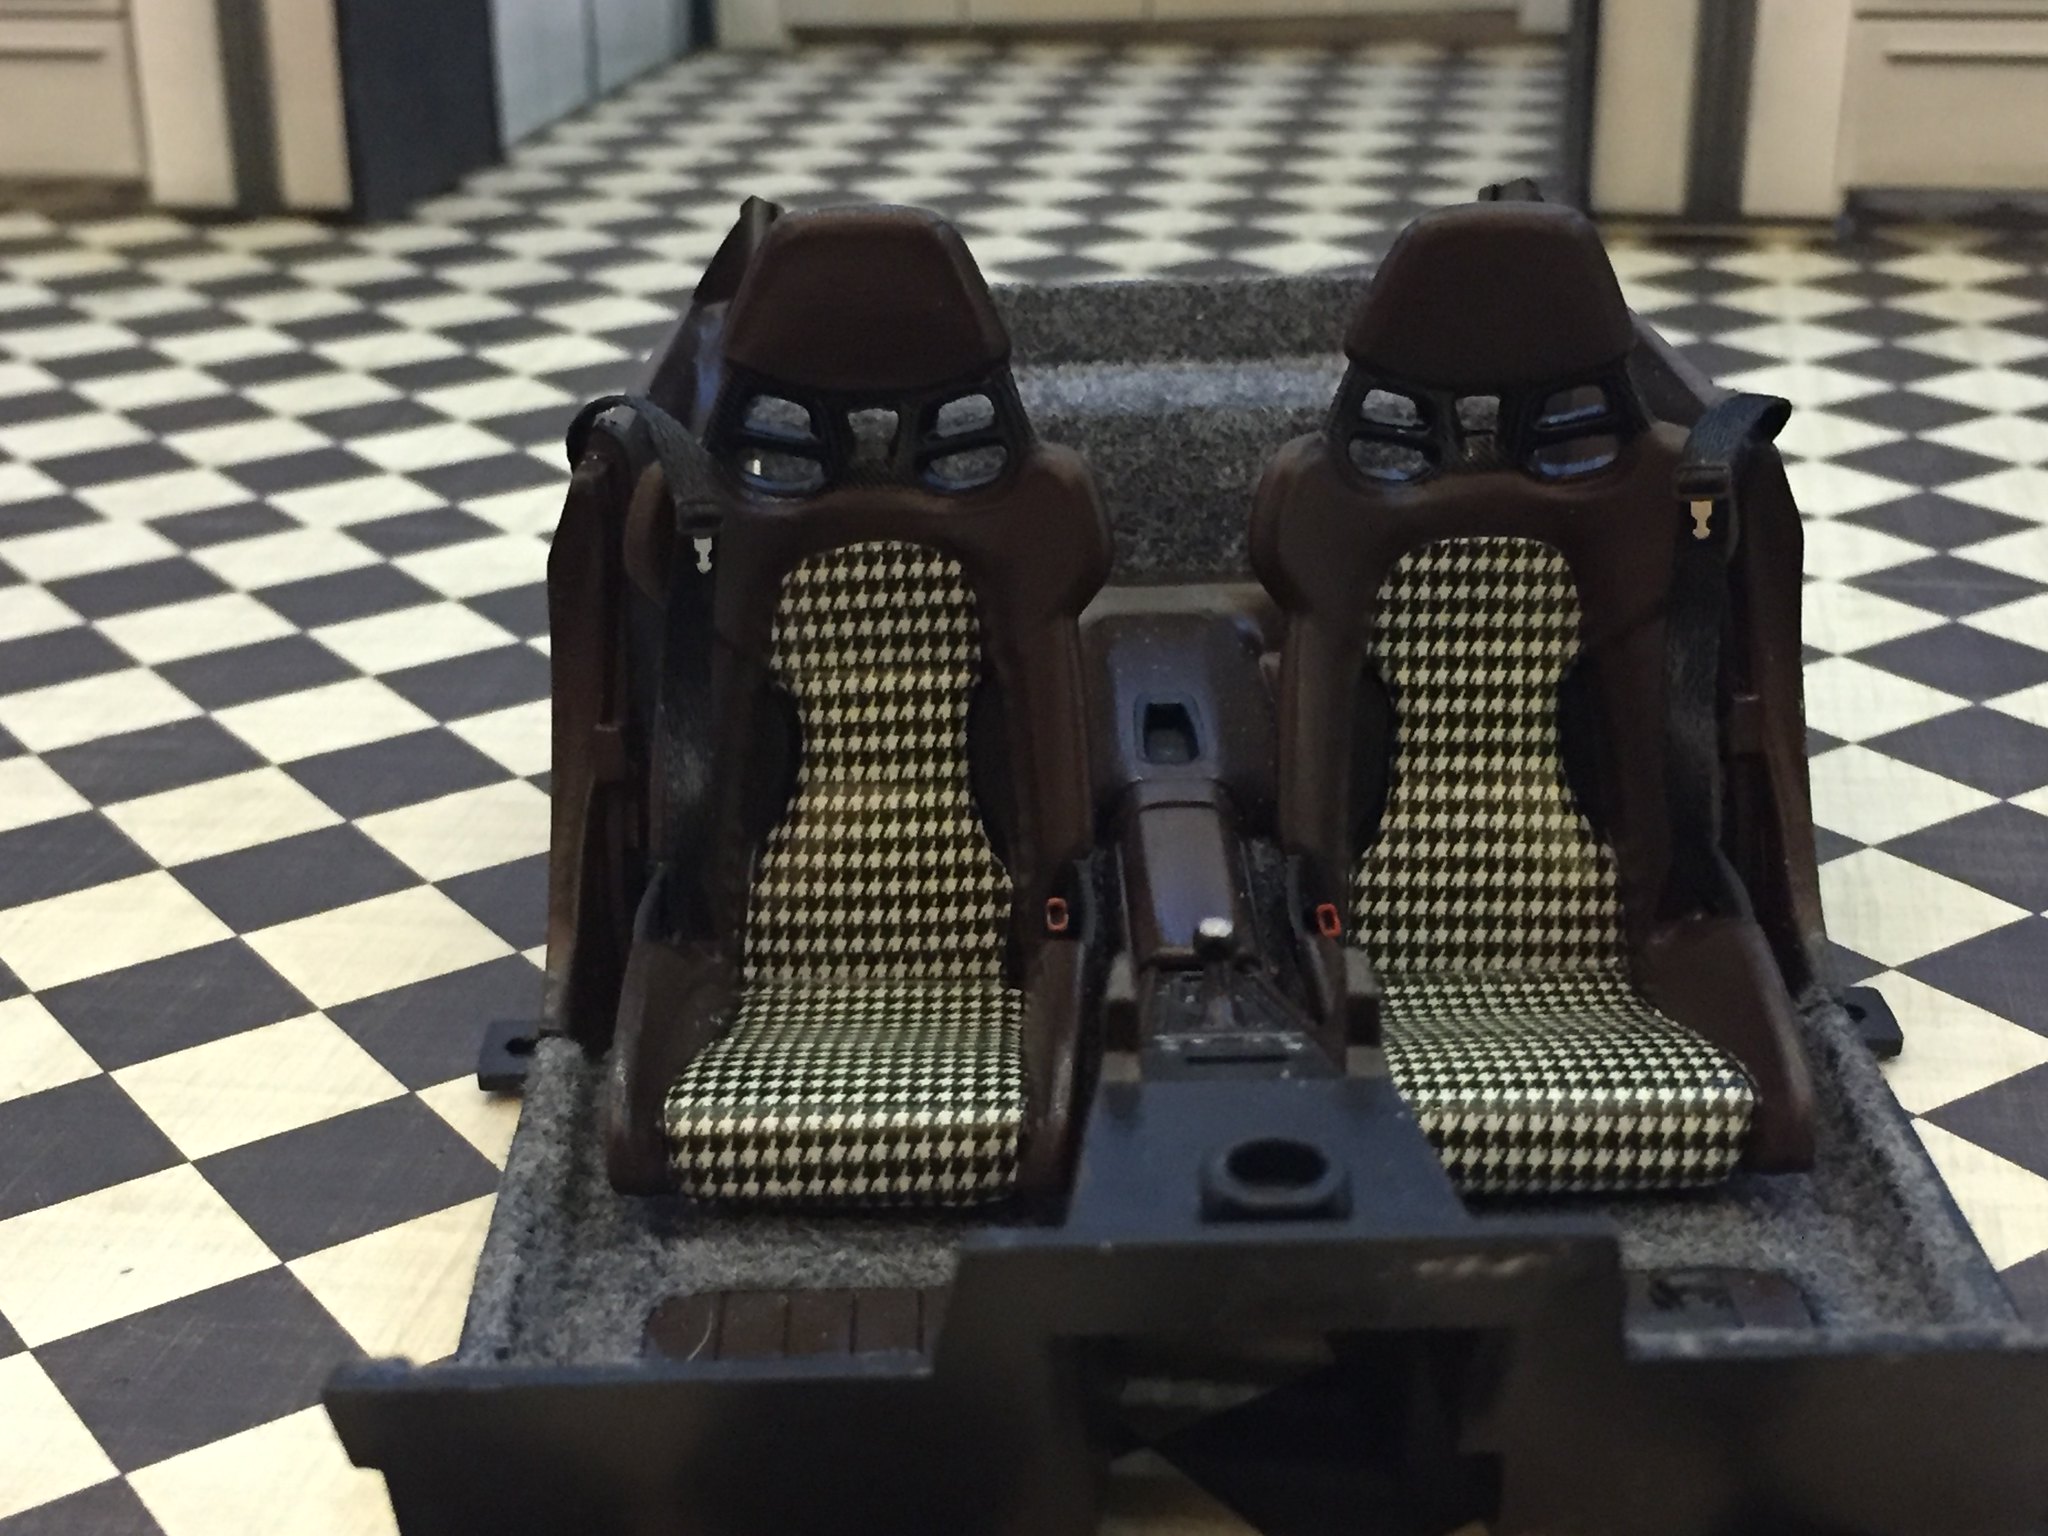
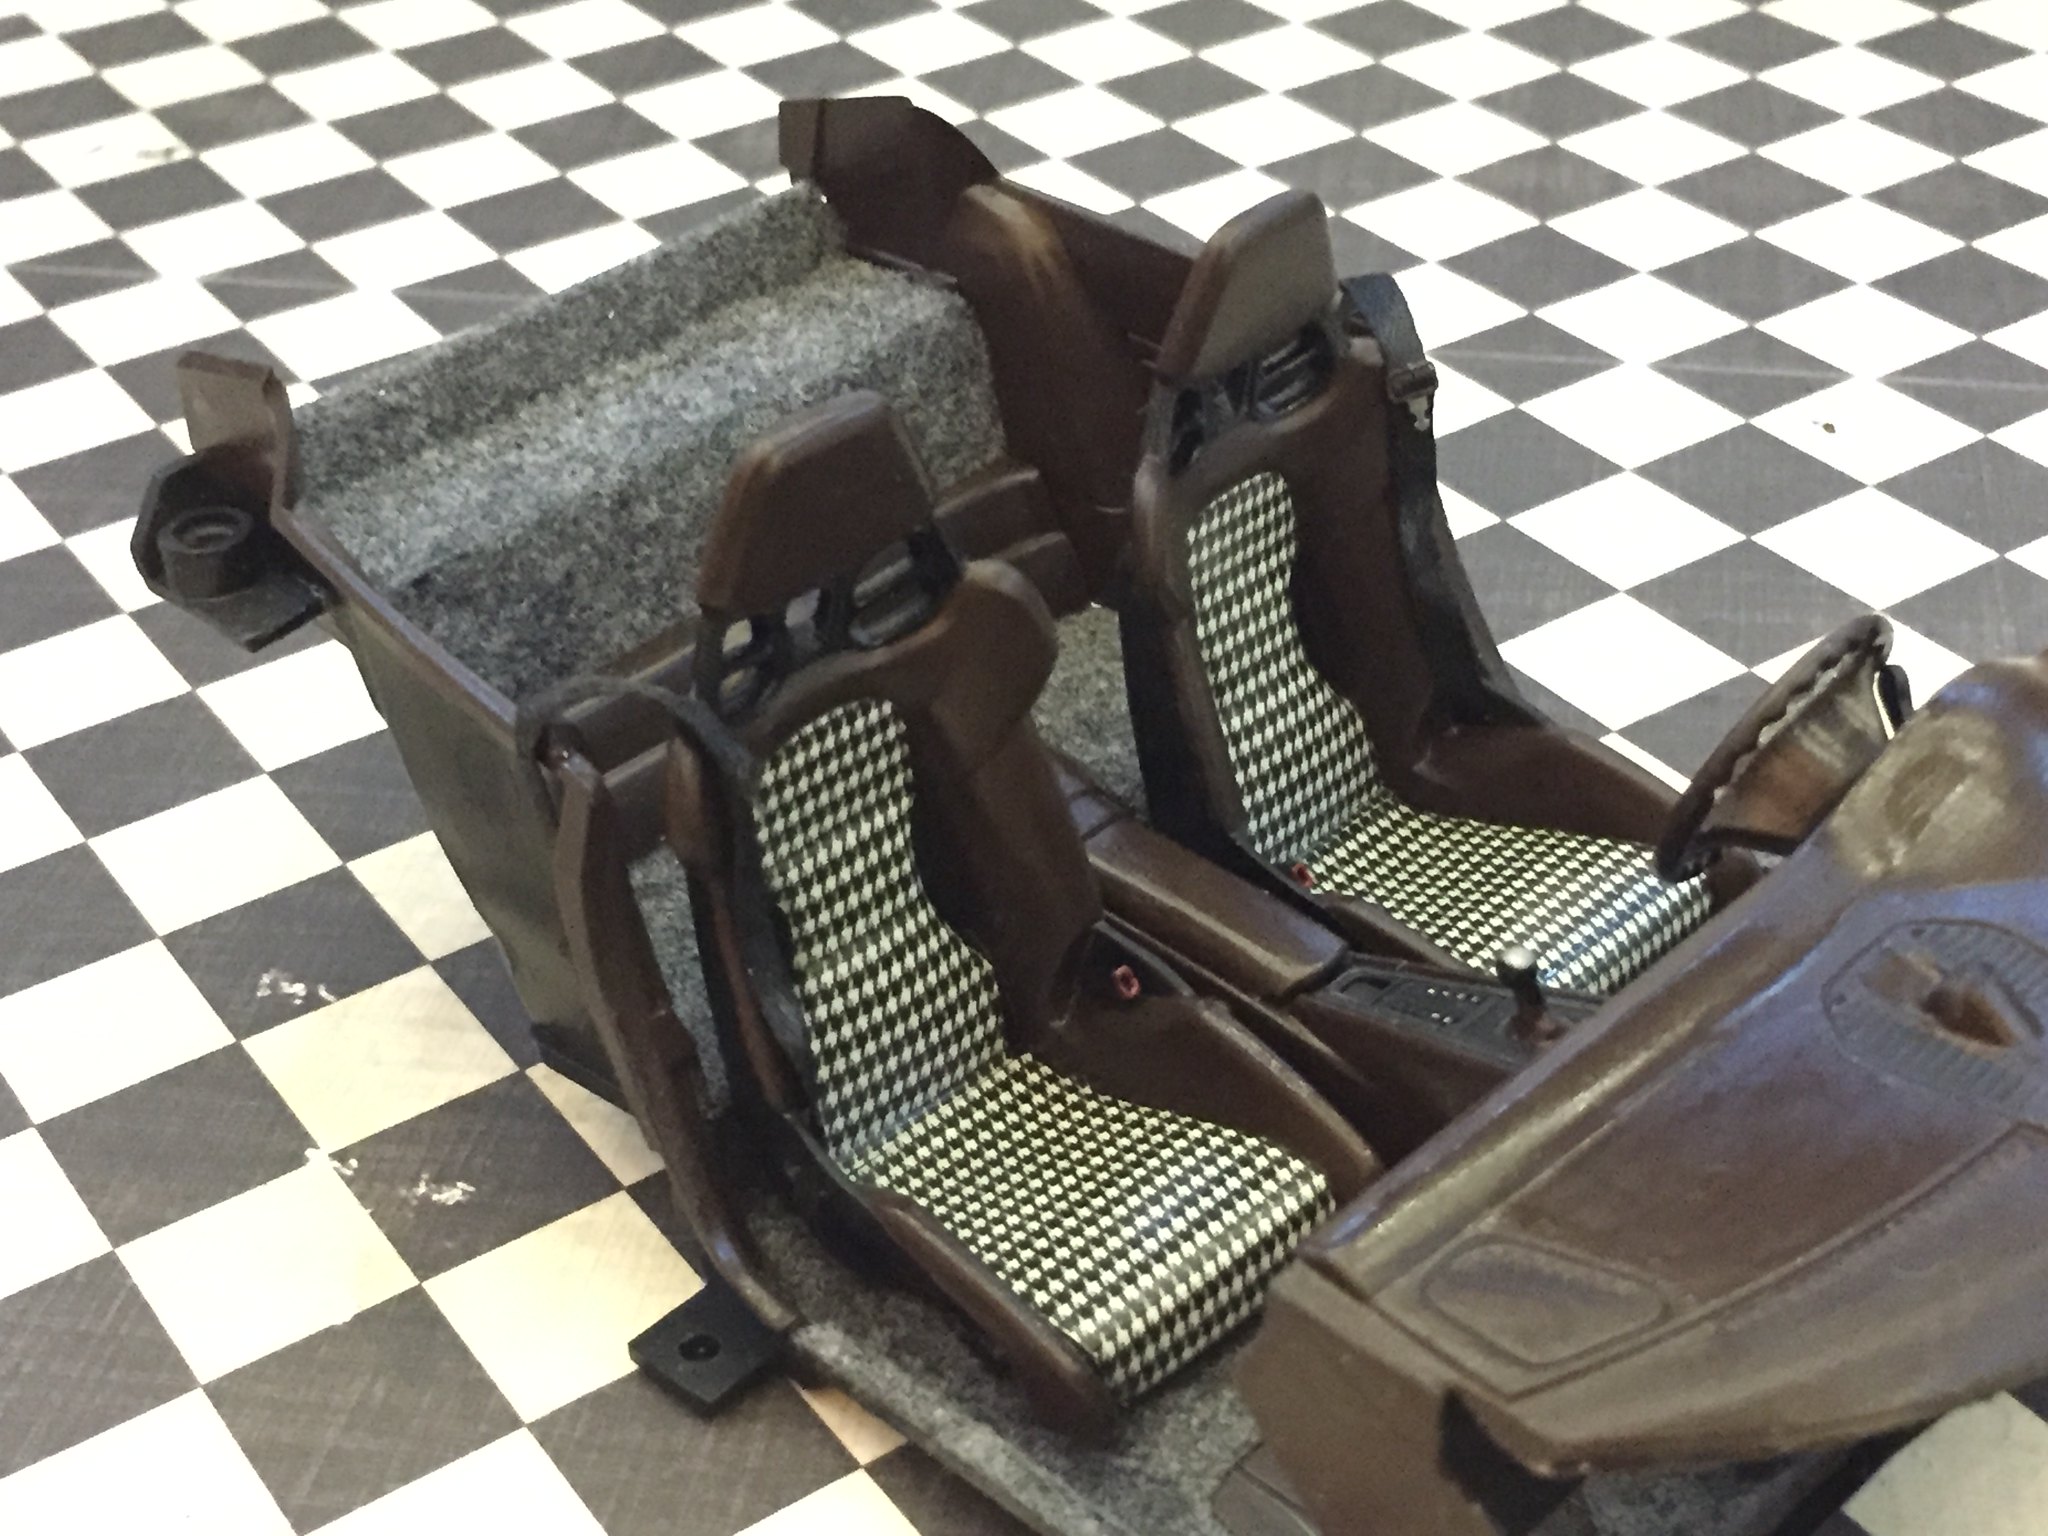
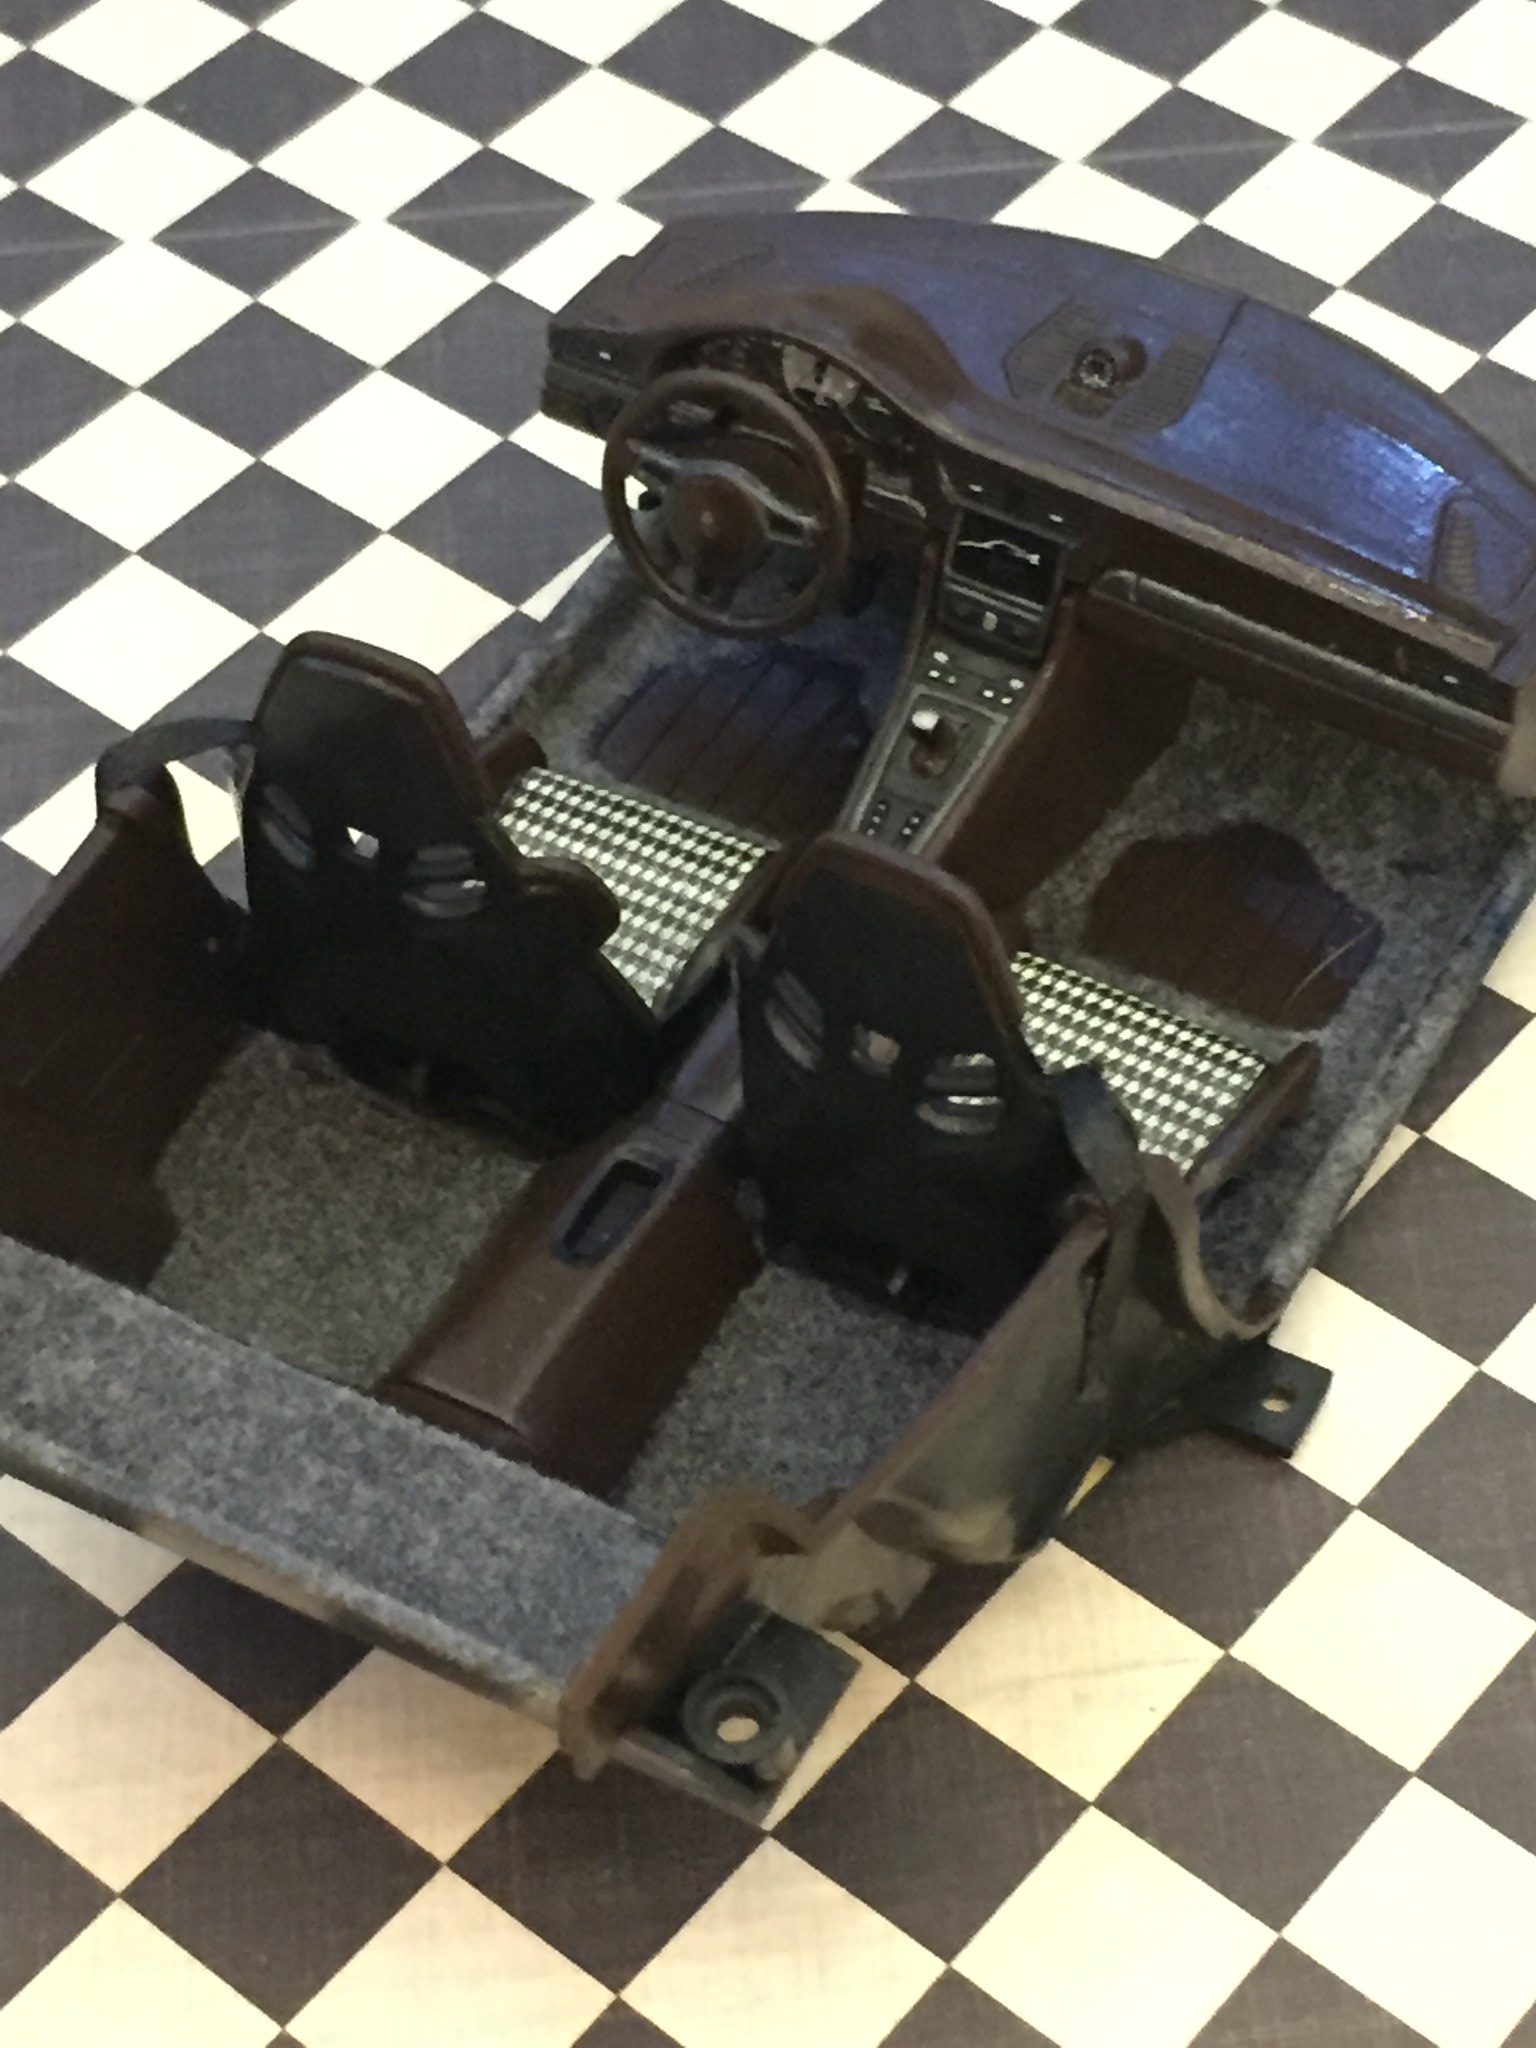
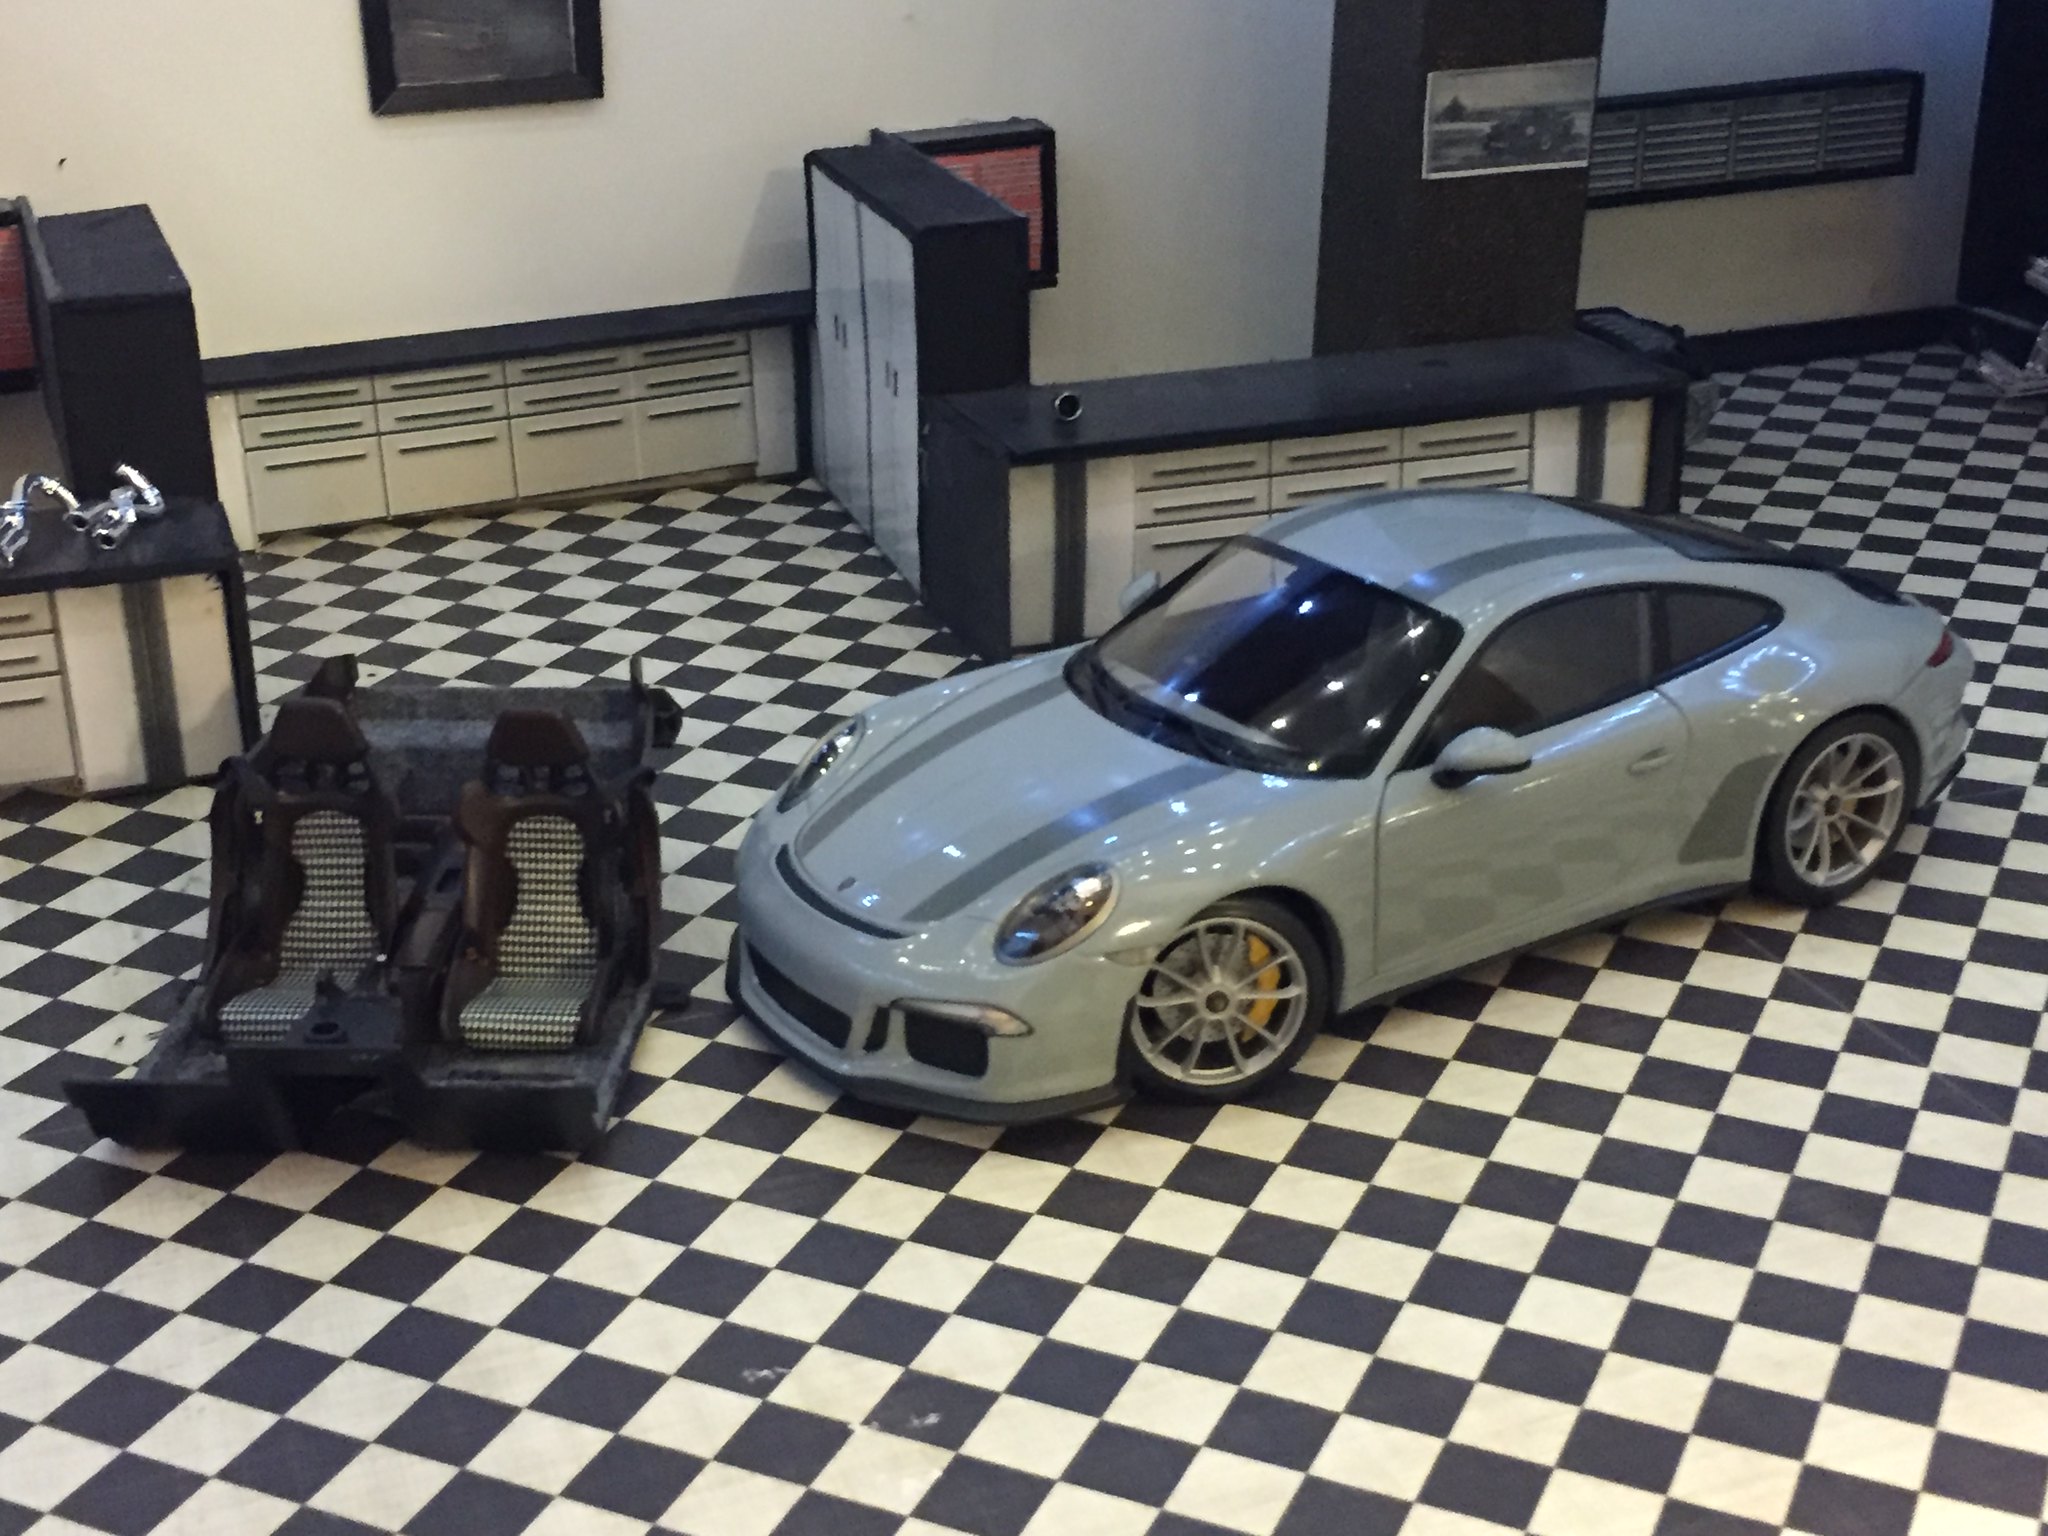
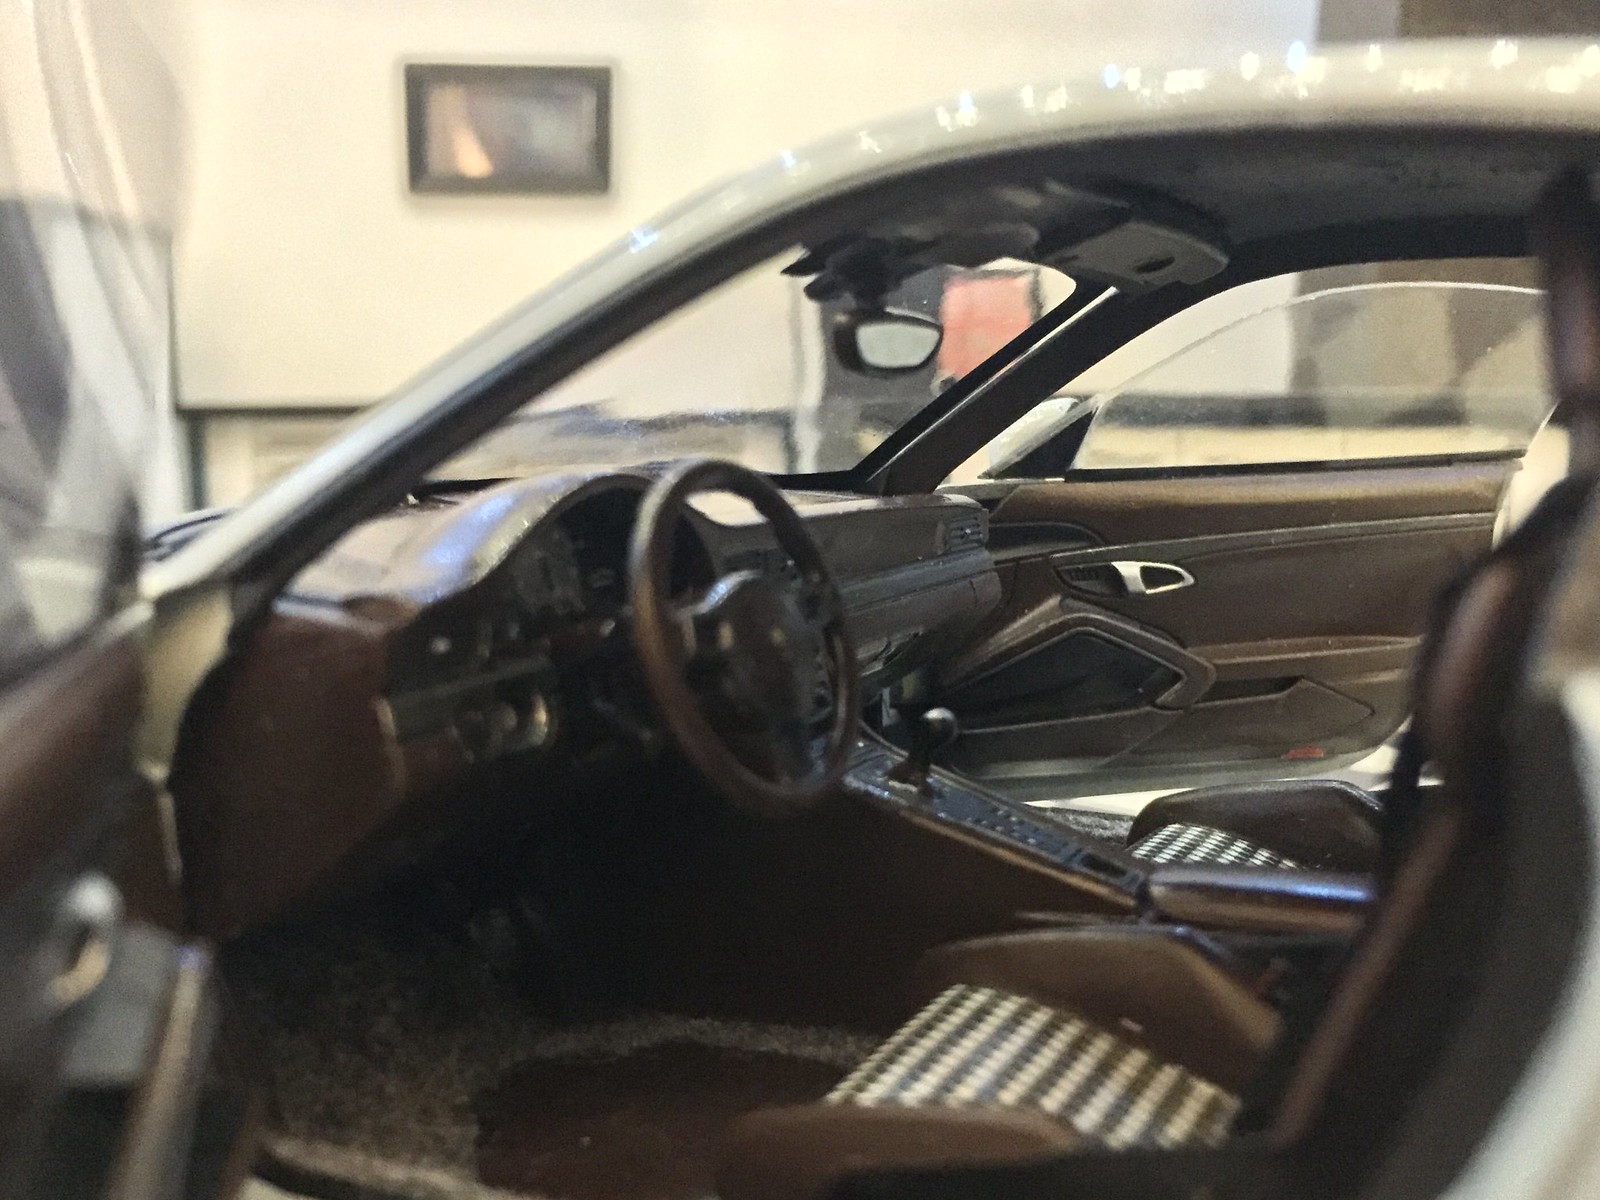
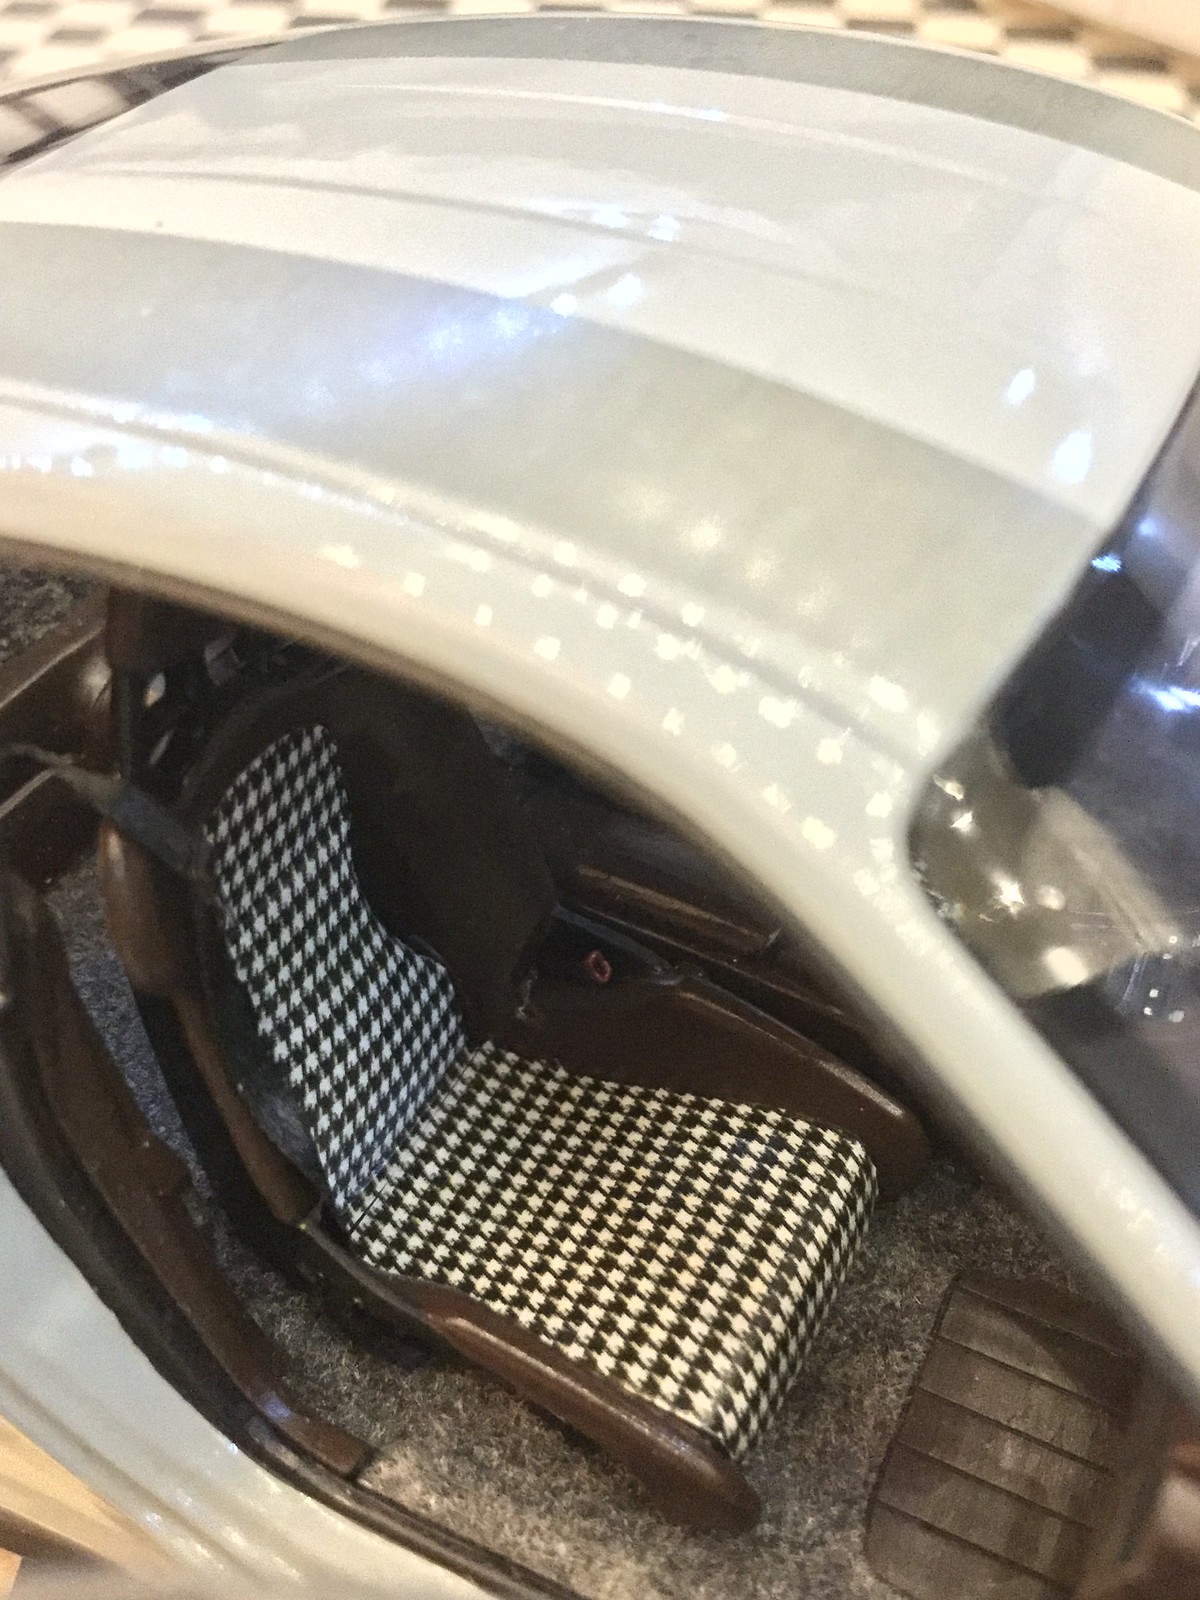
Interior Shots
On the interior, I went with the look I've seen in pictures. I found a high quality Houndstooth image online and edited the image using Word. It took a bit of time, but after I got the picture to roughly the scale I needed, I made copies and "stitched the images together. I went with brown for the seat material and carbon fiber decaling for the other parts of the seats. I also flocked in a grey color for contrast and installed black fabric seatbelts and P.E seatbelt buckles.

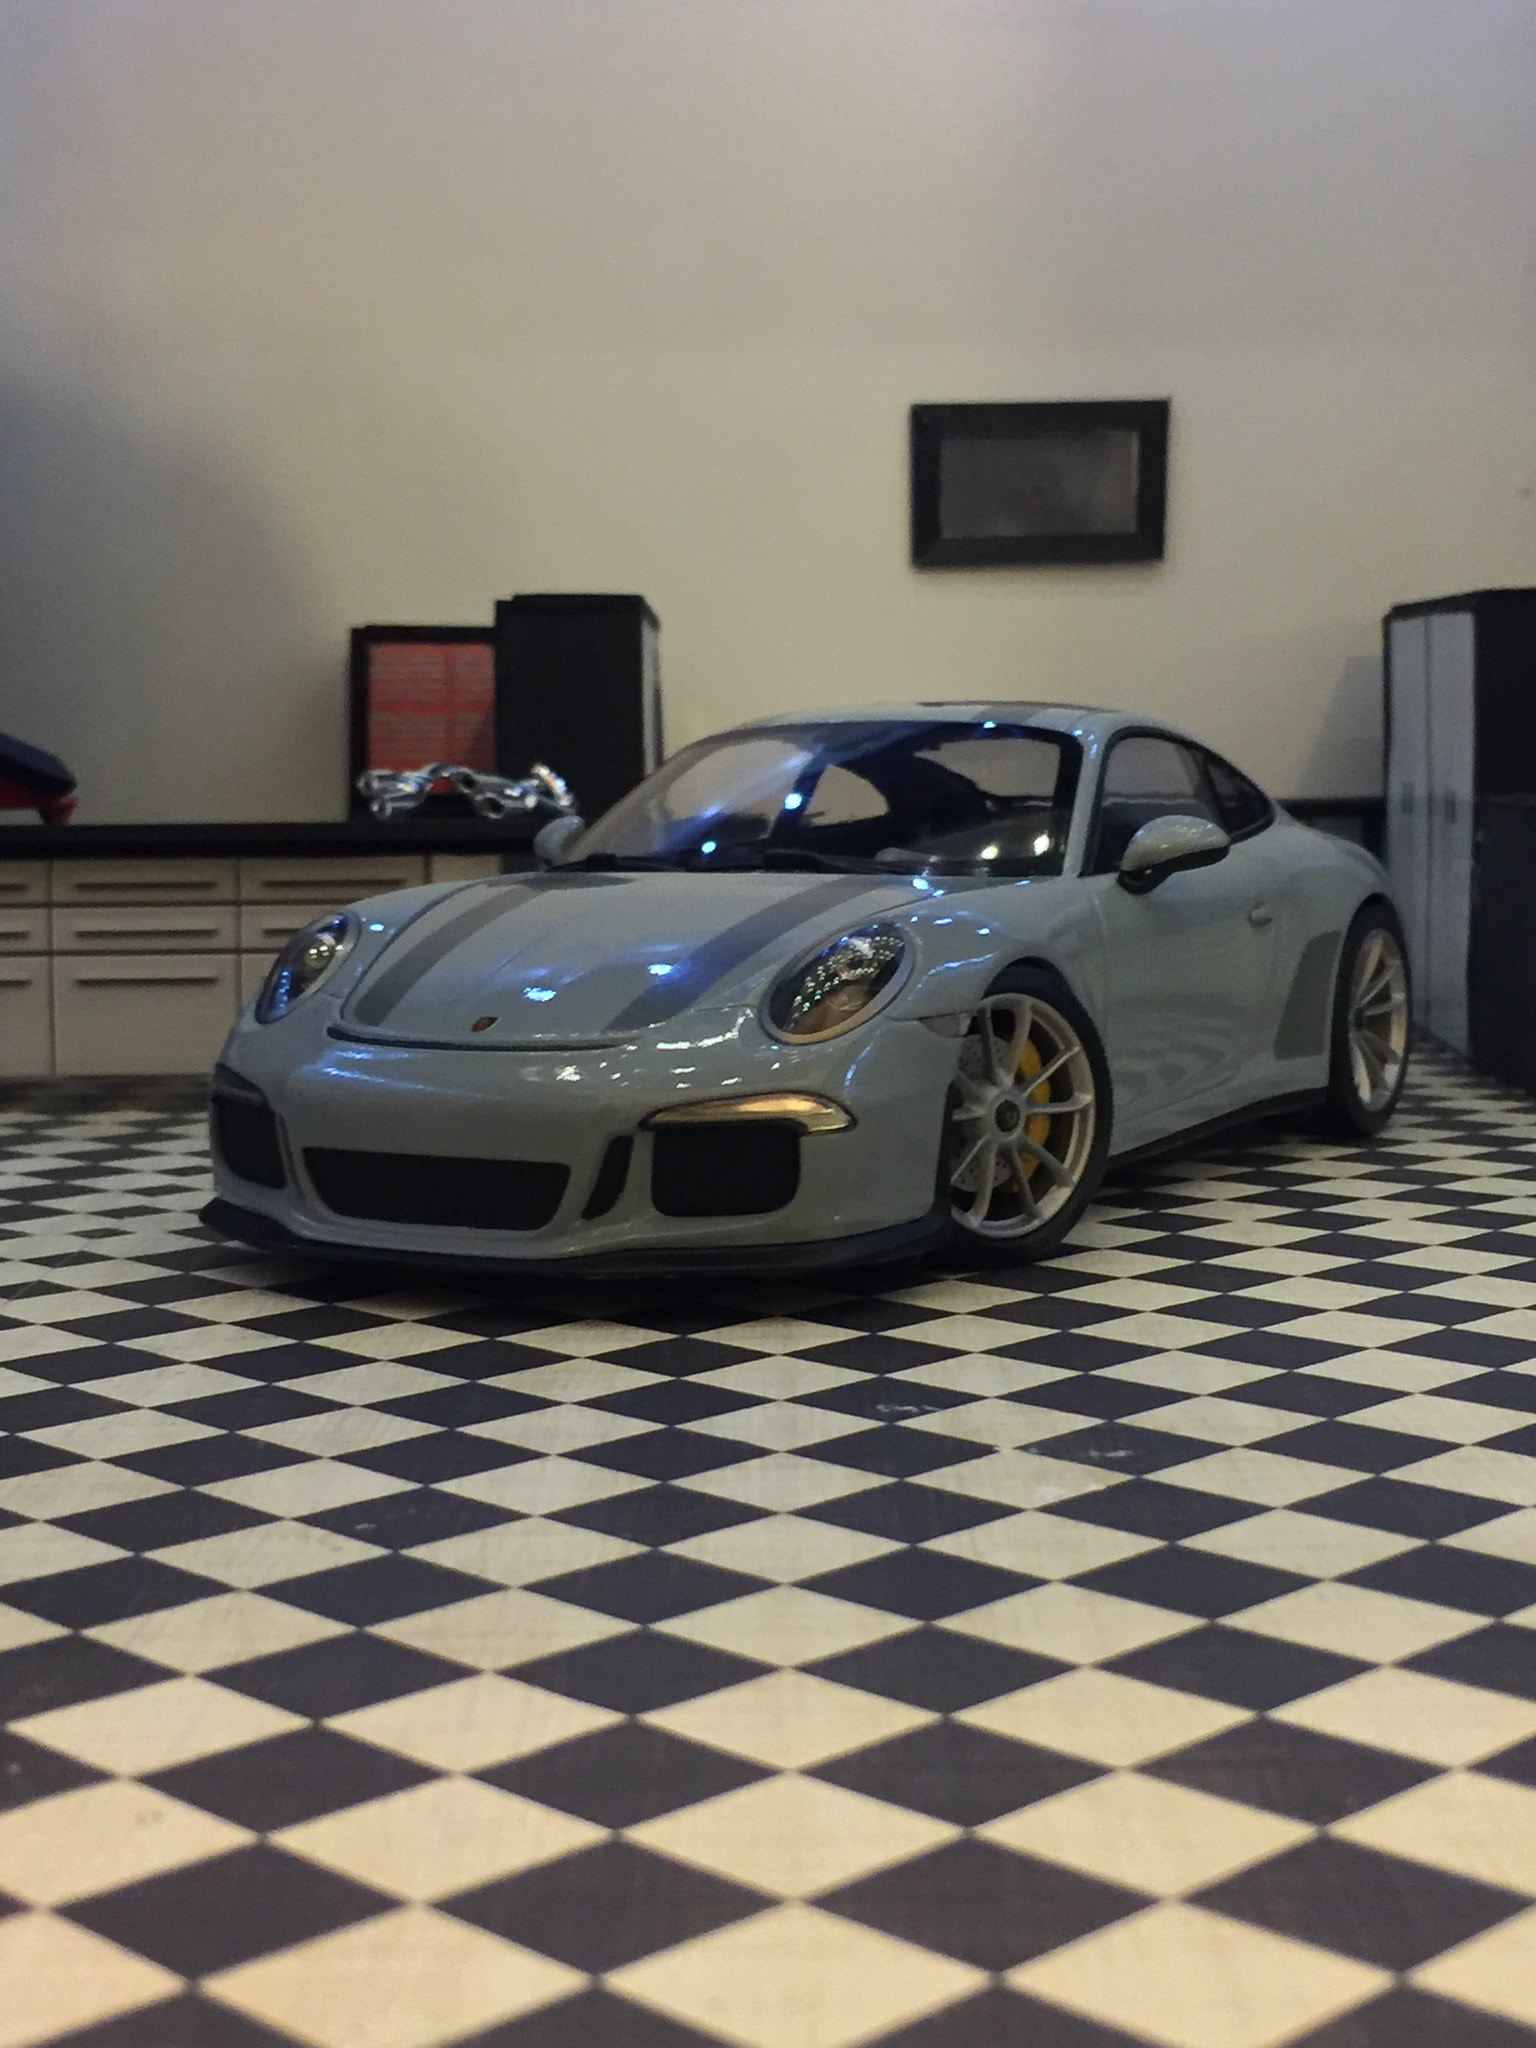
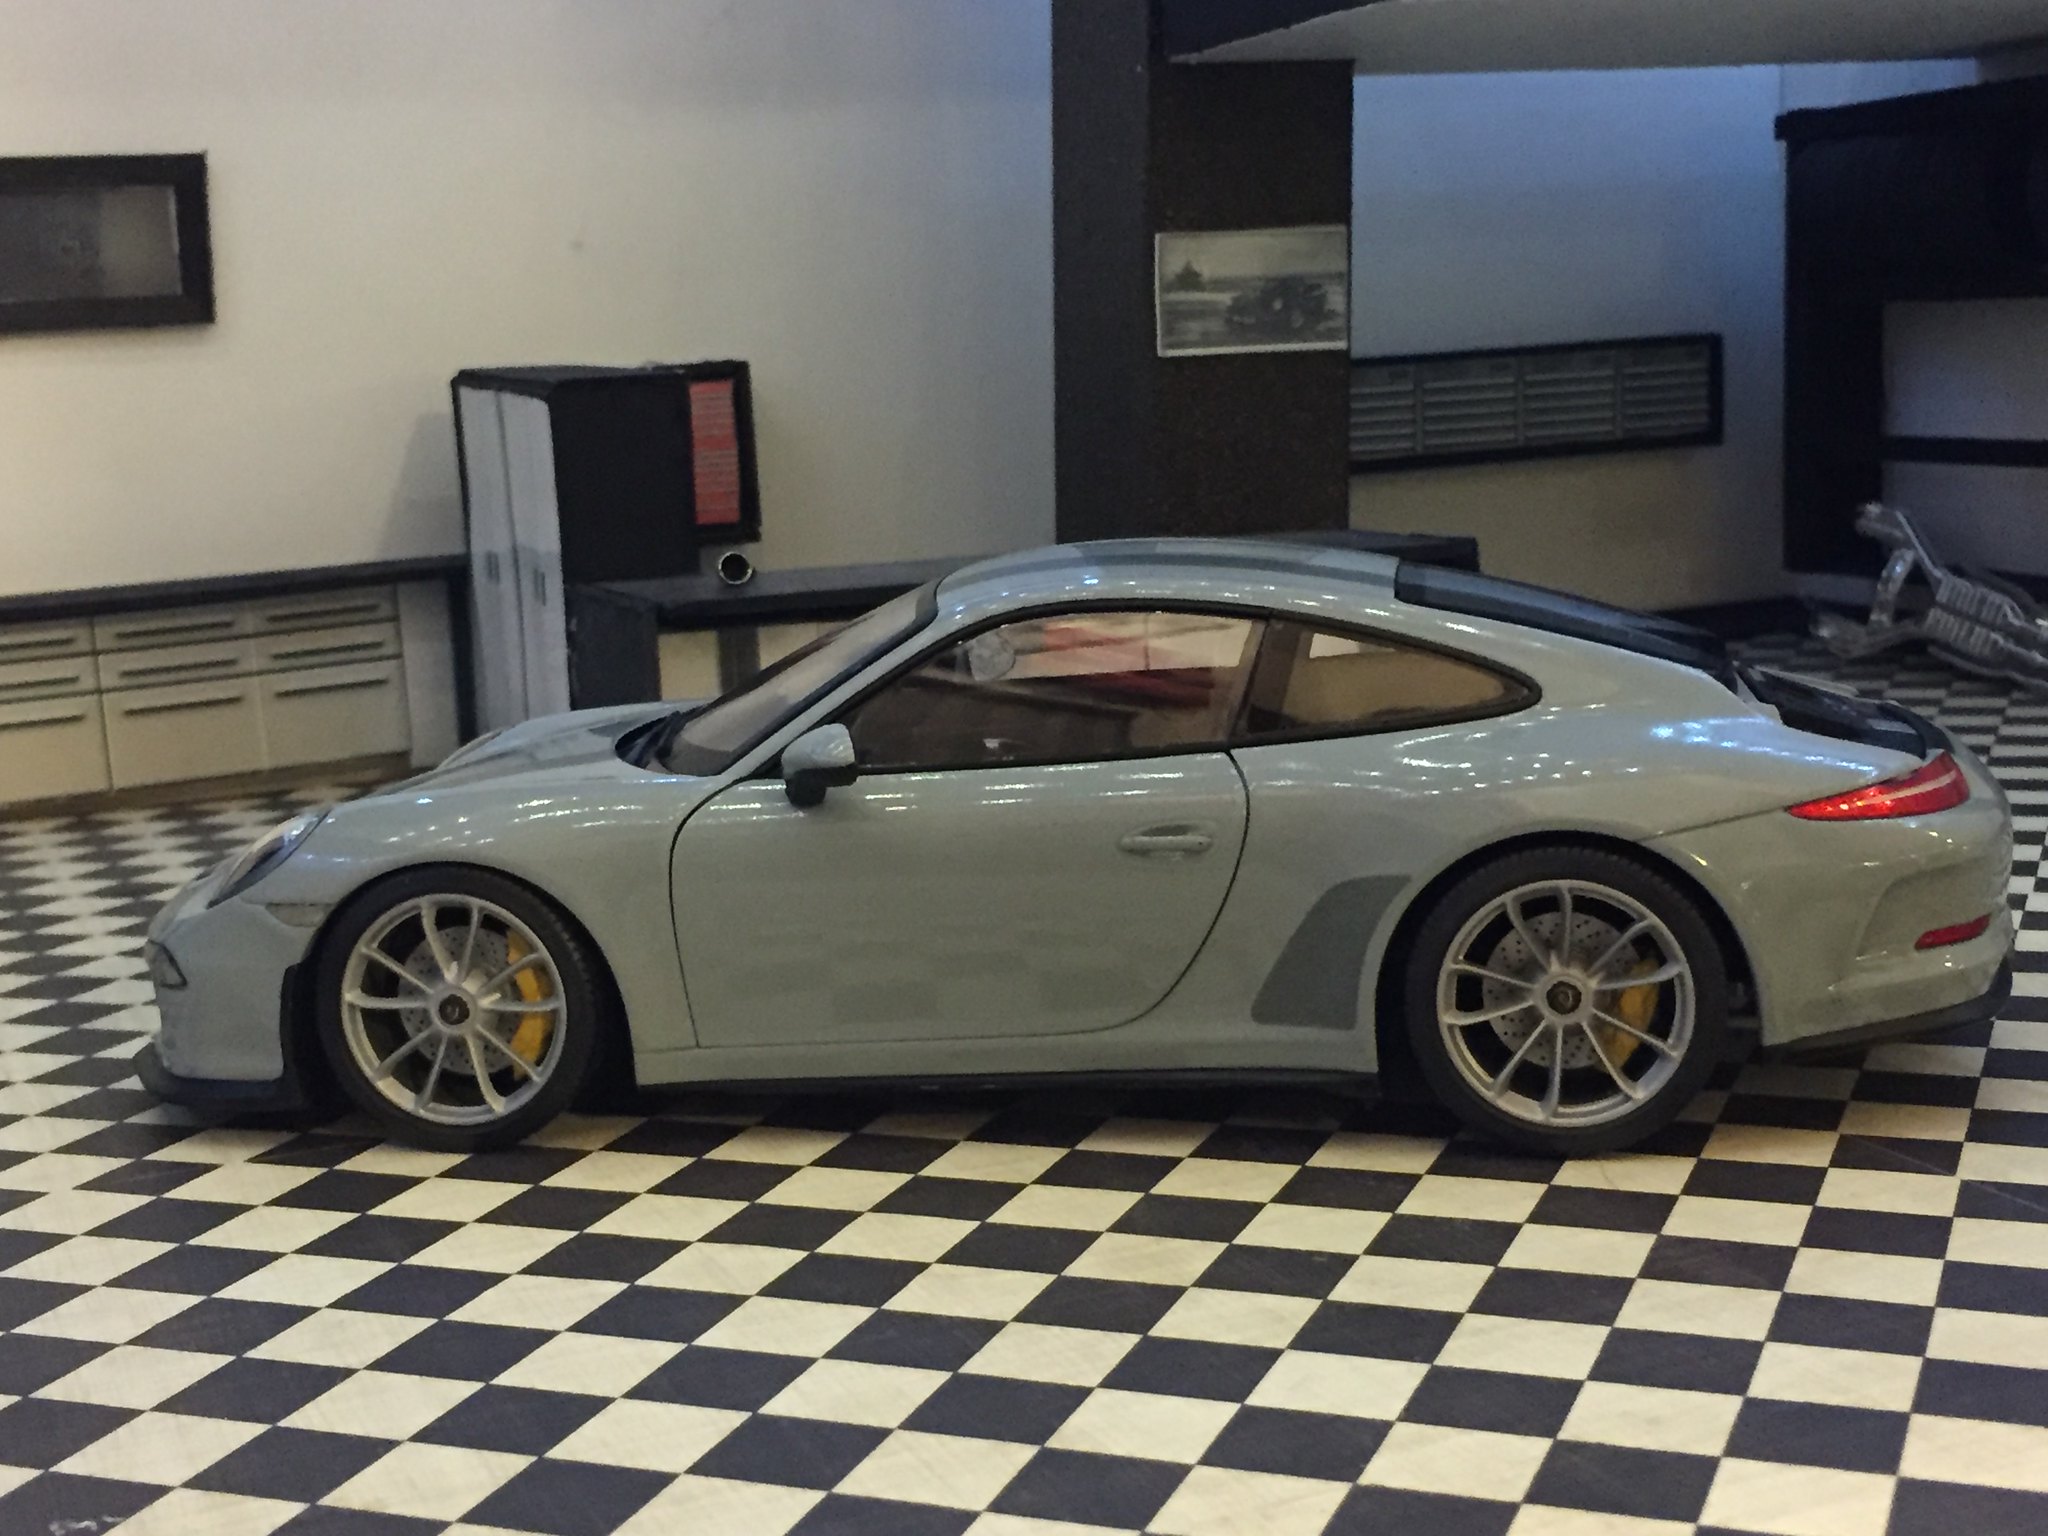
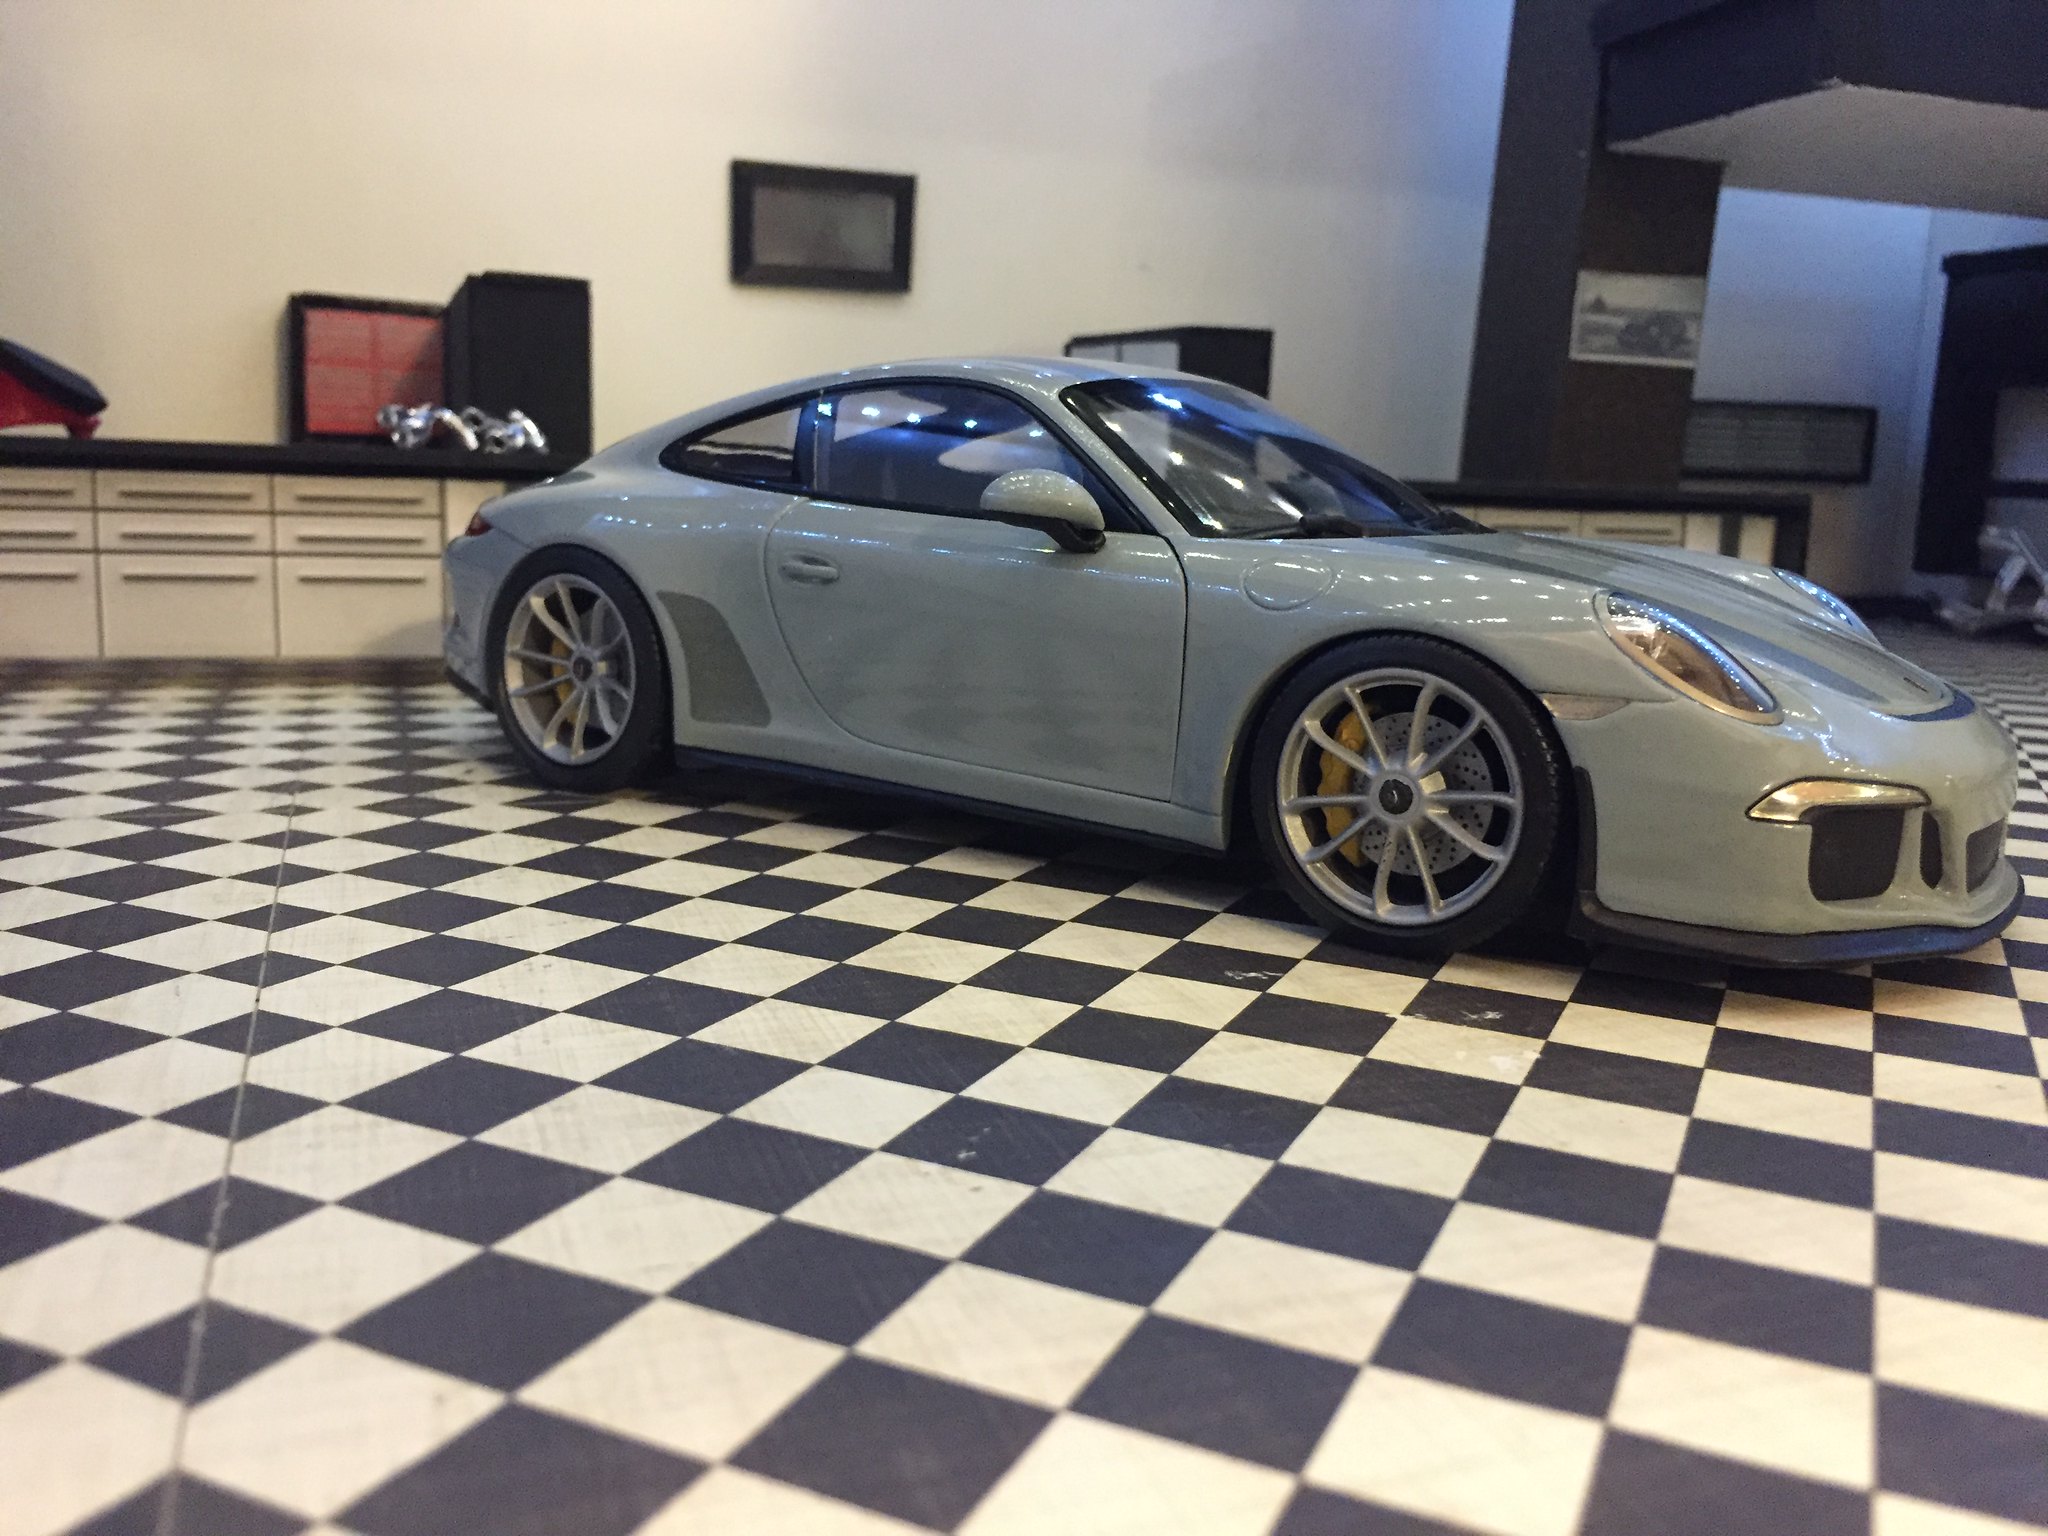
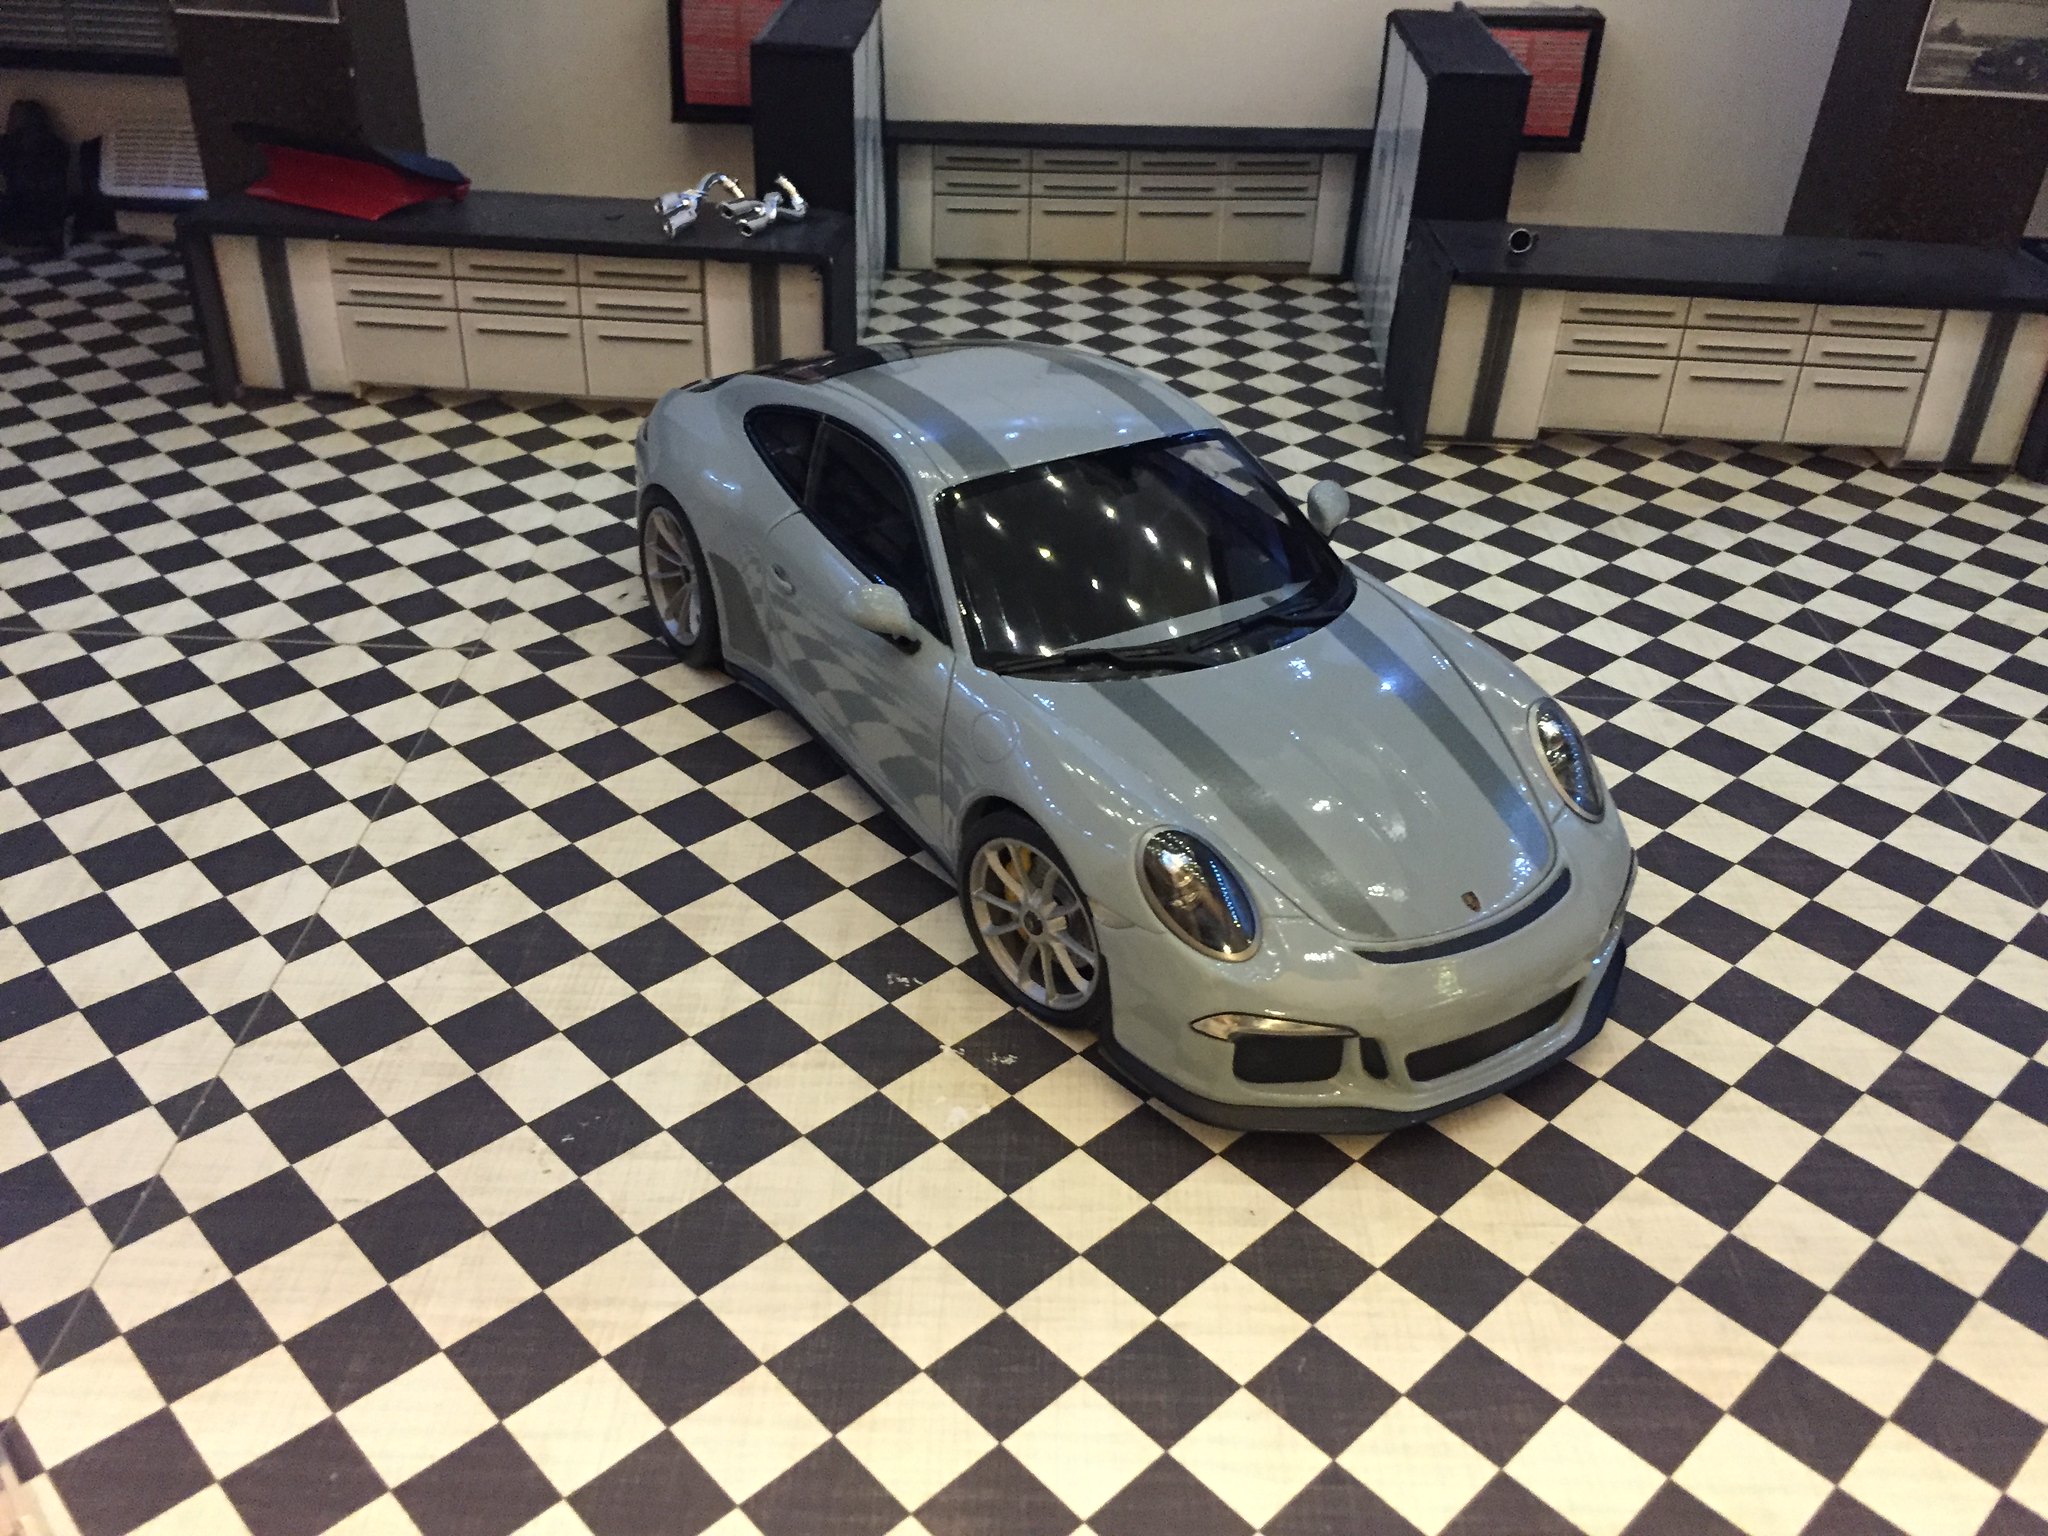
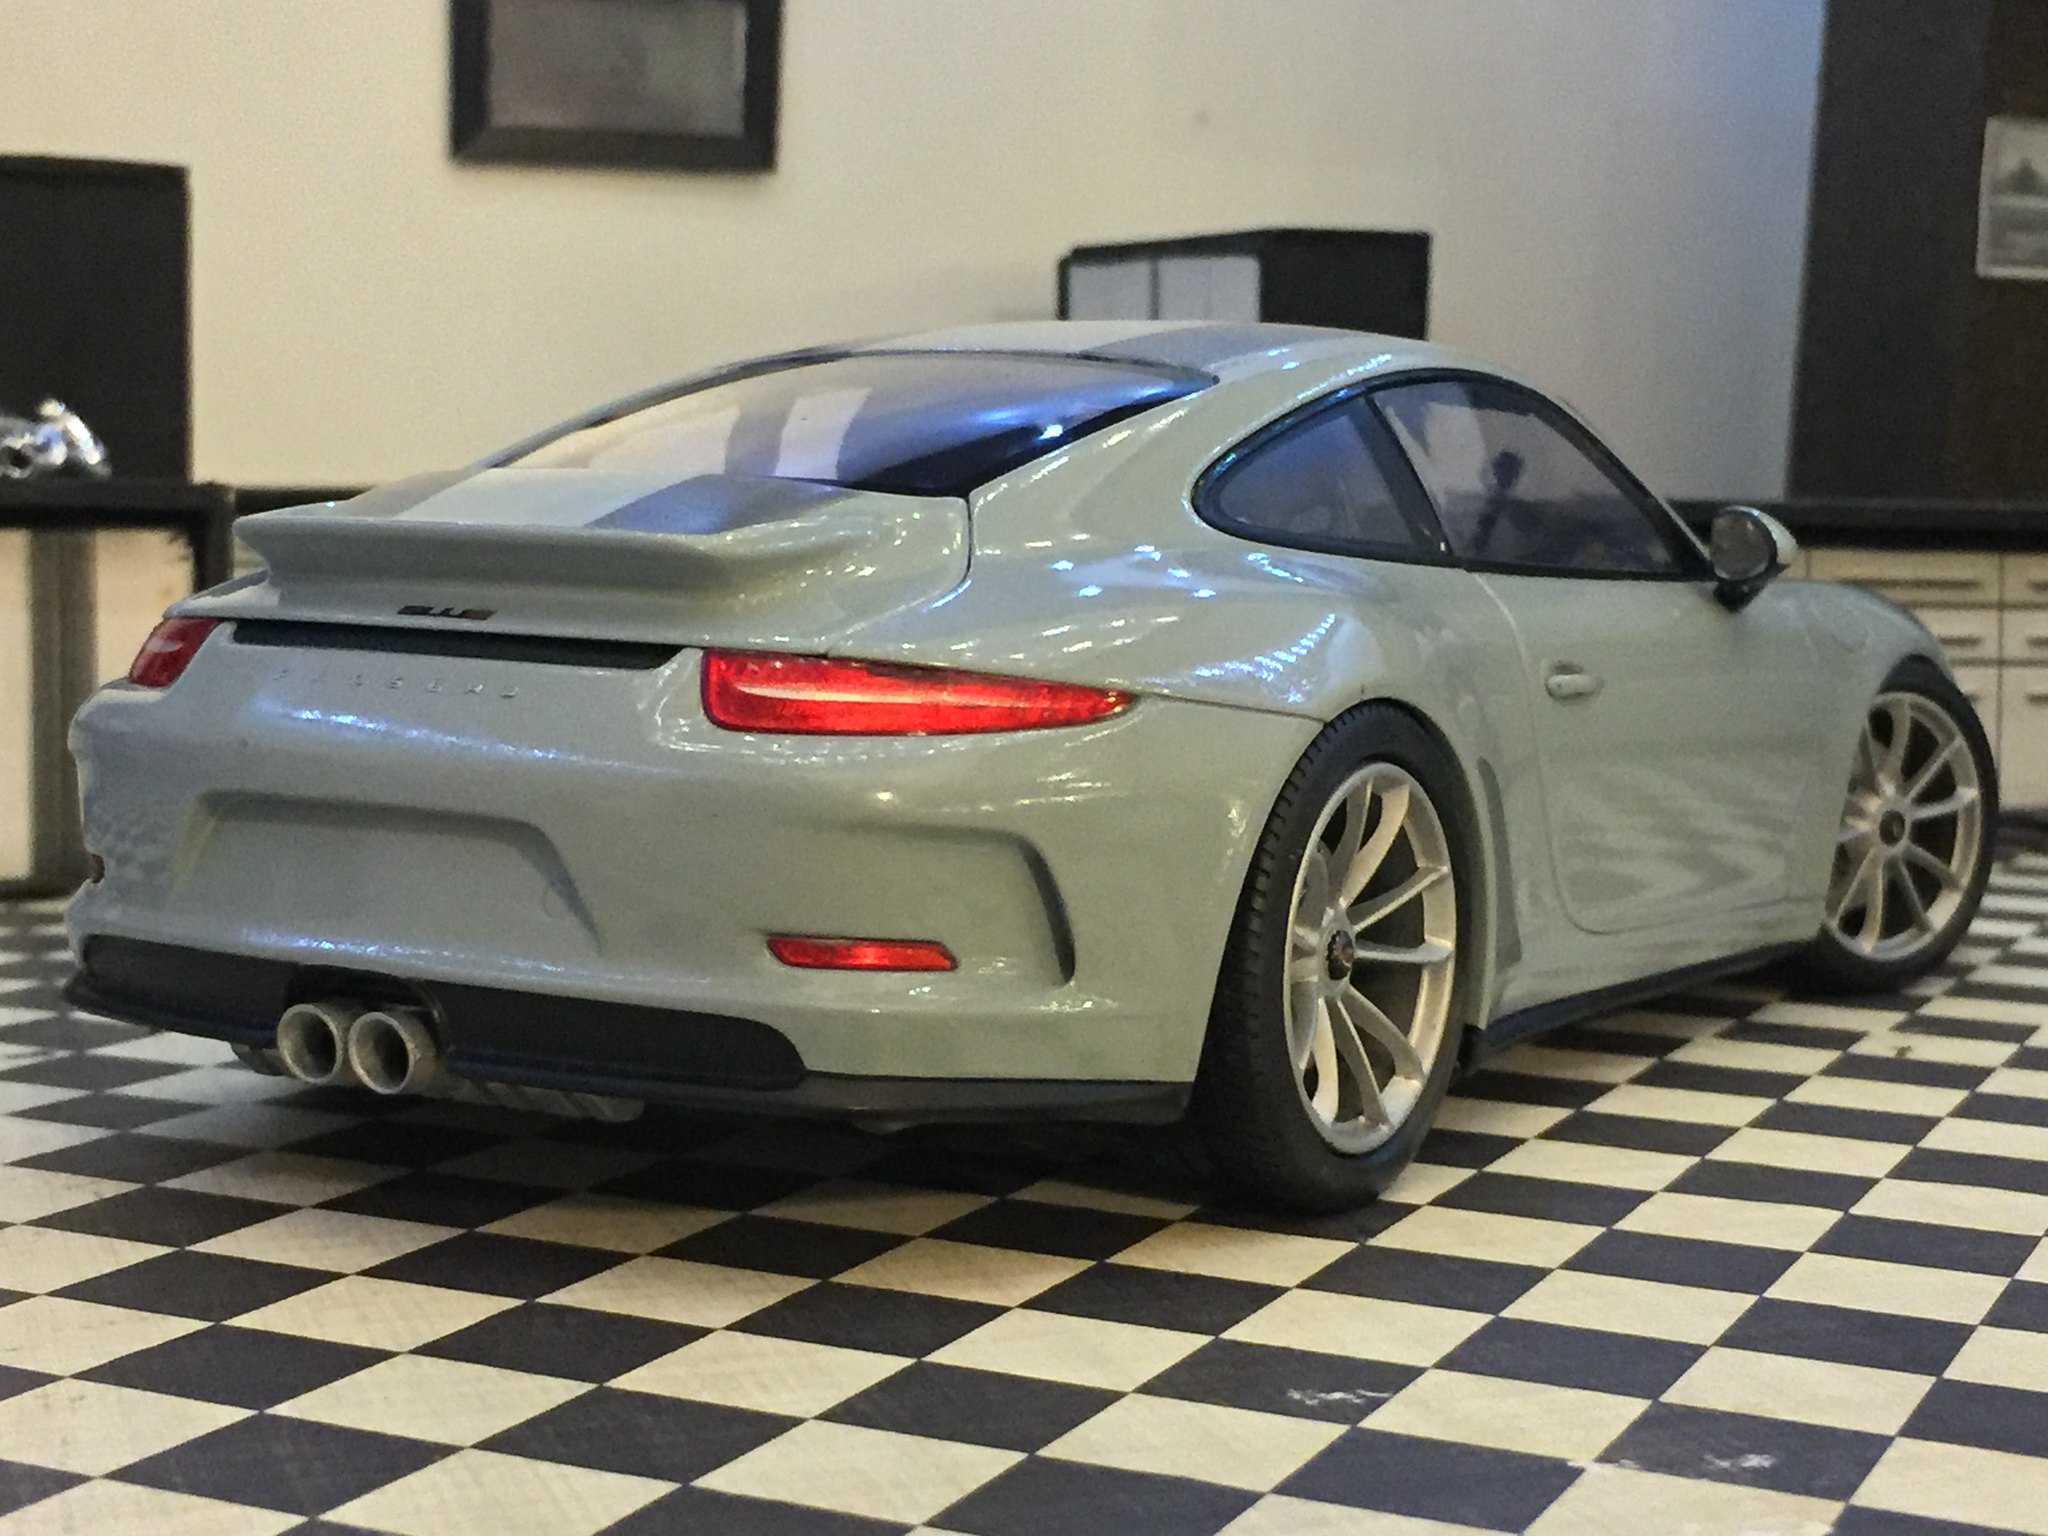
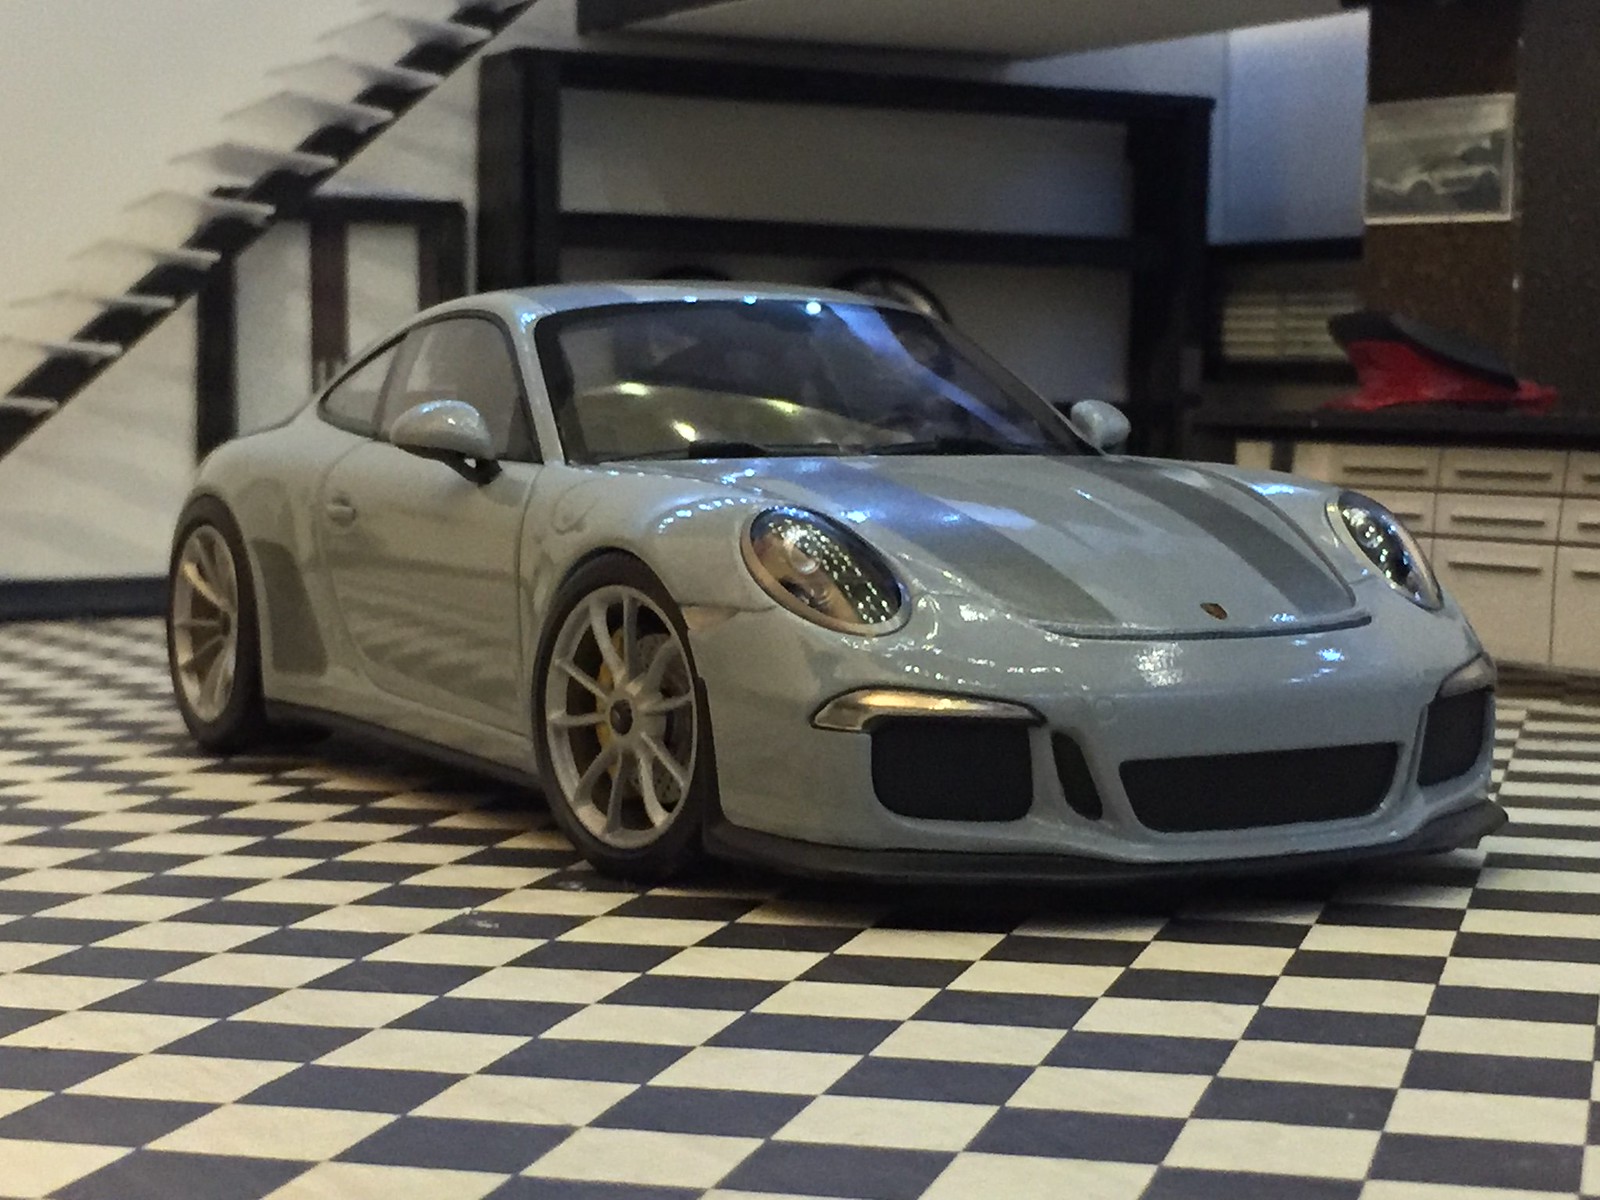
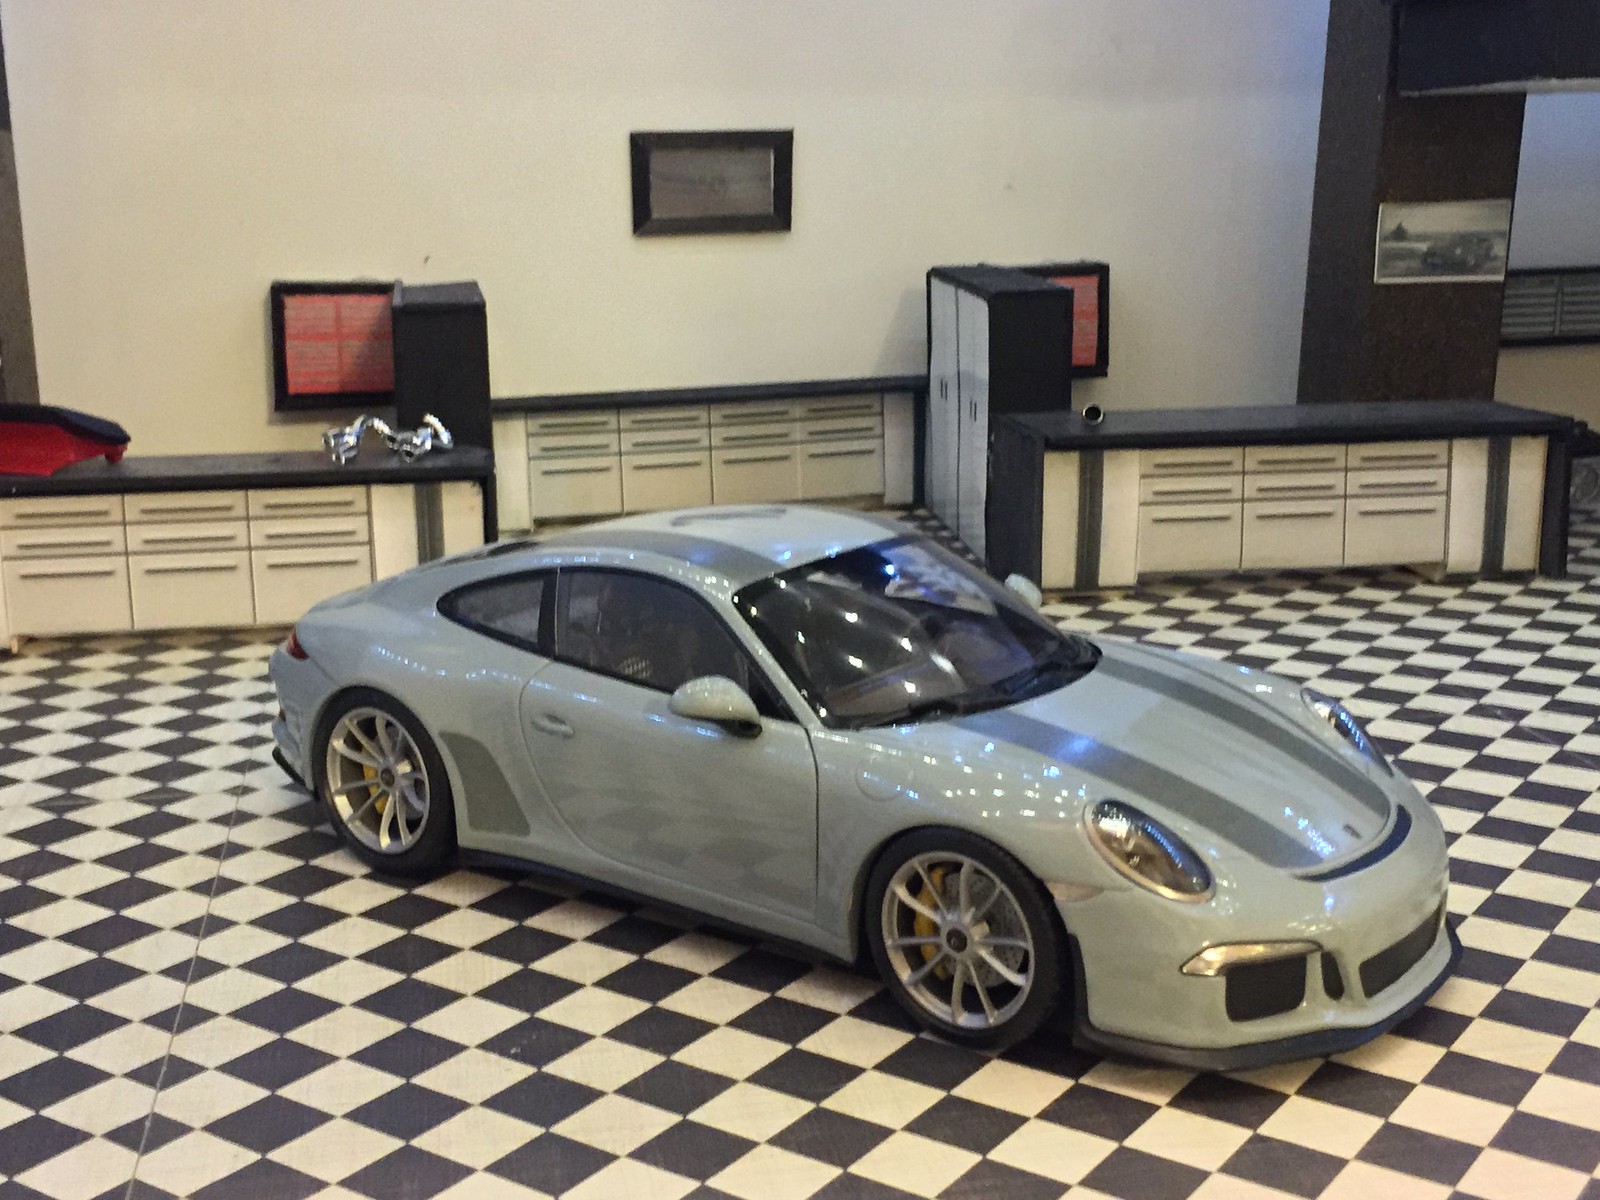
Exterior Shots
Here, I once again found a good quality image online for the stripes and recolored them in Word (after I got them to roughly the size I wanted). I actually printed up orange and green stripes as well, but in the end, I found I liked the graphite grey color you see on the model. I also printed out matching color "Porsche" script stripes for the passenger/driver side of the car; however, in the end, I am have never been a huge fan of the side stripe. I did want something on the side though, so I decided to make matching color "stone guards". as you can see from the pics, there is still no rear trunk installed; Unfortunately the first one I made had more errors and it turned out that the resin cast I had made was slightly off. I ended up remaking a mold of each part (spoiler and rear trunk). At this point, the lines on it are looking much better, as is the fit and finish. It still needs its final color coat, clear coat, and stripes.
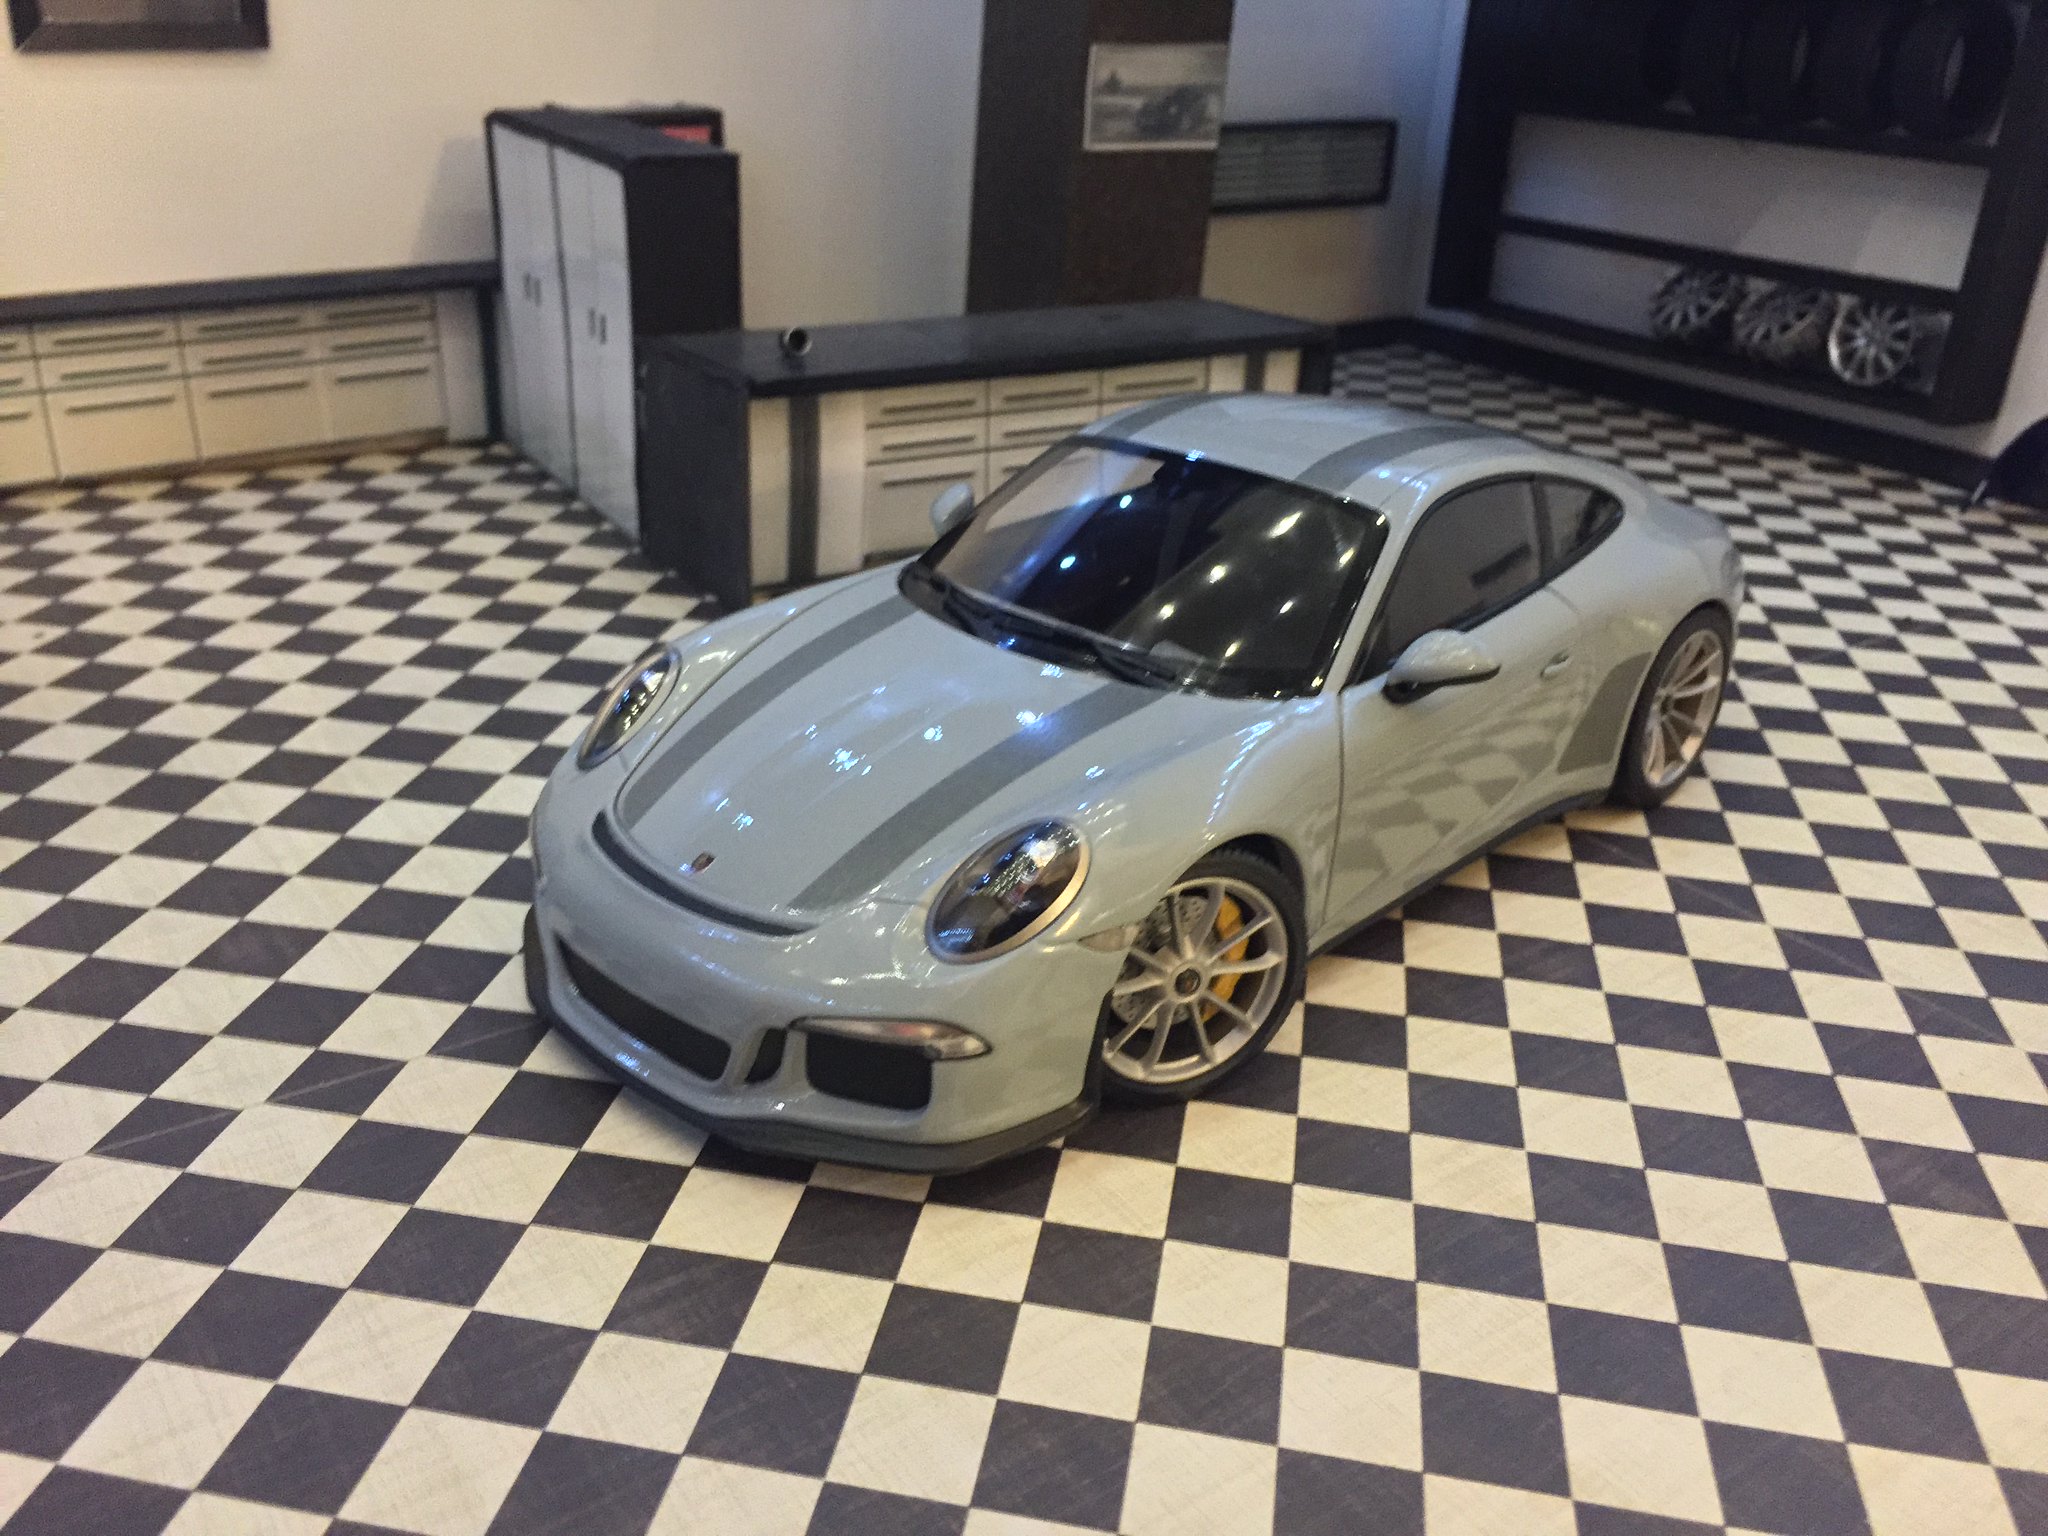
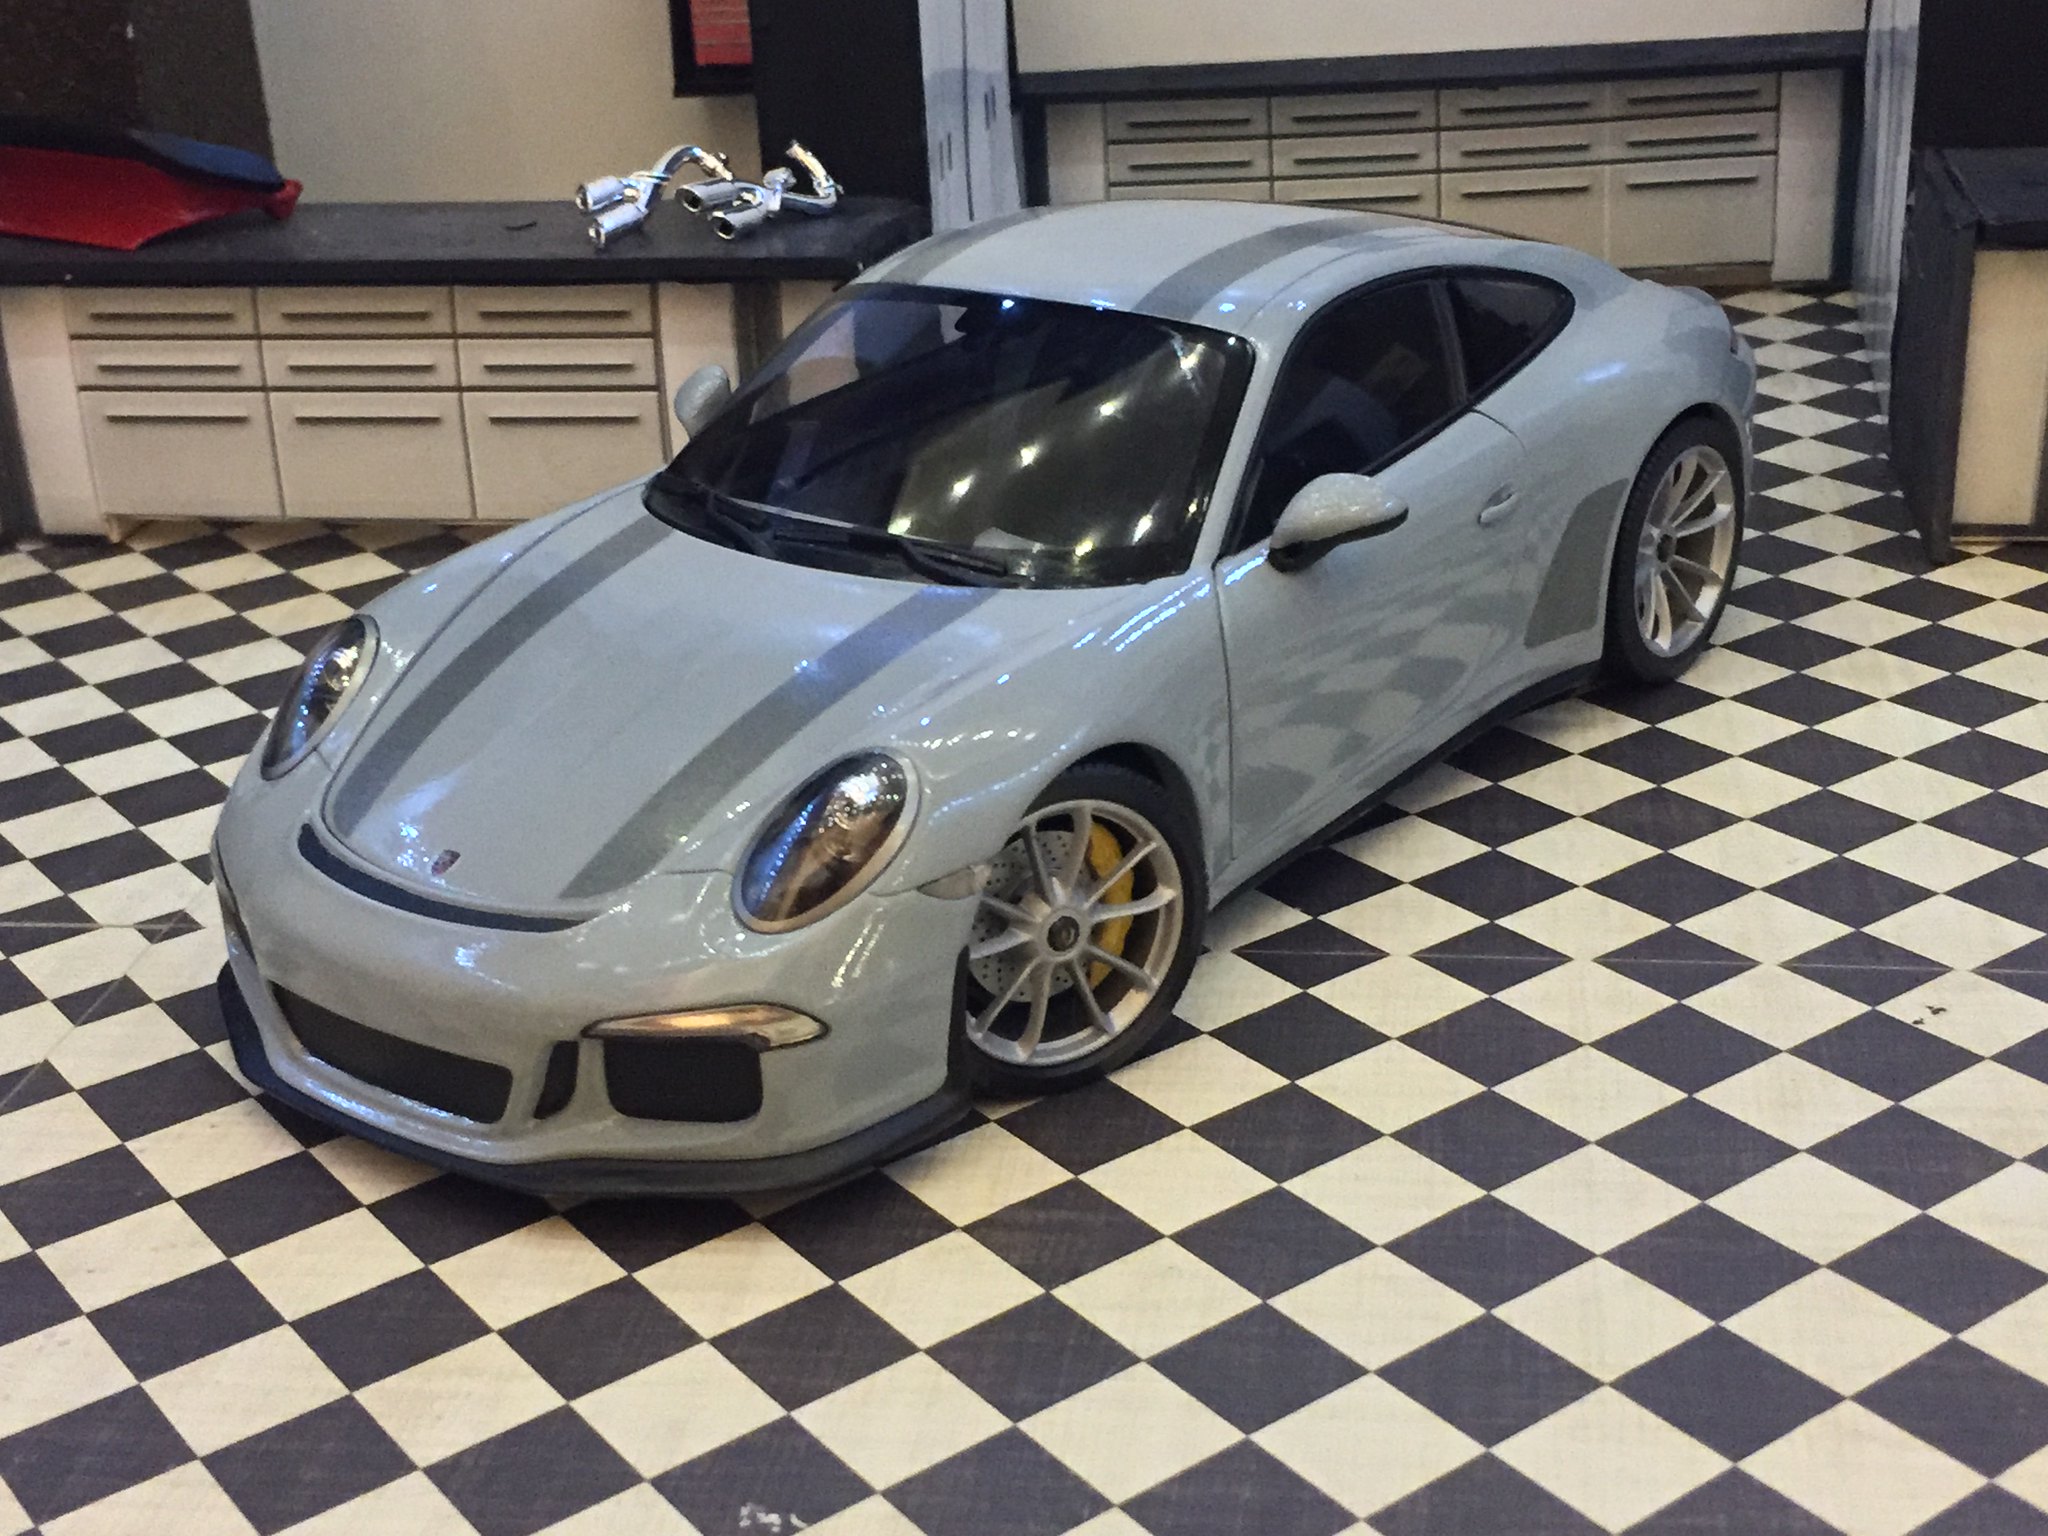
I have to say that thus far, this is probably one of my alltime favorite custom builds! It has been a fun build and while the roof and front hood indent was a bit near racking, scratch building the whole rear trunk assembly has been a good, challenging process.
Here are some update shots of my 911R build. I finally received my laser decal paper and man am I glad that I made the switch from printing decals on an inkjet printer to doing them on a laser printer. The whole extra steps of having to put a clear coat over the printed decal can be skipped! To boot, the new paper I got (bought clear backing and white backing variations) was a great deal on Amazon (10 sheets @$8.99-my local hobby store charges that price for 3 sheets). At any rate, the decal material is nice and thin but unlike other types I have bought before, it is actually extremely durable and seems to resist tearing better. Anyhow, enjoy the pics!
Interior Shots
On the interior, I went with the look I've seen in pictures. I found a high quality Houndstooth image online and edited the image using Word. It took a bit of time, but after I got the picture to roughly the scale I needed, I made copies and "stitched the images together. I went with brown for the seat material and carbon fiber decaling for the other parts of the seats. I also flocked in a grey color for contrast and installed black fabric seatbelts and P.E seatbelt buckles.
Exterior Shots
Here, I once again found a good quality image online for the stripes and recolored them in Word (after I got them to roughly the size I wanted). I actually printed up orange and green stripes as well, but in the end, I found I liked the graphite grey color you see on the model. I also printed out matching color "Porsche" script stripes for the passenger/driver side of the car; however, in the end, I am have never been a huge fan of the side stripe. I did want something on the side though, so I decided to make matching color "stone guards". as you can see from the pics, there is still no rear trunk installed; Unfortunately the first one I made had more errors and it turned out that the resin cast I had made was slightly off. I ended up remaking a mold of each part (spoiler and rear trunk). At this point, the lines on it are looking much better, as is the fit and finish. It still needs its final color coat, clear coat, and stripes.
I have to say that thus far, this is probably one of my alltime favorite custom builds! It has been a fun build and while the roof and front hood indent was a bit near racking, scratch building the whole rear trunk assembly has been a good, challenging process.


Re: Update 30Aug2016 - 911R Custom Build
One word, STUNNING! Great job my friend!
-
StratosWRC

- .

- Posts: 7404
- Joined: Tue Aug 27, 2013 4:56 pm
- Location: Canada
Re: Update 30Aug2016 - 911R Custom Build
Ooo weee looks awesome!

Re: Update 30Aug2016 - 911R Custom Build
Saying it is amazing would be an understatement.

Re: Update 30Aug2016 - 911R Custom Build
wow....loving it!
the interior looks excellent. Nice choice on the brown, really digging that & the houndstooth seats turned out great.
the interior looks excellent. Nice choice on the brown, really digging that & the houndstooth seats turned out great.
-
mazspd3jase
- .
- Posts: 337
- Joined: Tue Oct 14, 2014 1:54 am
- Location: Houston, Texas
Re: Update 30Aug2016 - 911R Custom Build
thanks The1 and Gavin. I am really happy with the laser printer doing decals....was such a great purchase (they've come down a lot in price-one that does higher overall resolution would be nice of course, but I picked up this dell color LED Printer for under 125 bucks....and replacement toner can be bought extremely cheaply for it. I'll never have to buy aftermarket decals ever again....as long as I can find a high quality image, the sky is the limits (gonna try my hand at making some Carbon fiber next).
-
mazspd3jase
- .
- Posts: 337
- Joined: Tue Oct 14, 2014 1:54 am
- Location: Houston, Texas
Re: Update 7Sept2016 - 911R Custom Build
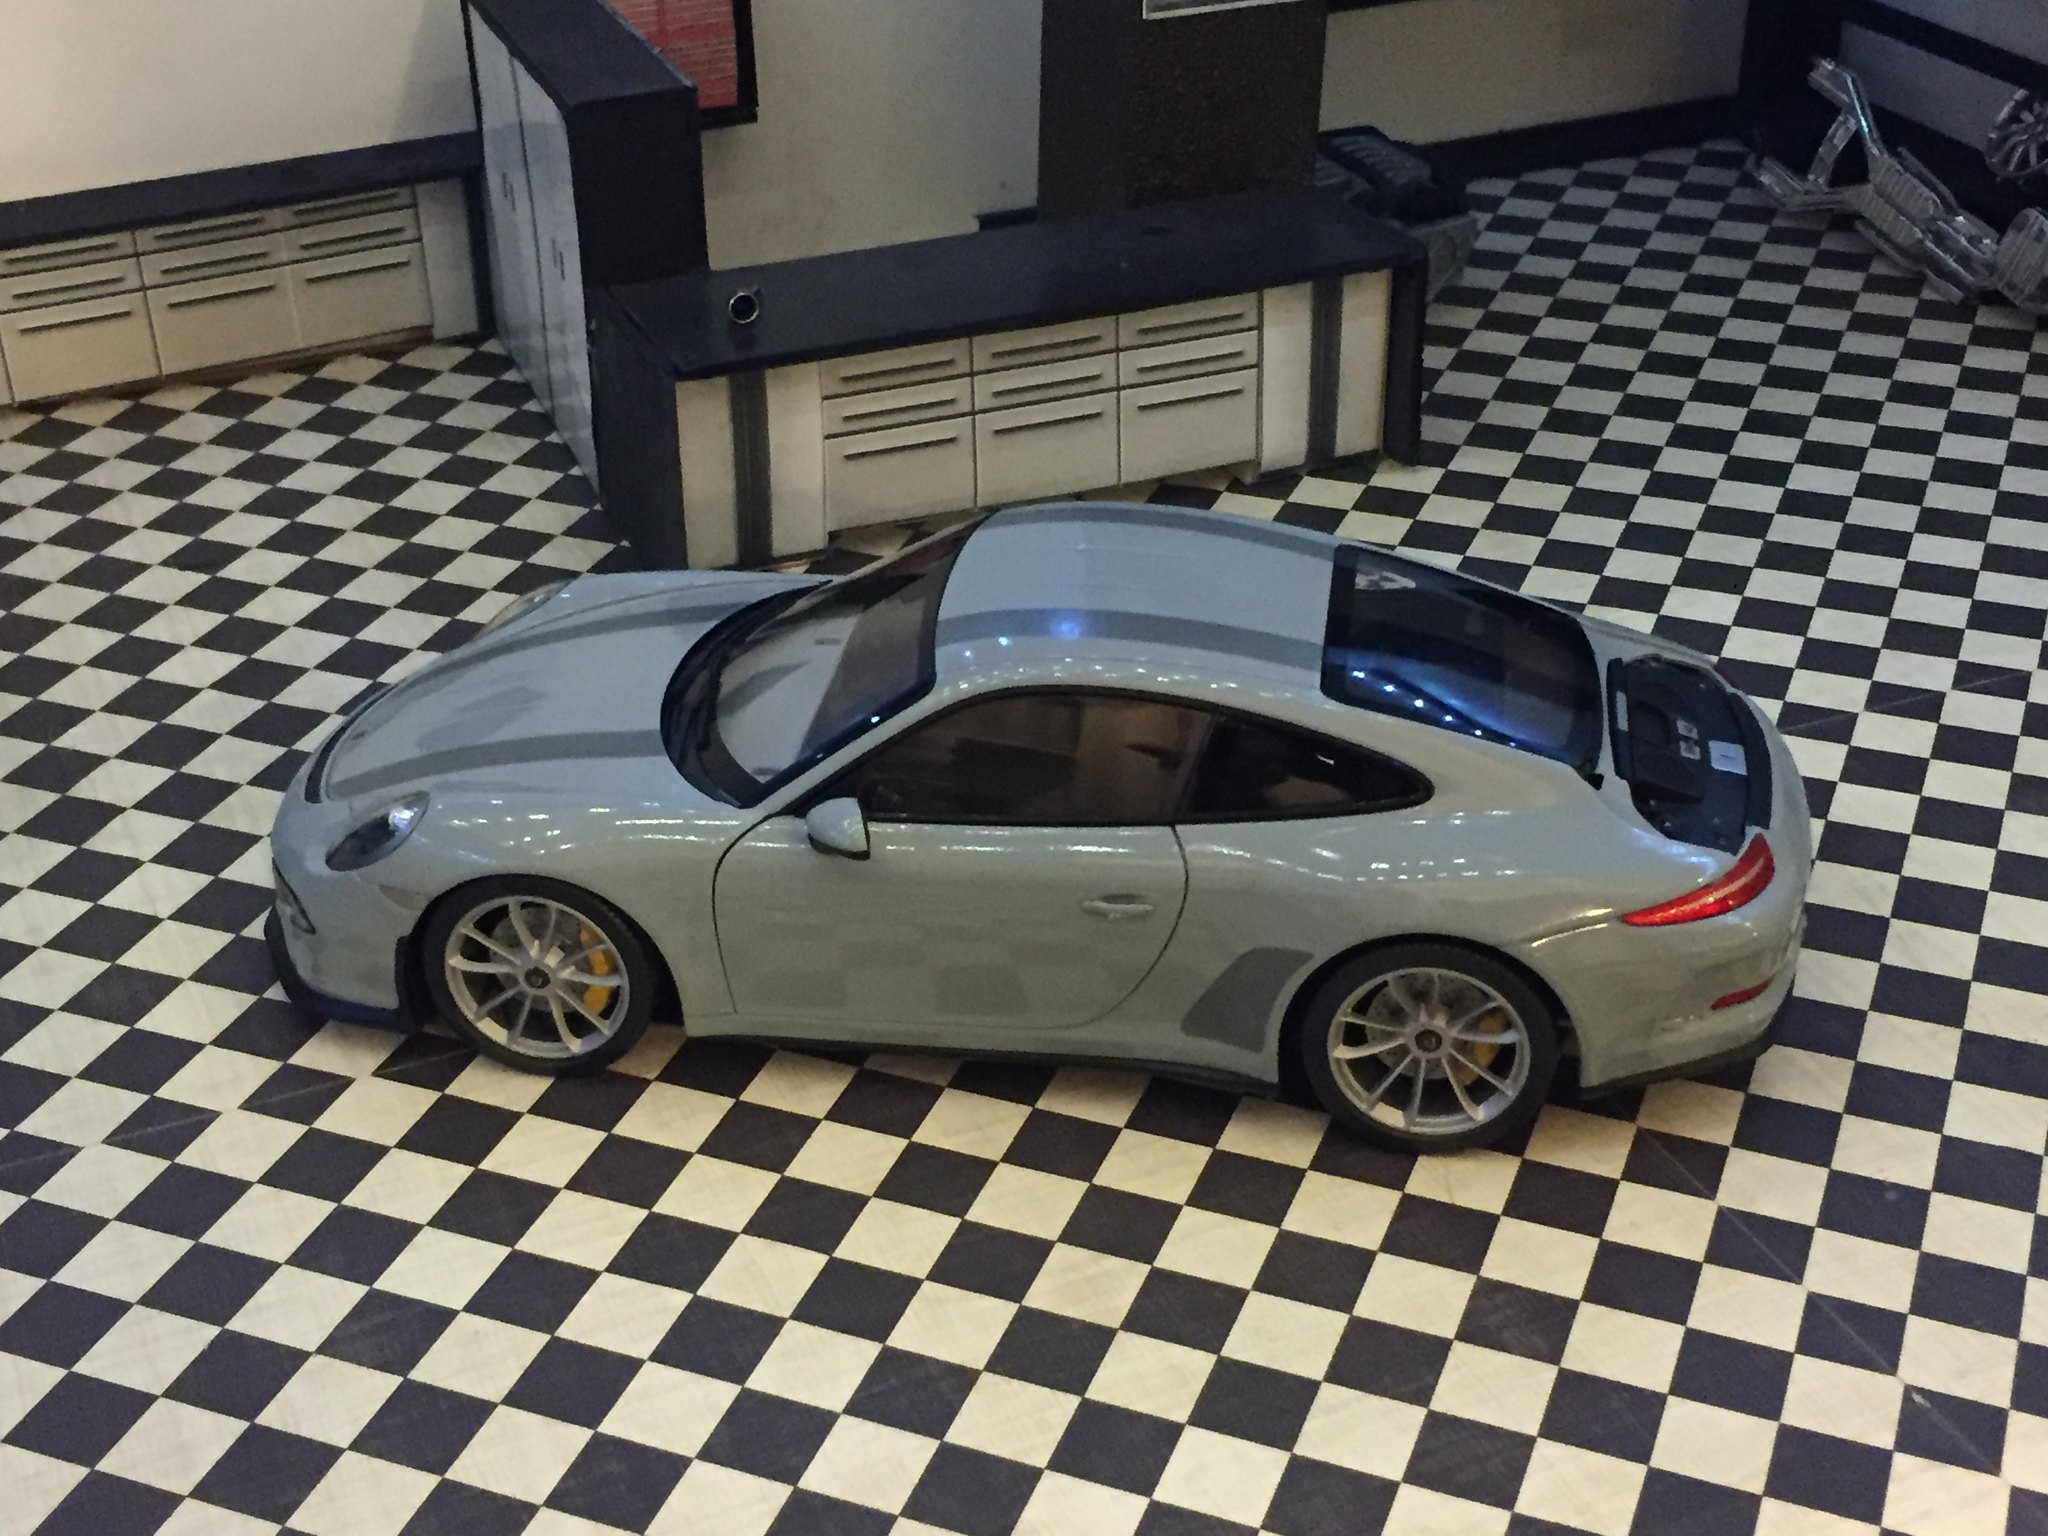
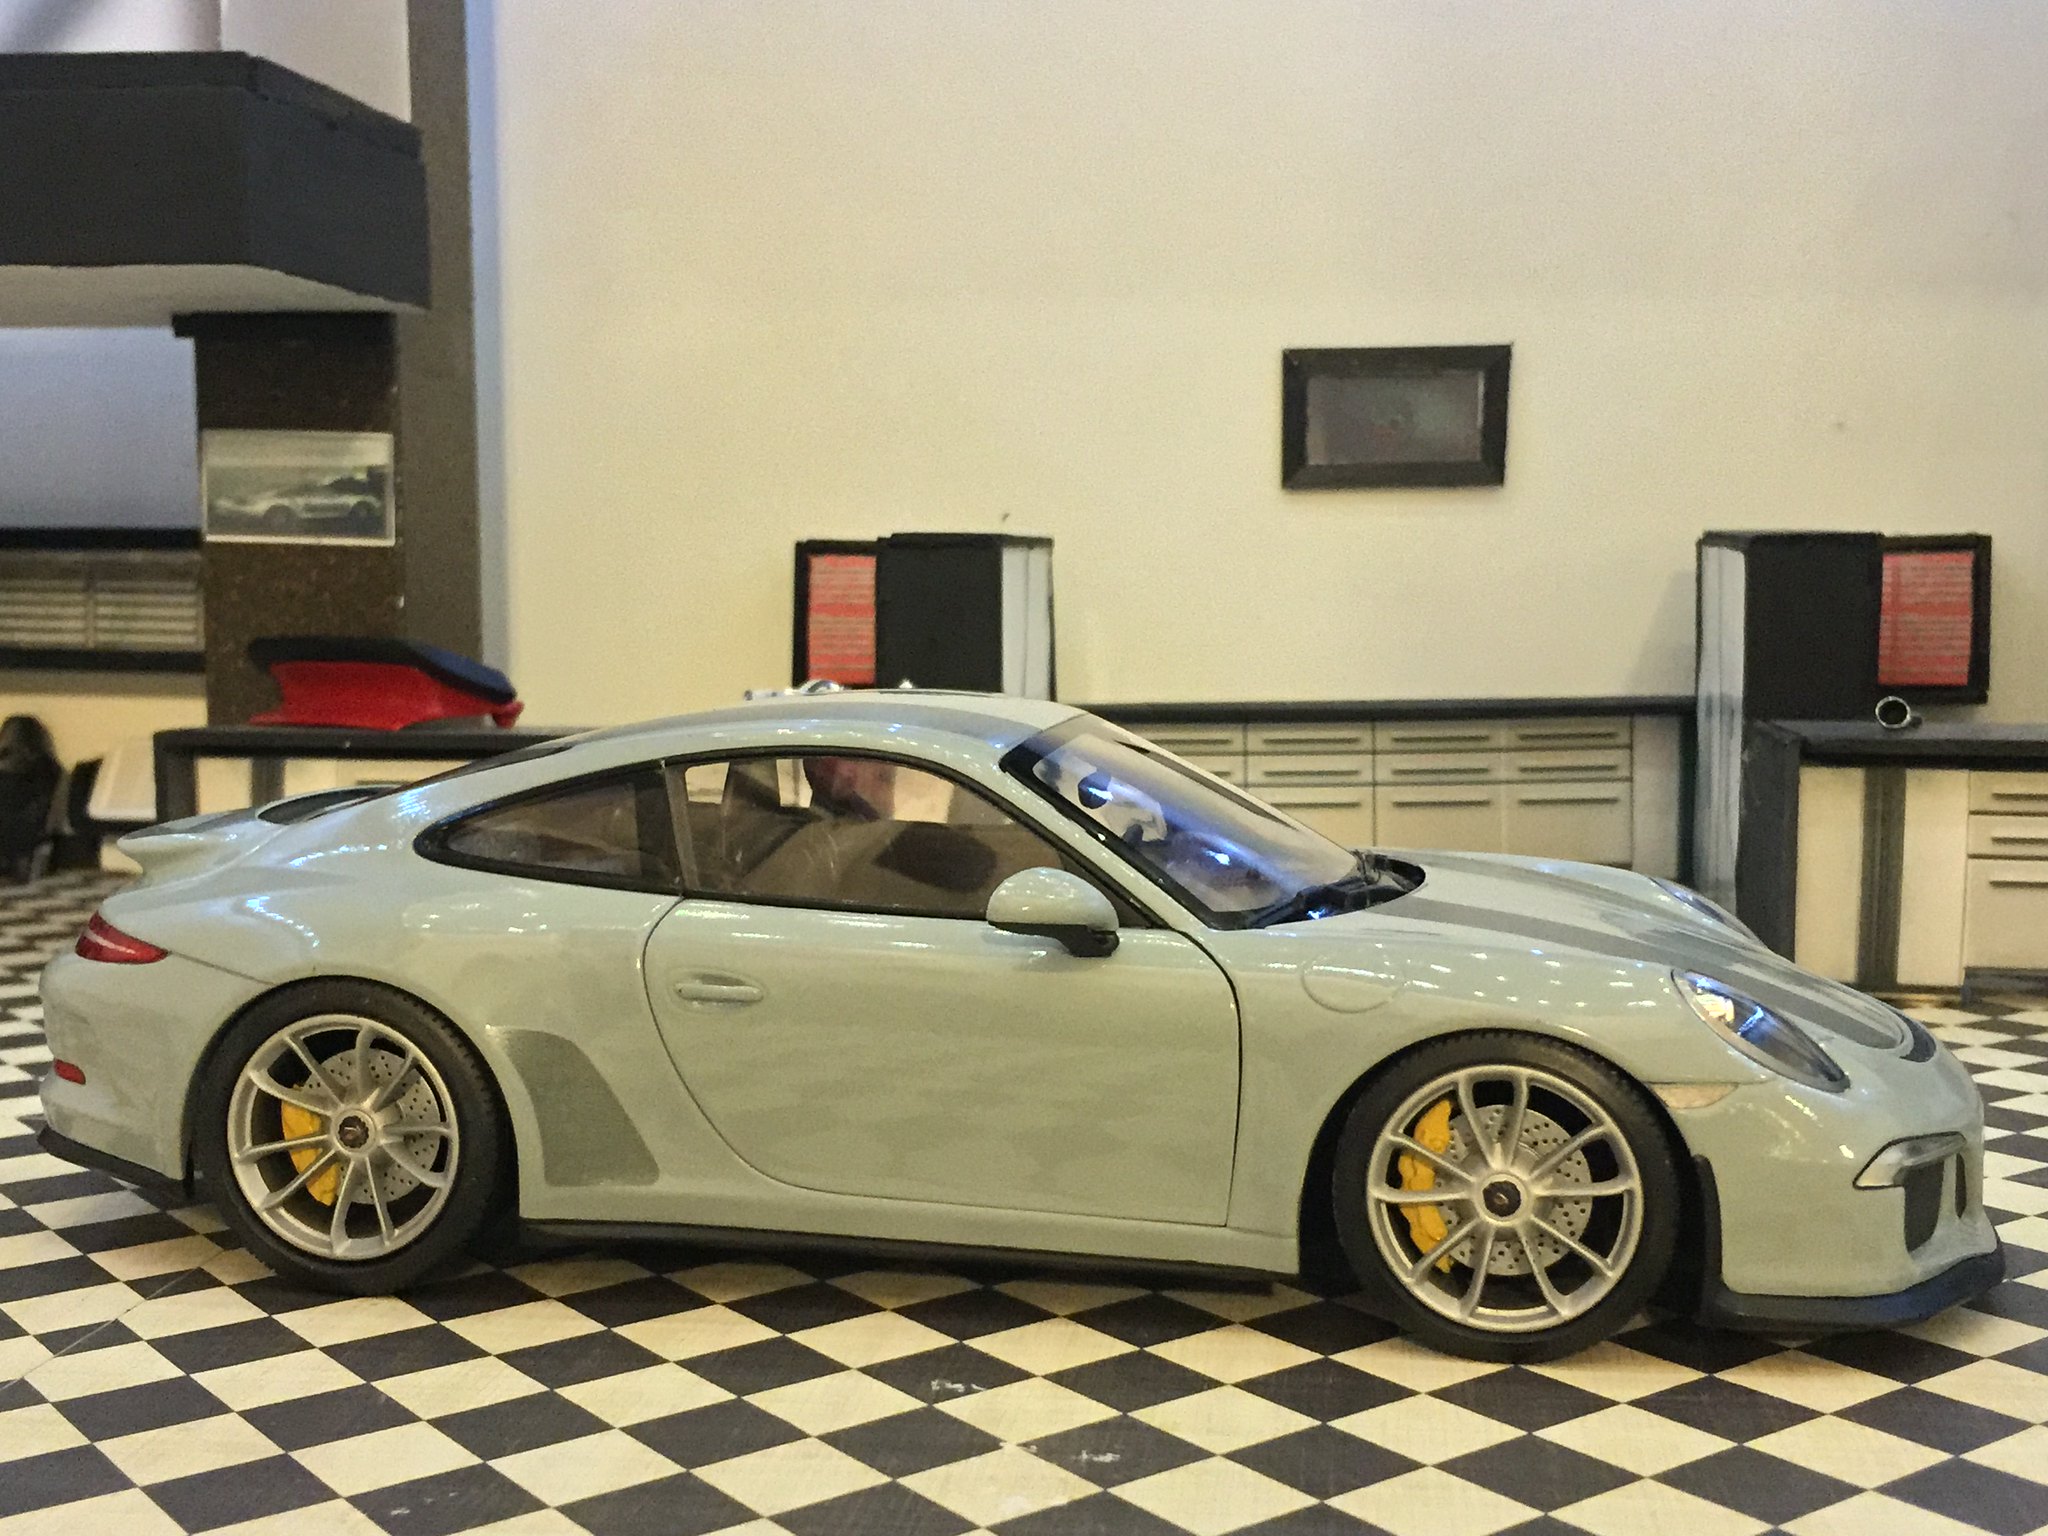
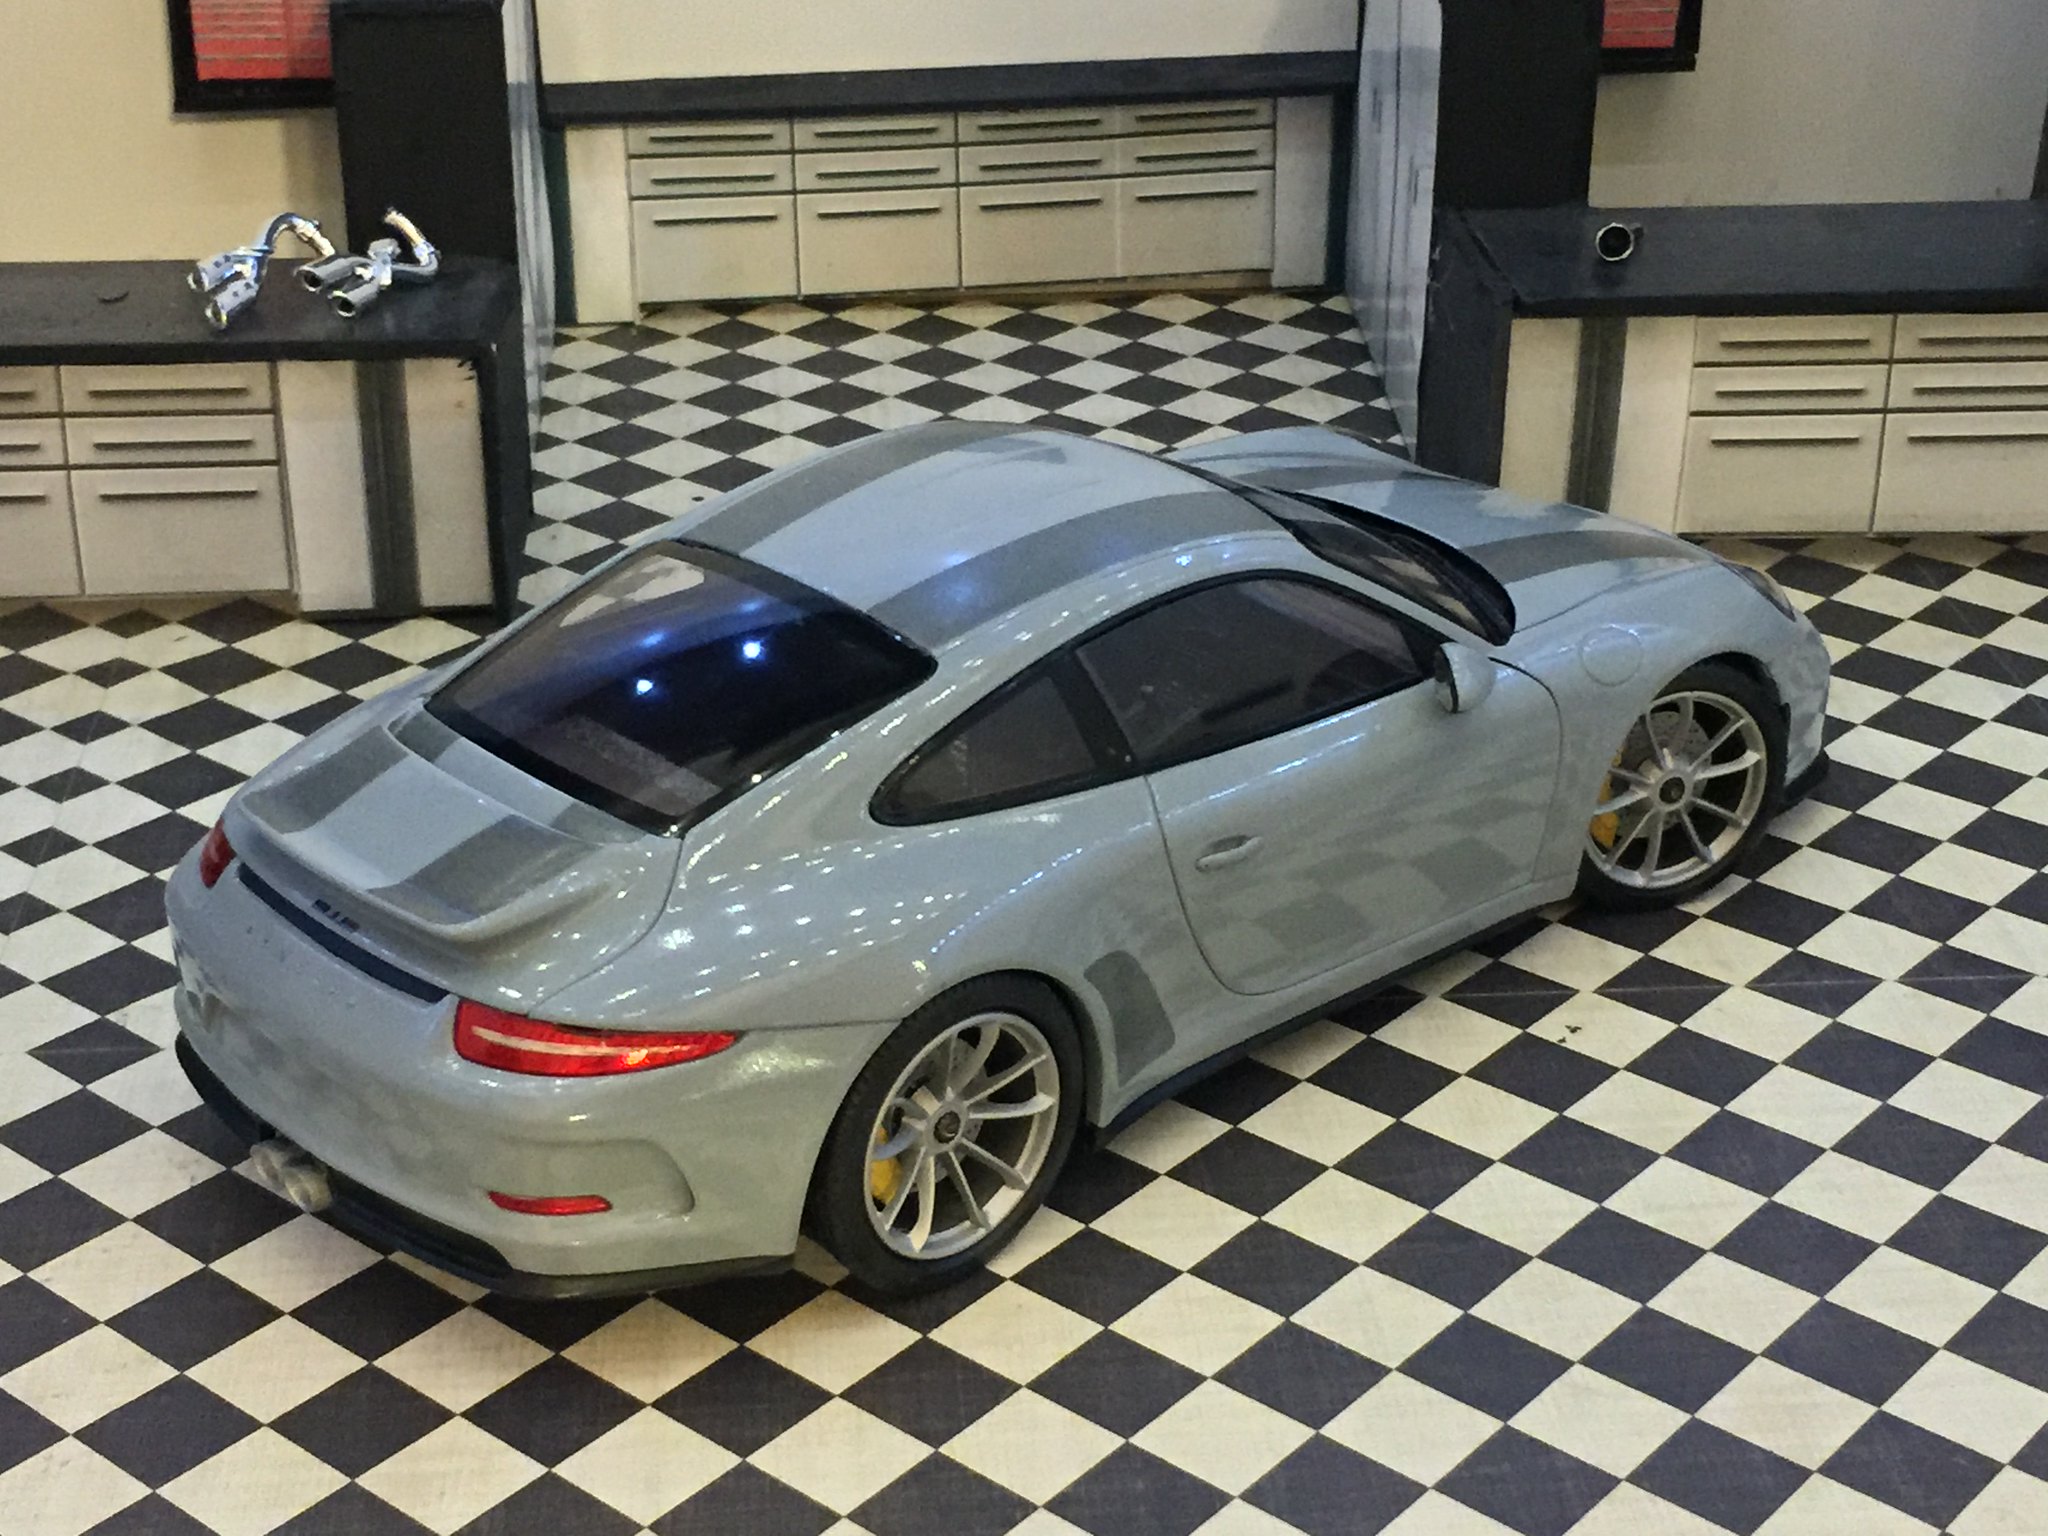
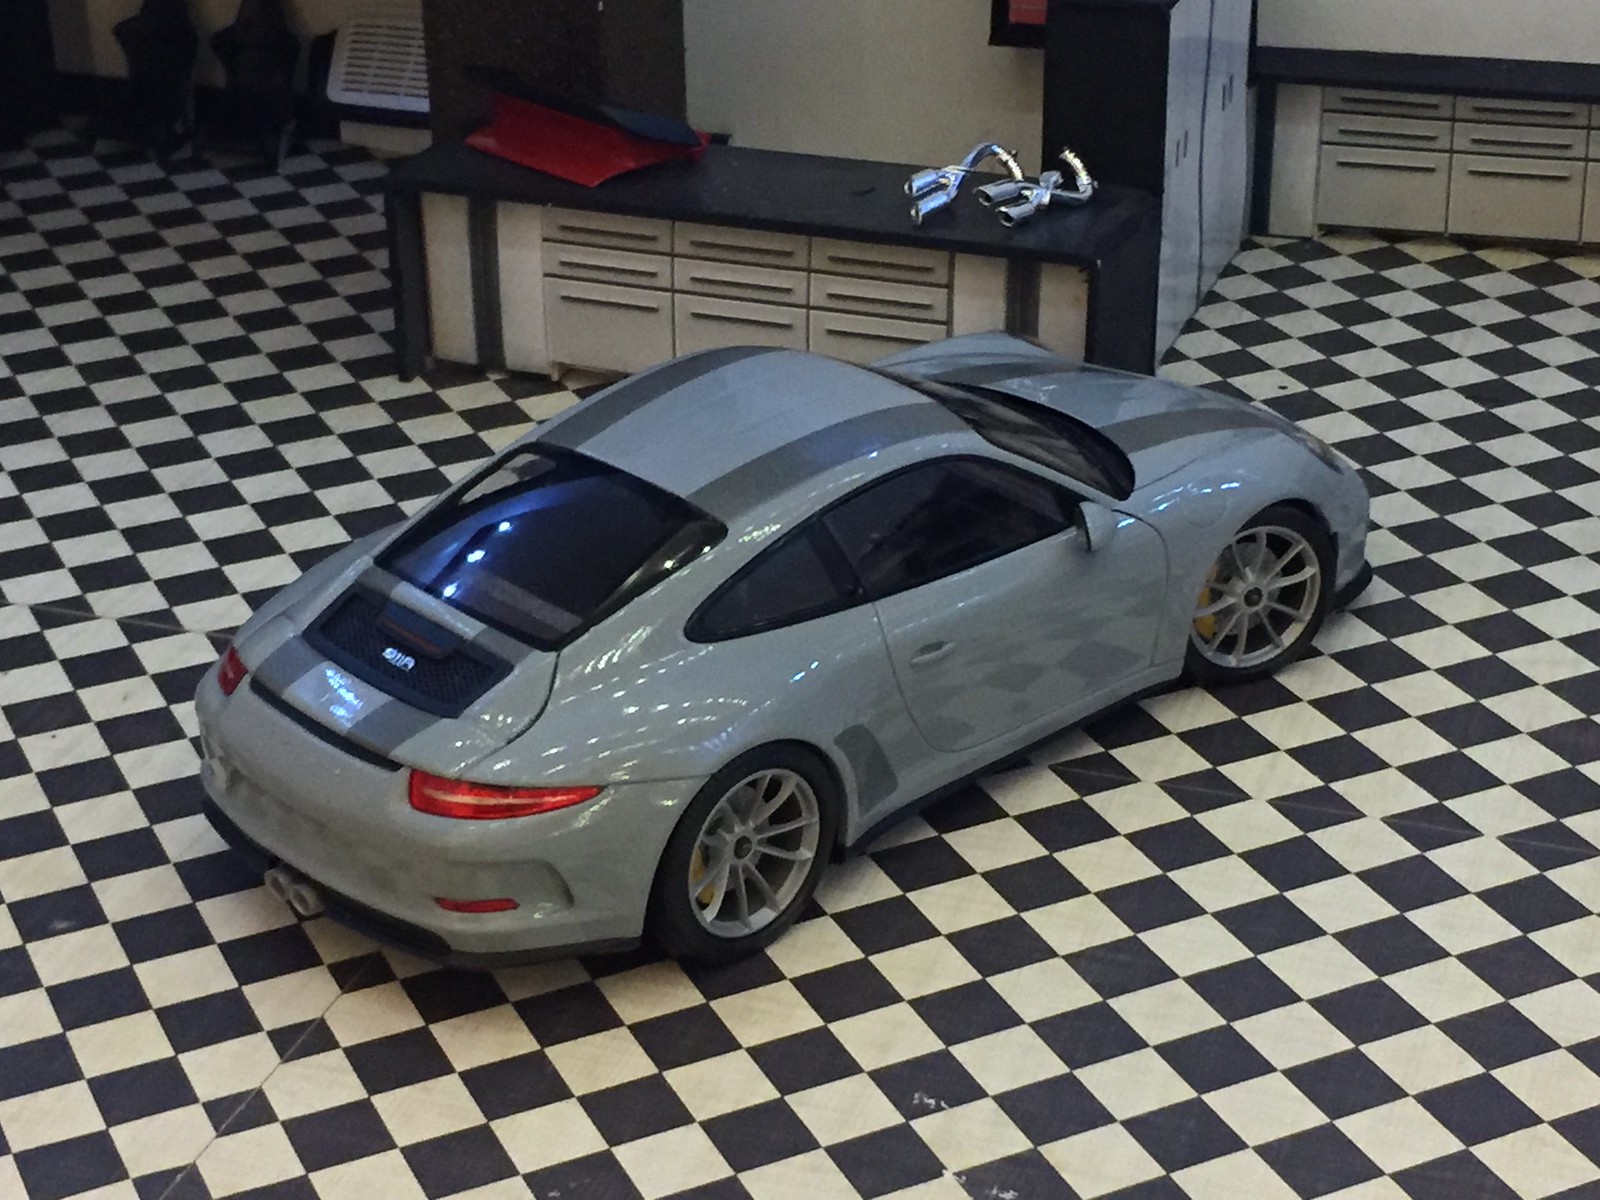
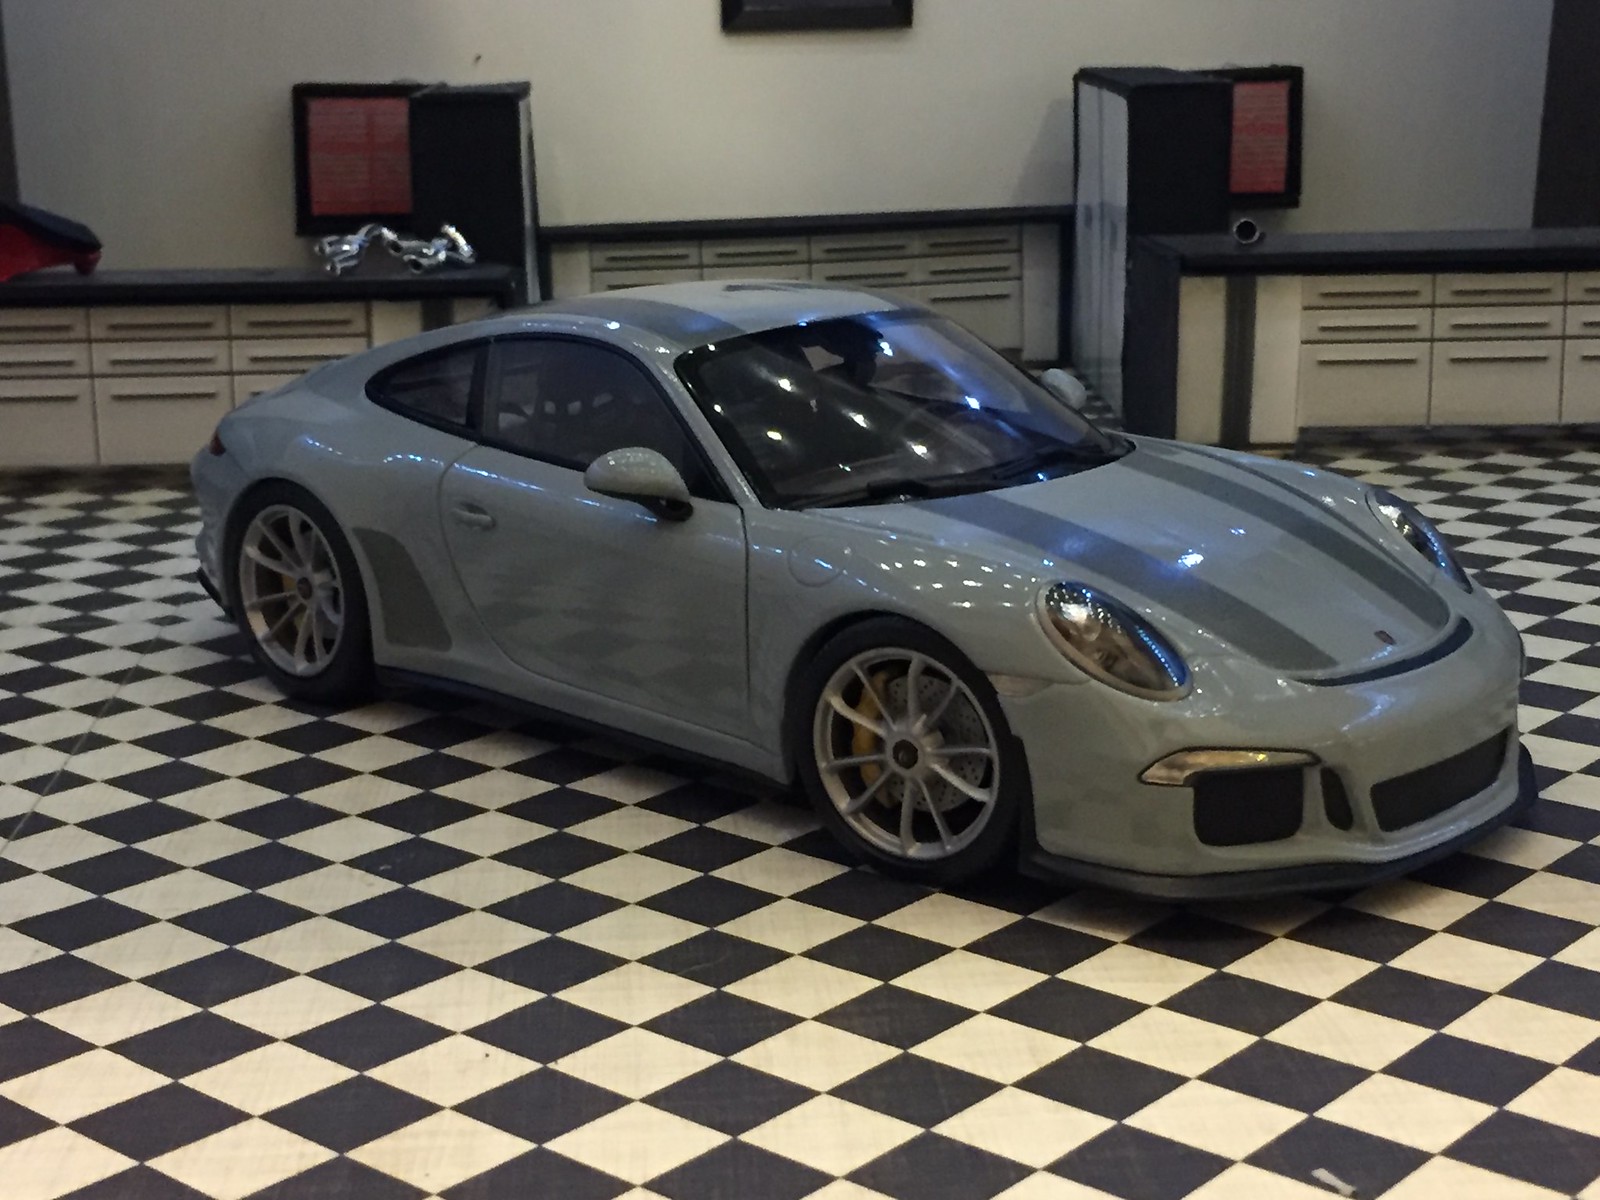
Ok, so I had to go back to the drawing board with my custom build spoiler/rear decklid....the center section is fine however the other pieces had some issues due to how thin they need to be to fit appropriately. With that, I was a bit bored and the old rear decklid was staring back at my from my work bench; so I came up with my "alternate version" rear decklid. I'm calling it a "vented ducktail"....LOL
I must admit, I actually really dig the way it turned out.....there was lots of cutting and filing involved to get rid of the wing sections that propped up the big wing....and then some contouring and smoothing to get the overall shape and design right. At any rate, I'm still plugging away with the custom trunk/spoiler but decided to let it cure for at least a week or so before I even futz with it again.
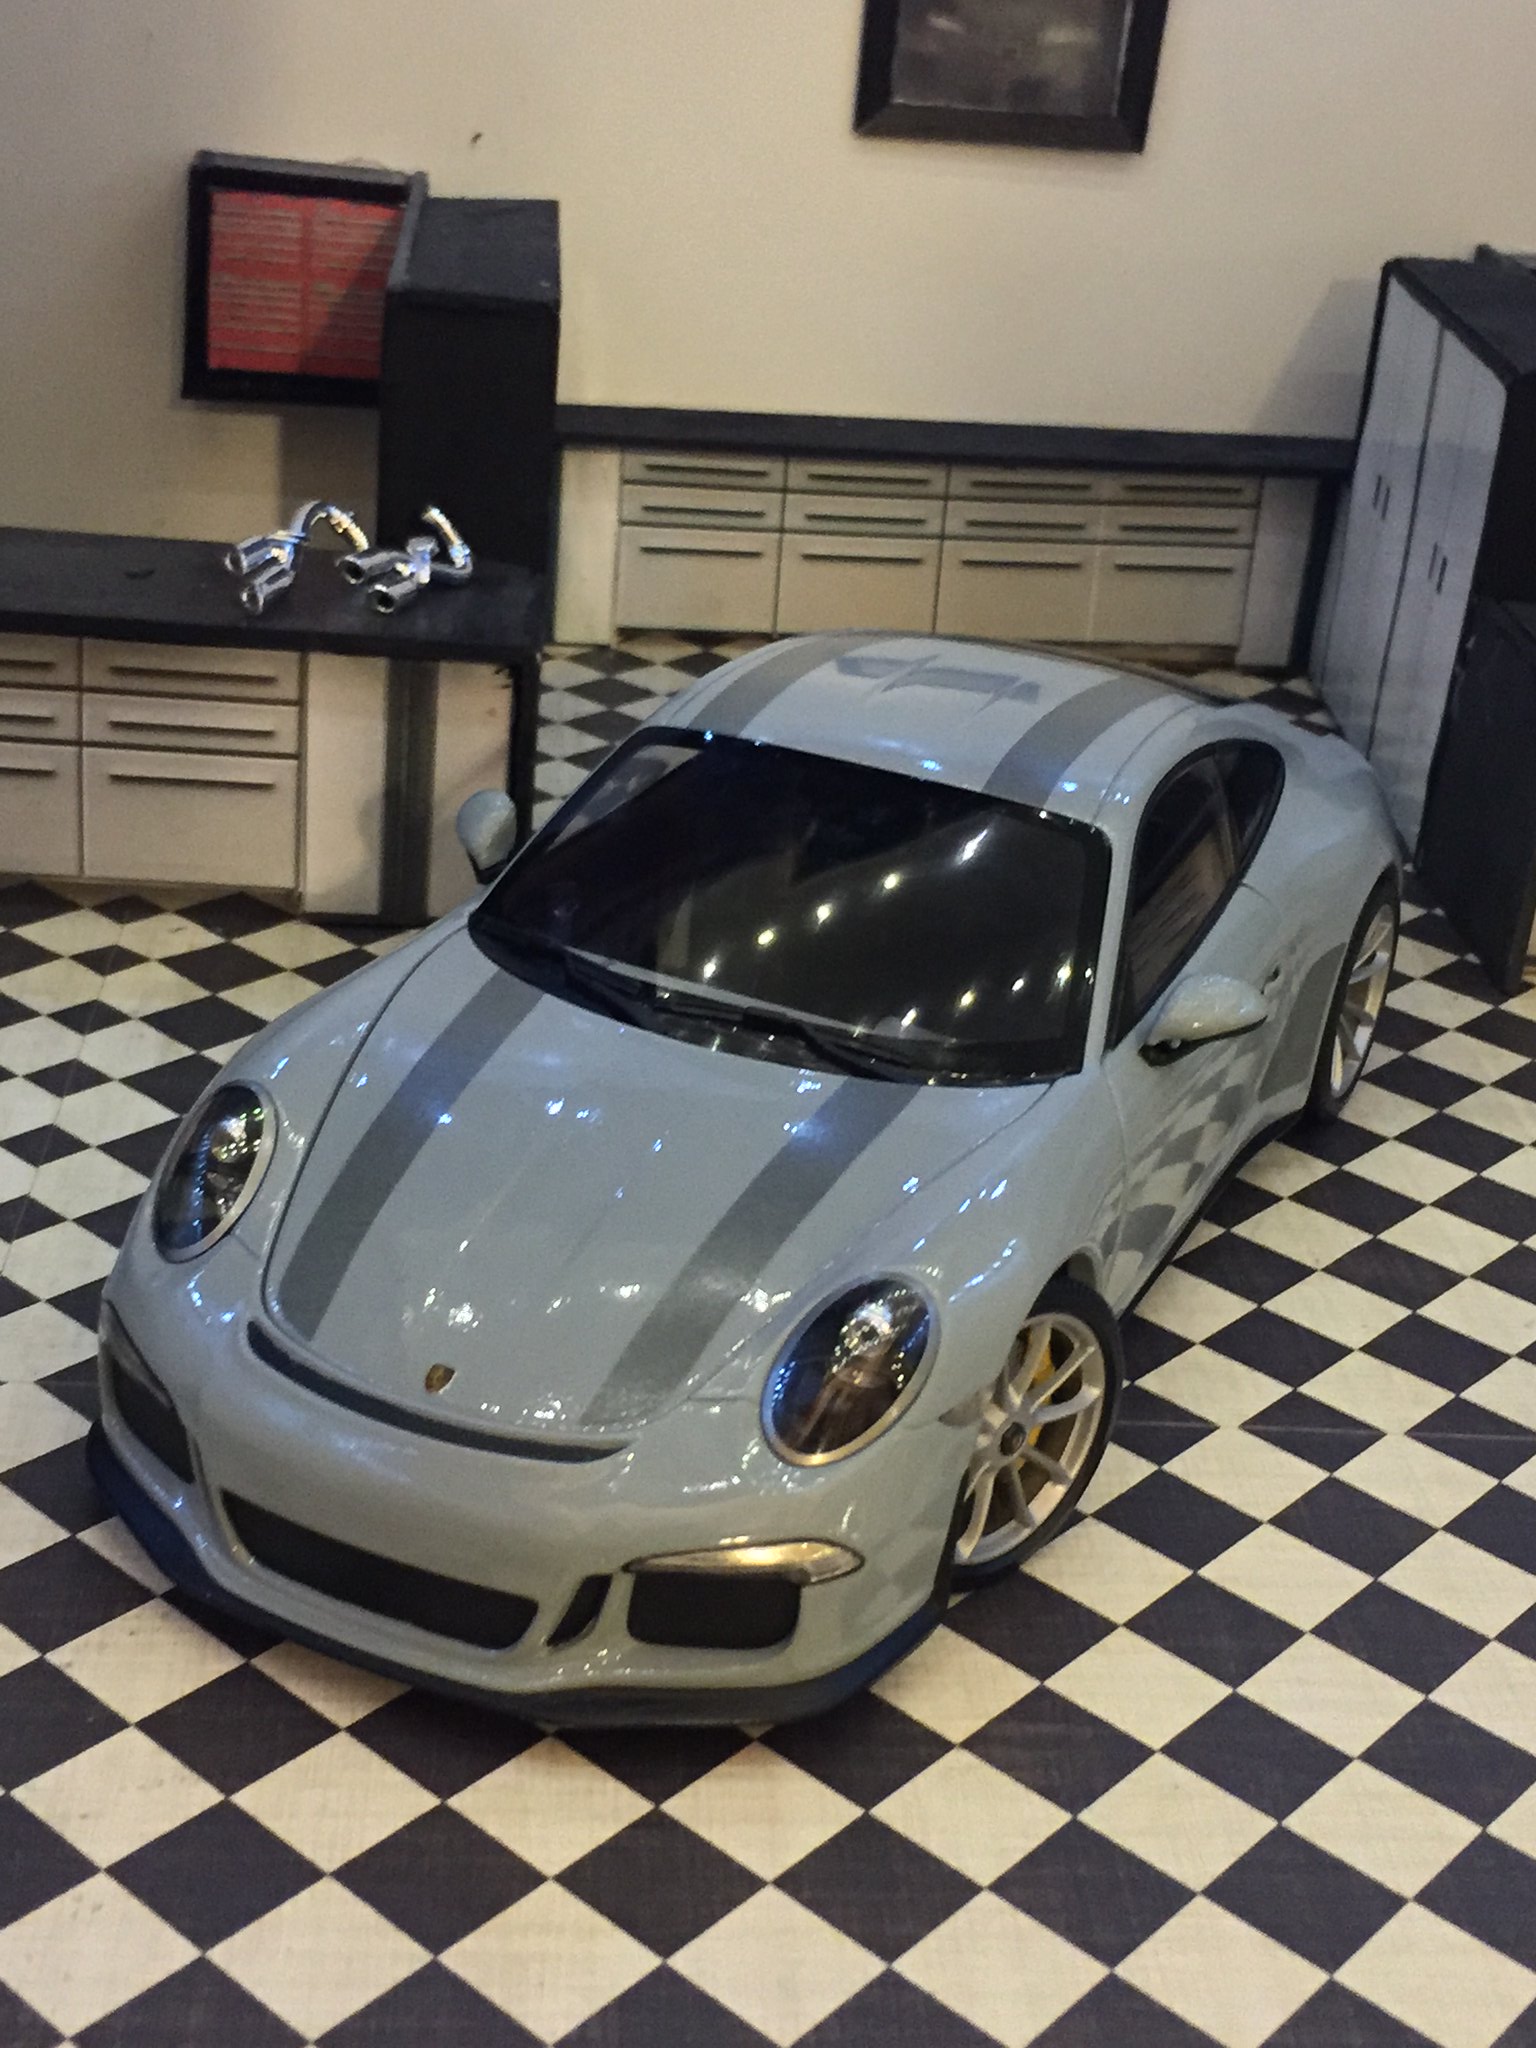
In addition, I was looking at a bunch of pics and it appeared that my original stripes were on the narrow side, so I pulled them, printed out a couple of different wider sets and eventually came up with what you see in the pics below.

I must admit, I actually really dig the way it turned out.....there was lots of cutting and filing involved to get rid of the wing sections that propped up the big wing....and then some contouring and smoothing to get the overall shape and design right. At any rate, I'm still plugging away with the custom trunk/spoiler but decided to let it cure for at least a week or so before I even futz with it again.
In addition, I was looking at a bunch of pics and it appeared that my original stripes were on the narrow side, so I pulled them, printed out a couple of different wider sets and eventually came up with what you see in the pics below.
Re: Update 7Sept2016 - 911R Custom Build
Lovely, you should be proud of it!
Re: Update 7Sept2016 - 911R Custom Build
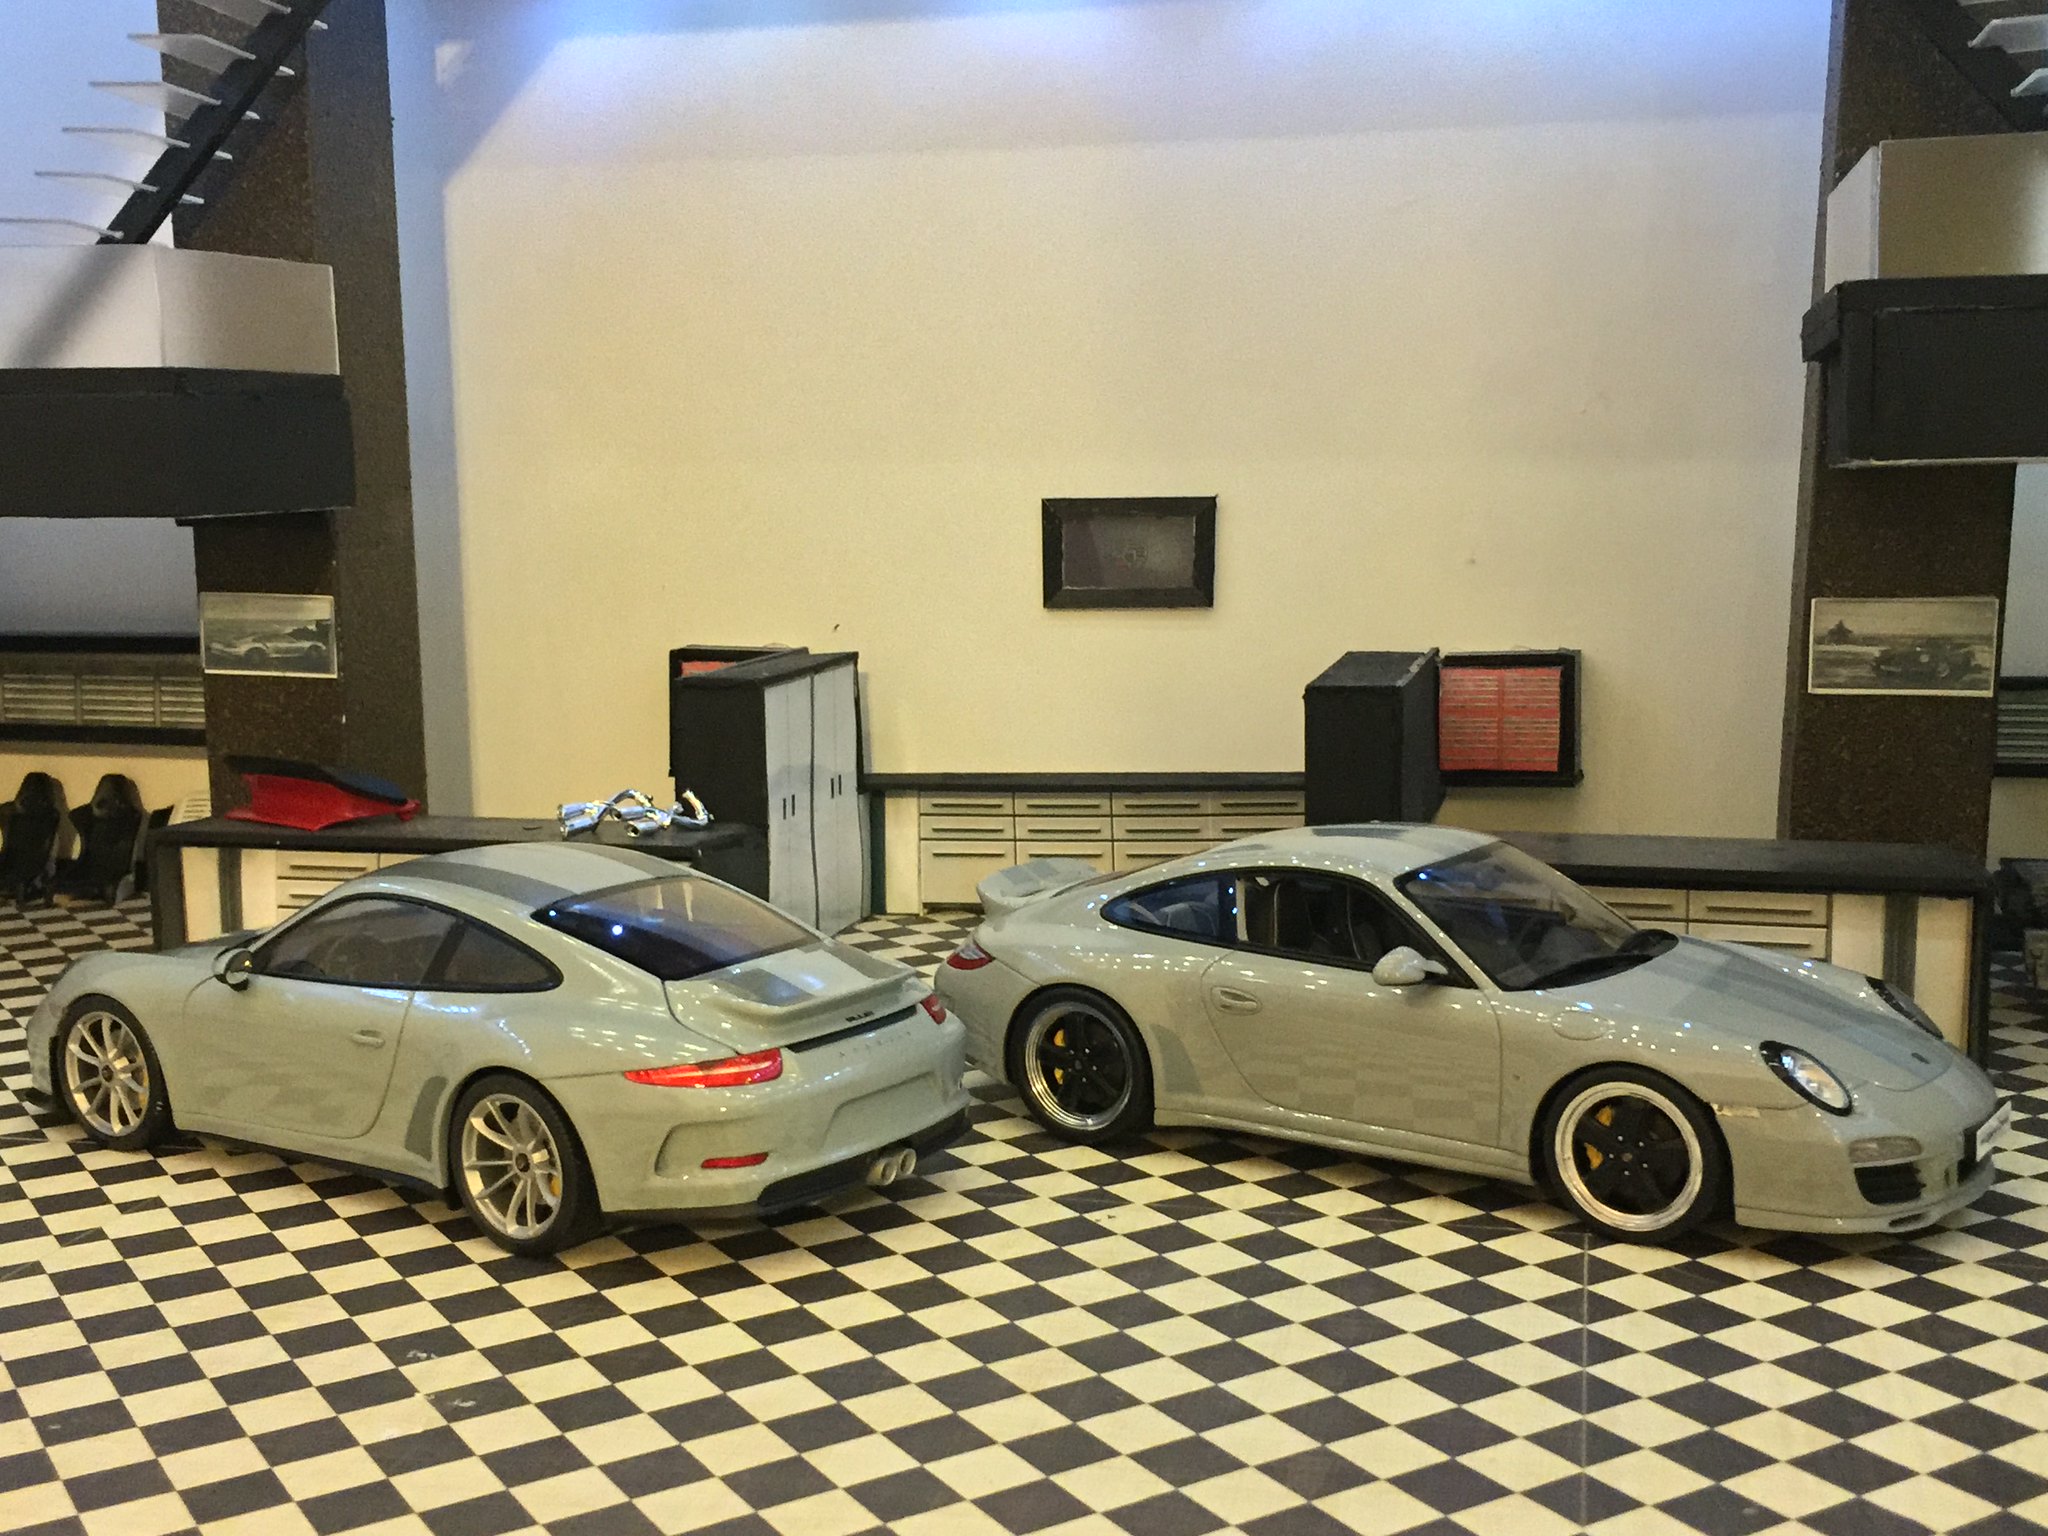
love the new wing. Your R looks awesome with the Sport Classic...wish I'd bought that one.
-
mazspd3jase
- .
- Posts: 337
- Joined: Tue Oct 14, 2014 1:54 am
- Location: Houston, Texas
Re: Update 9Sept2016 - 911R Custom Build-COMPLETED!
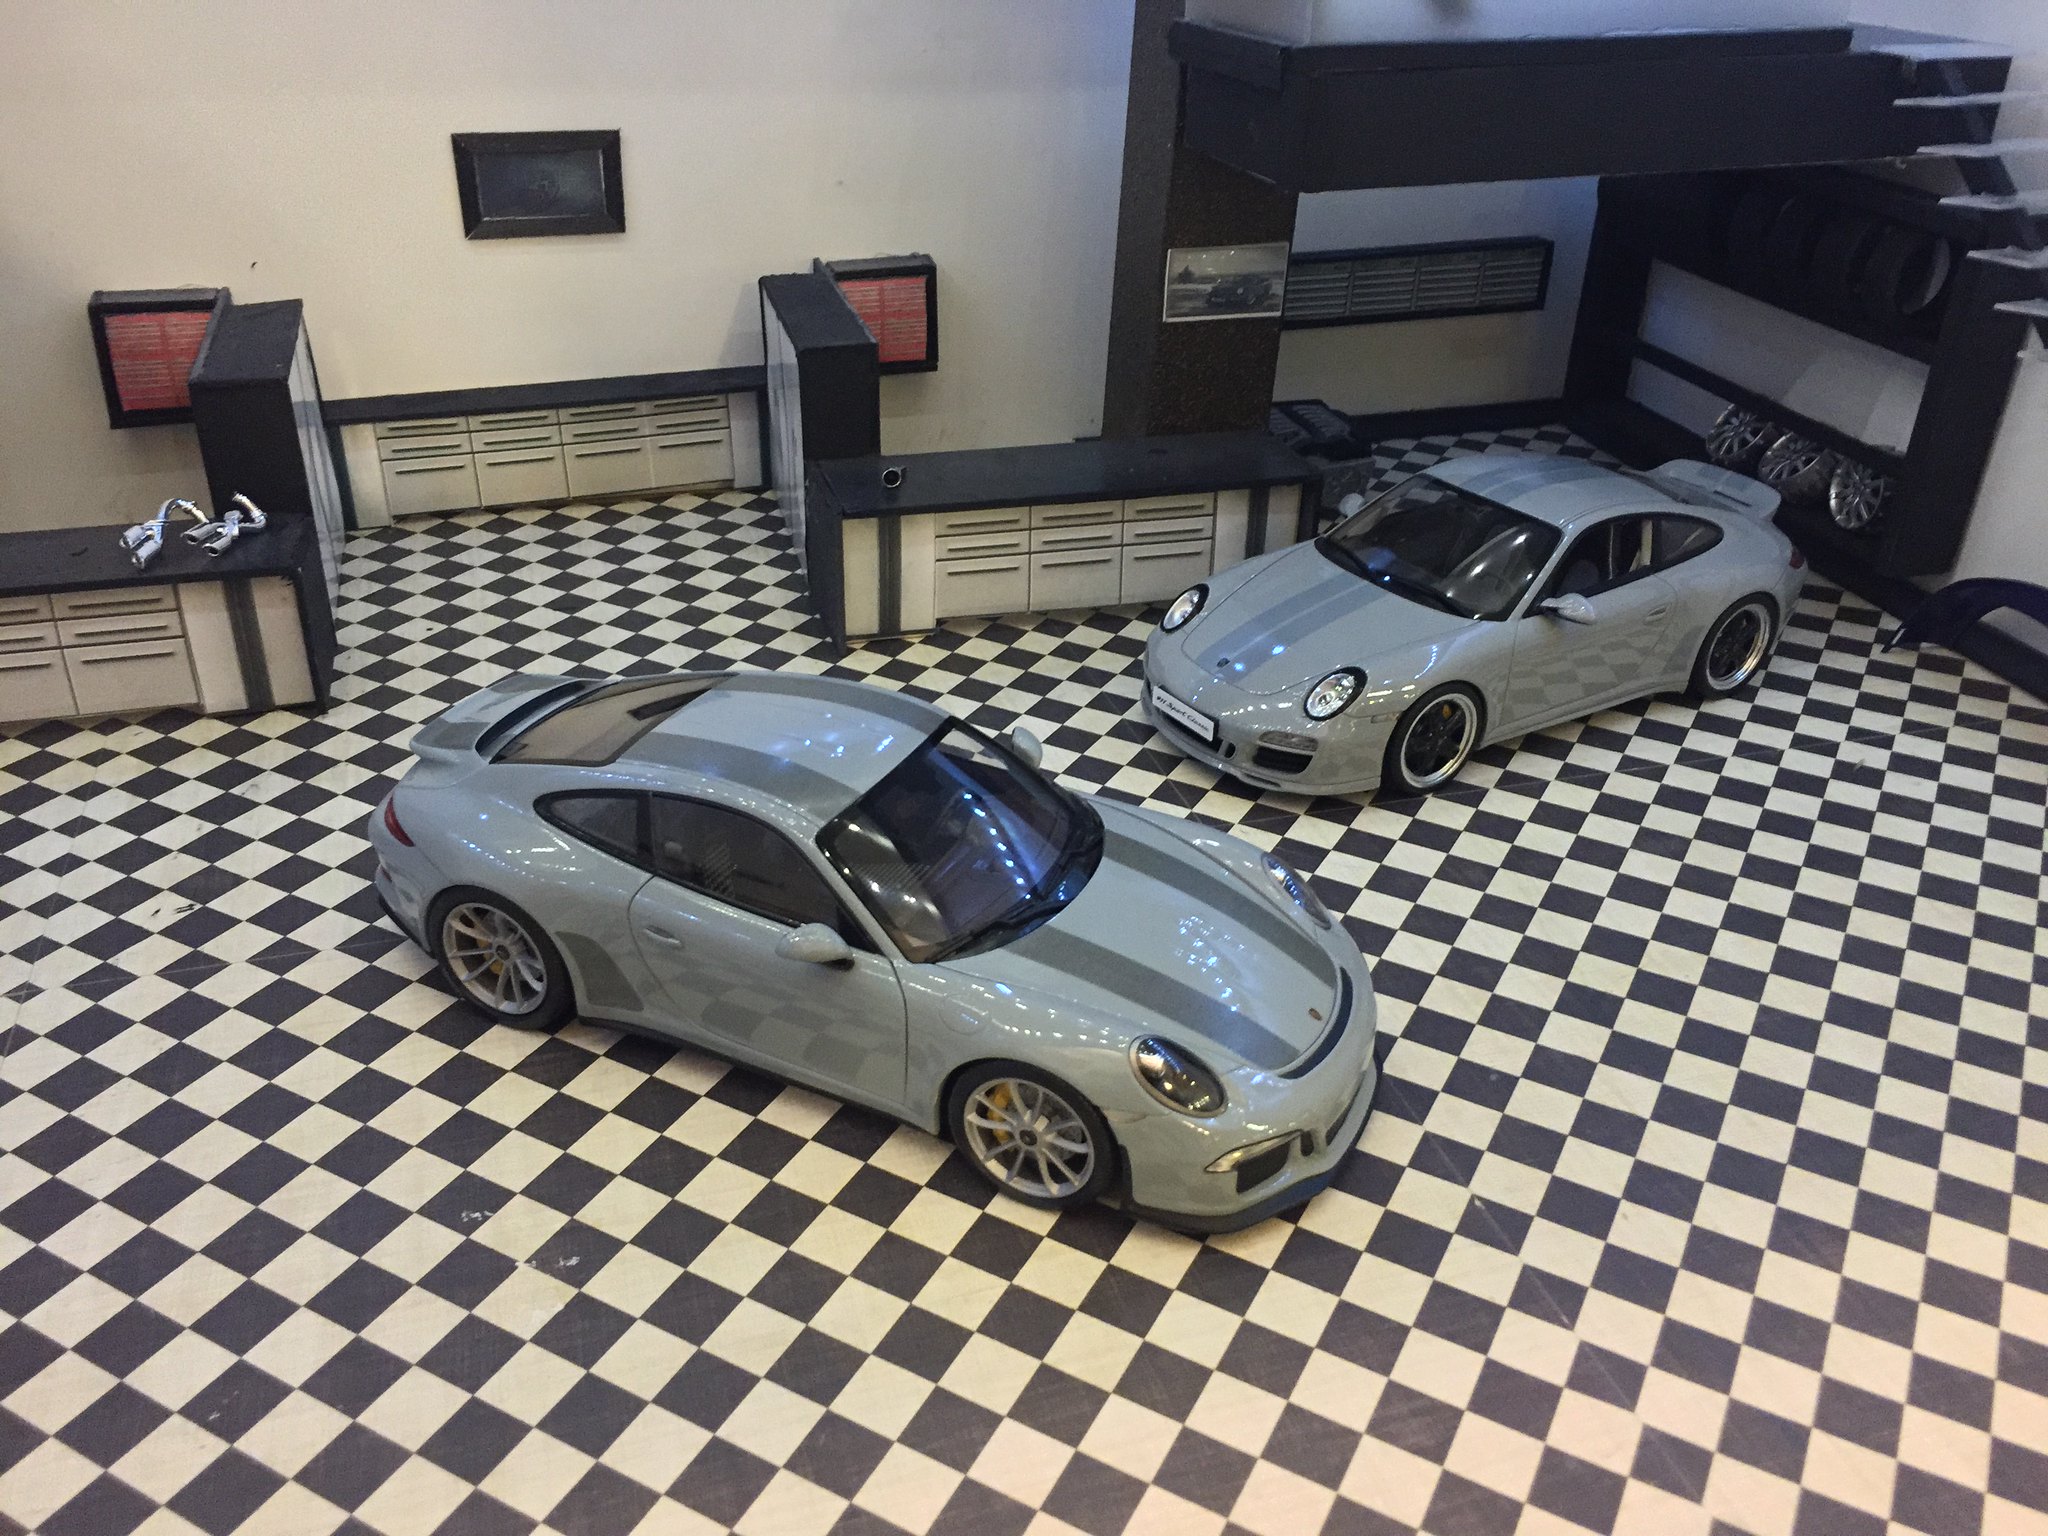
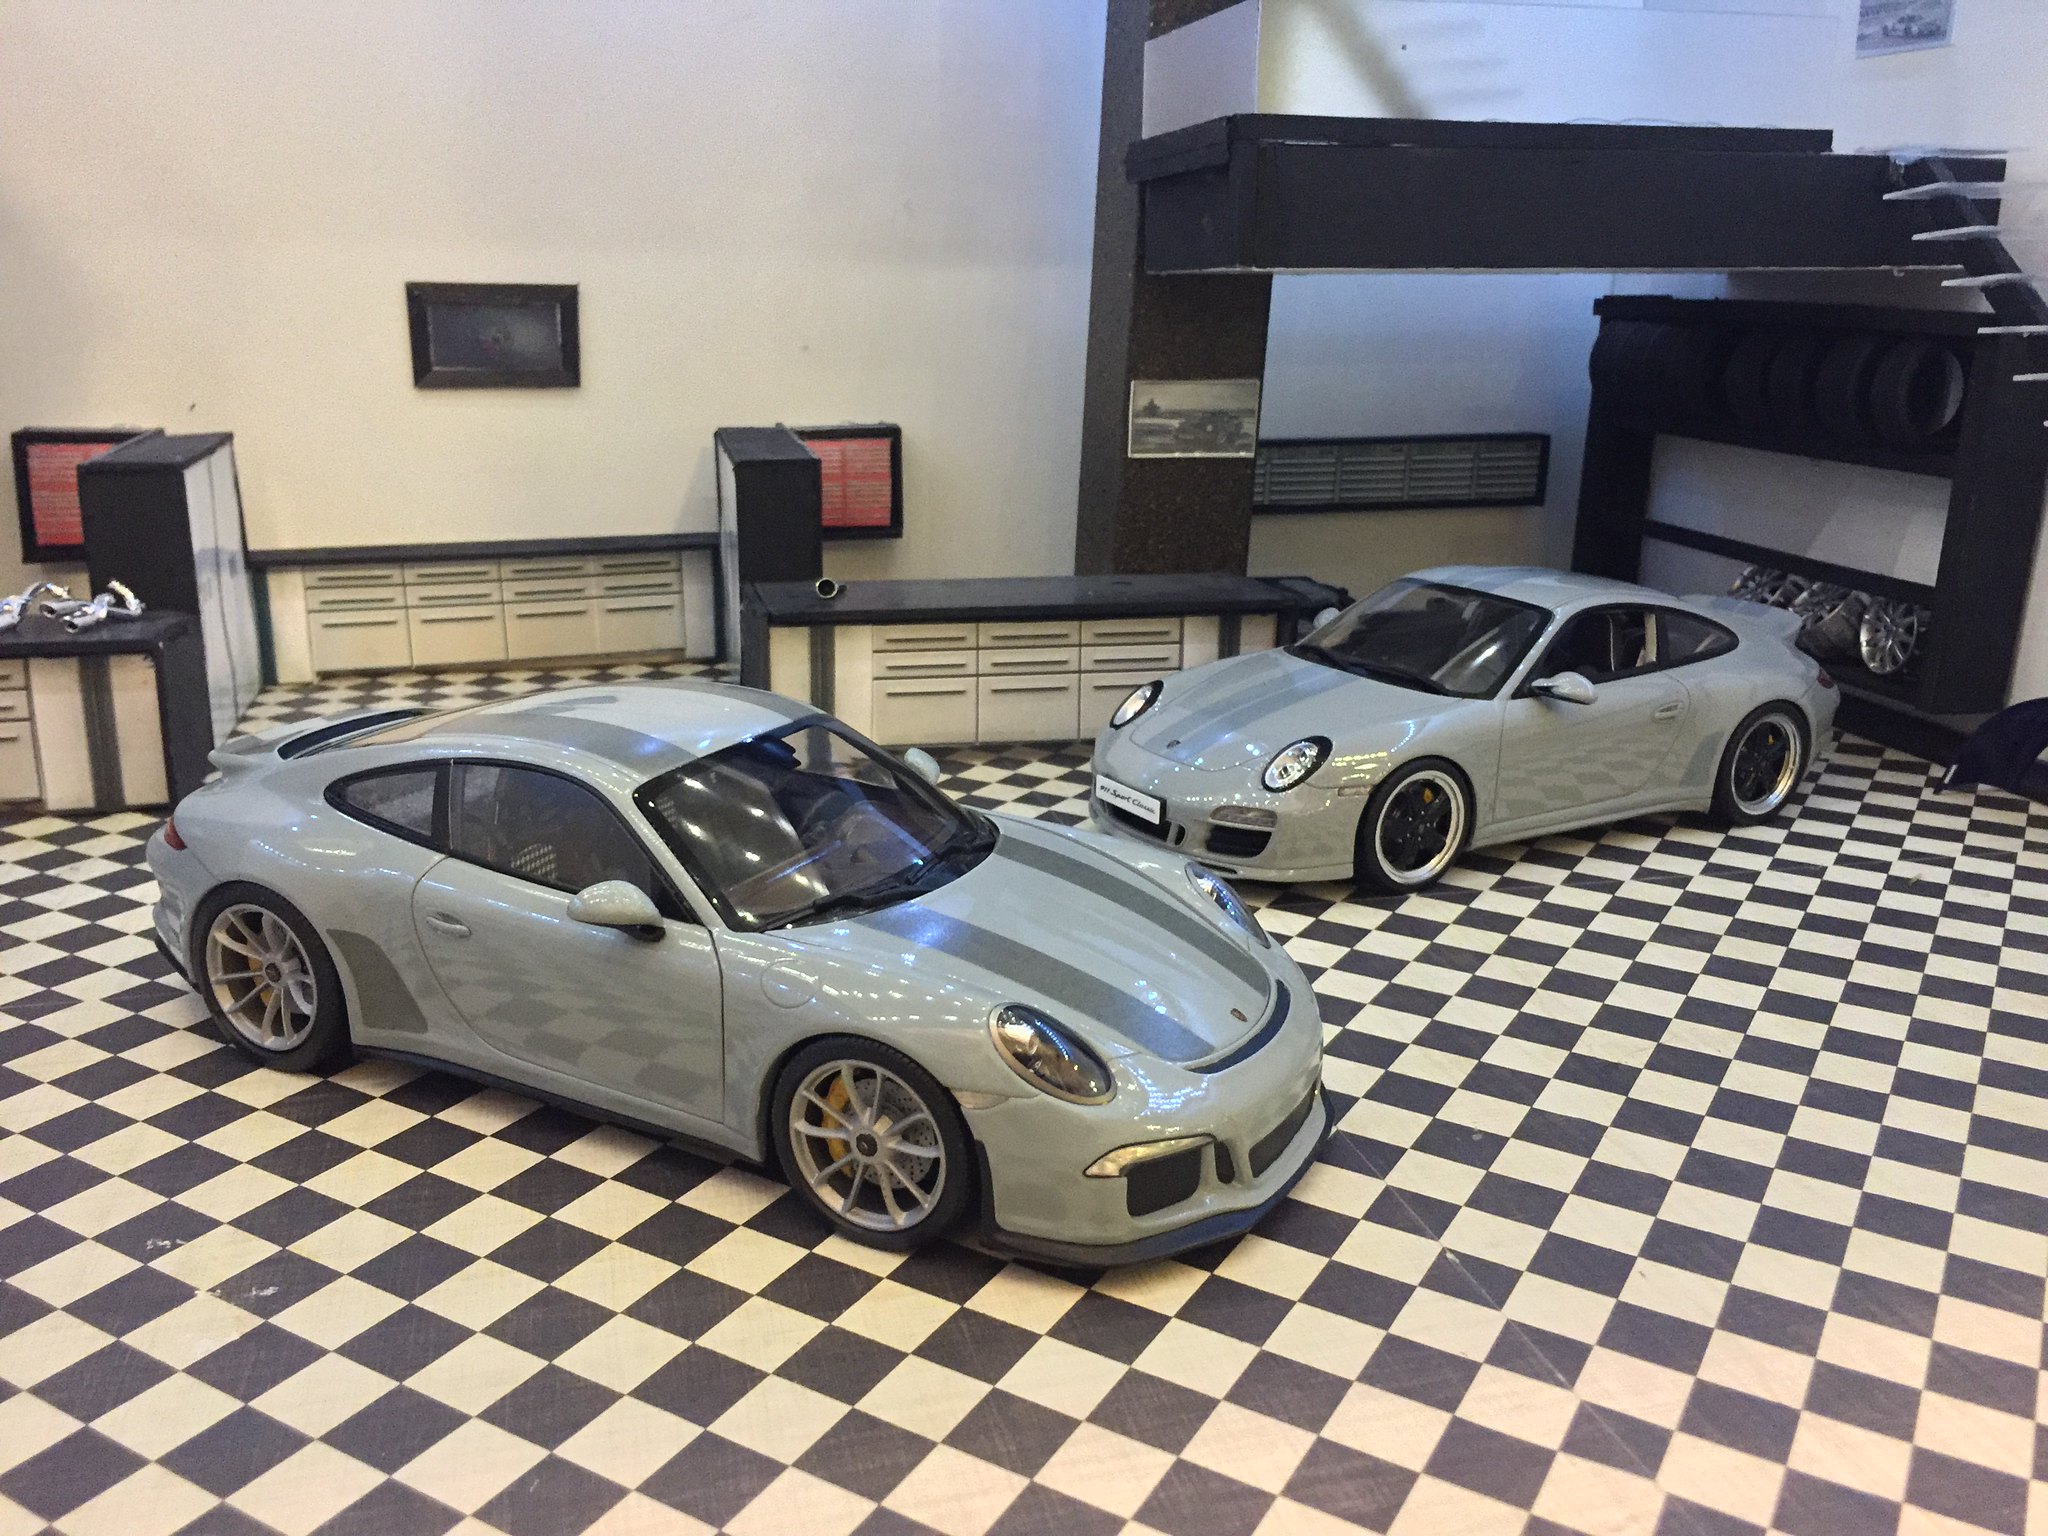
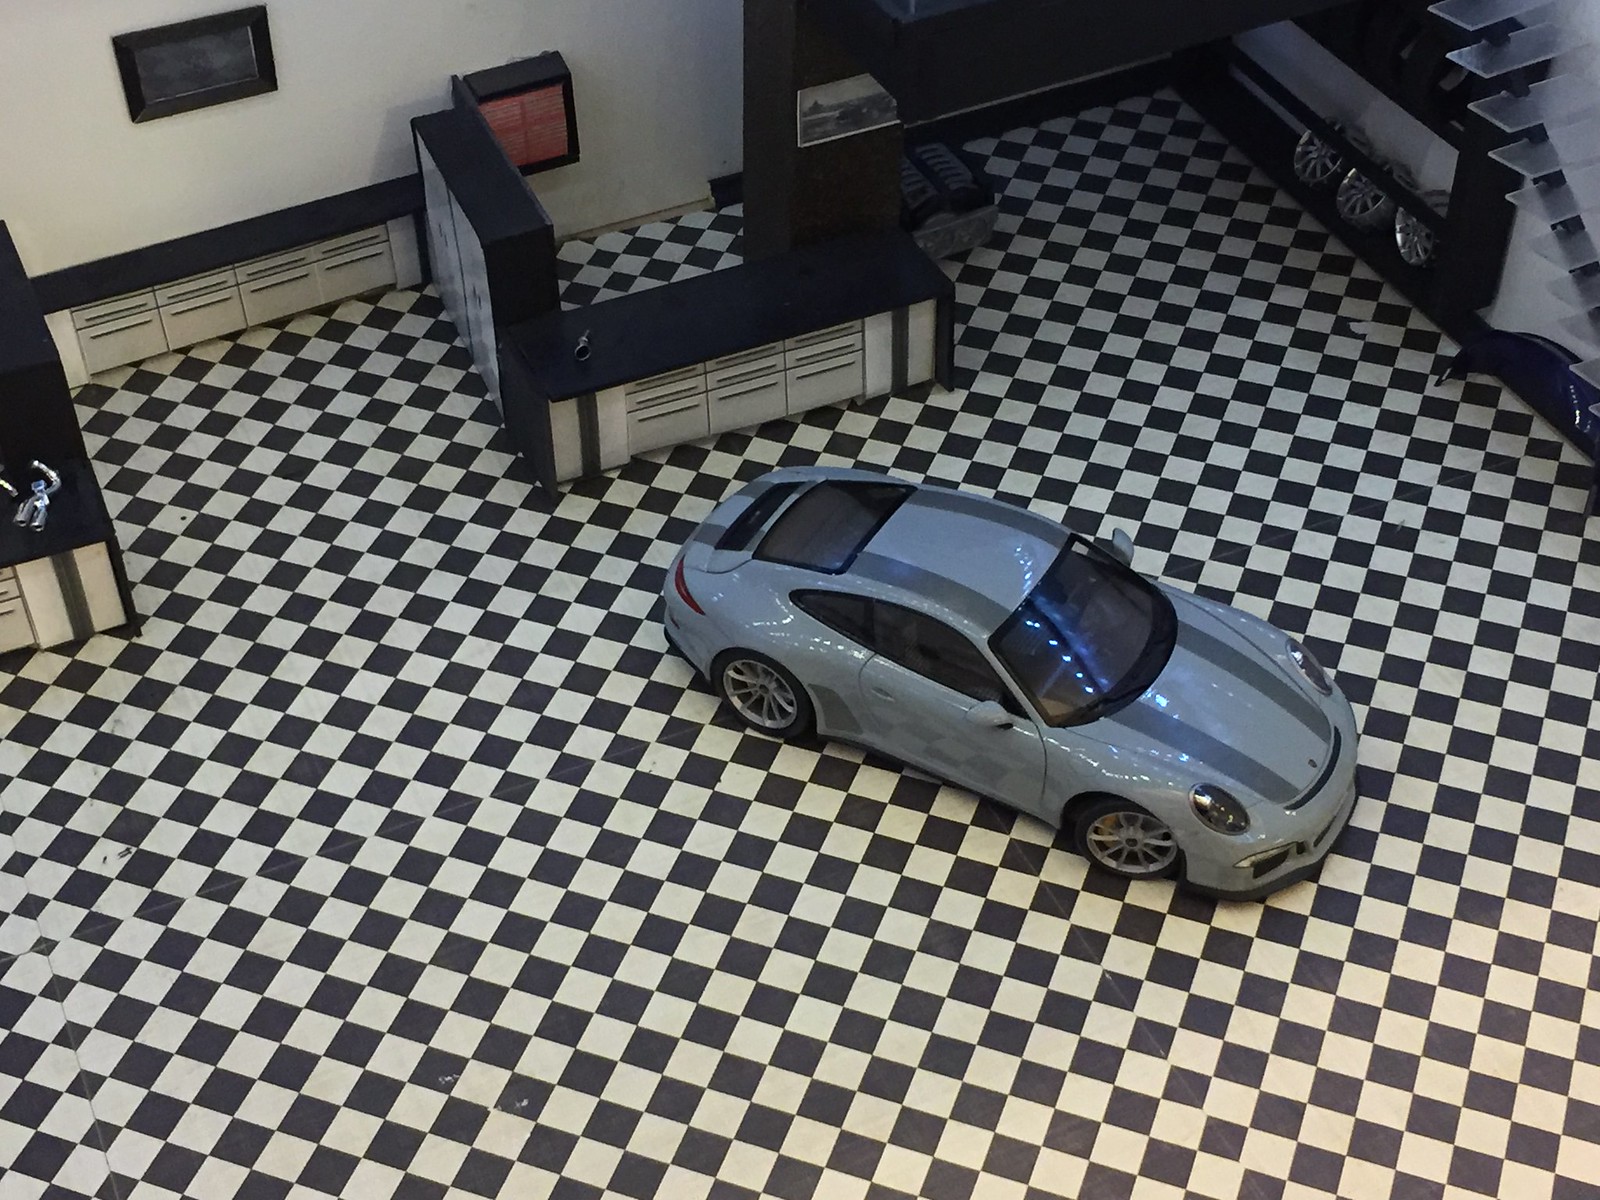
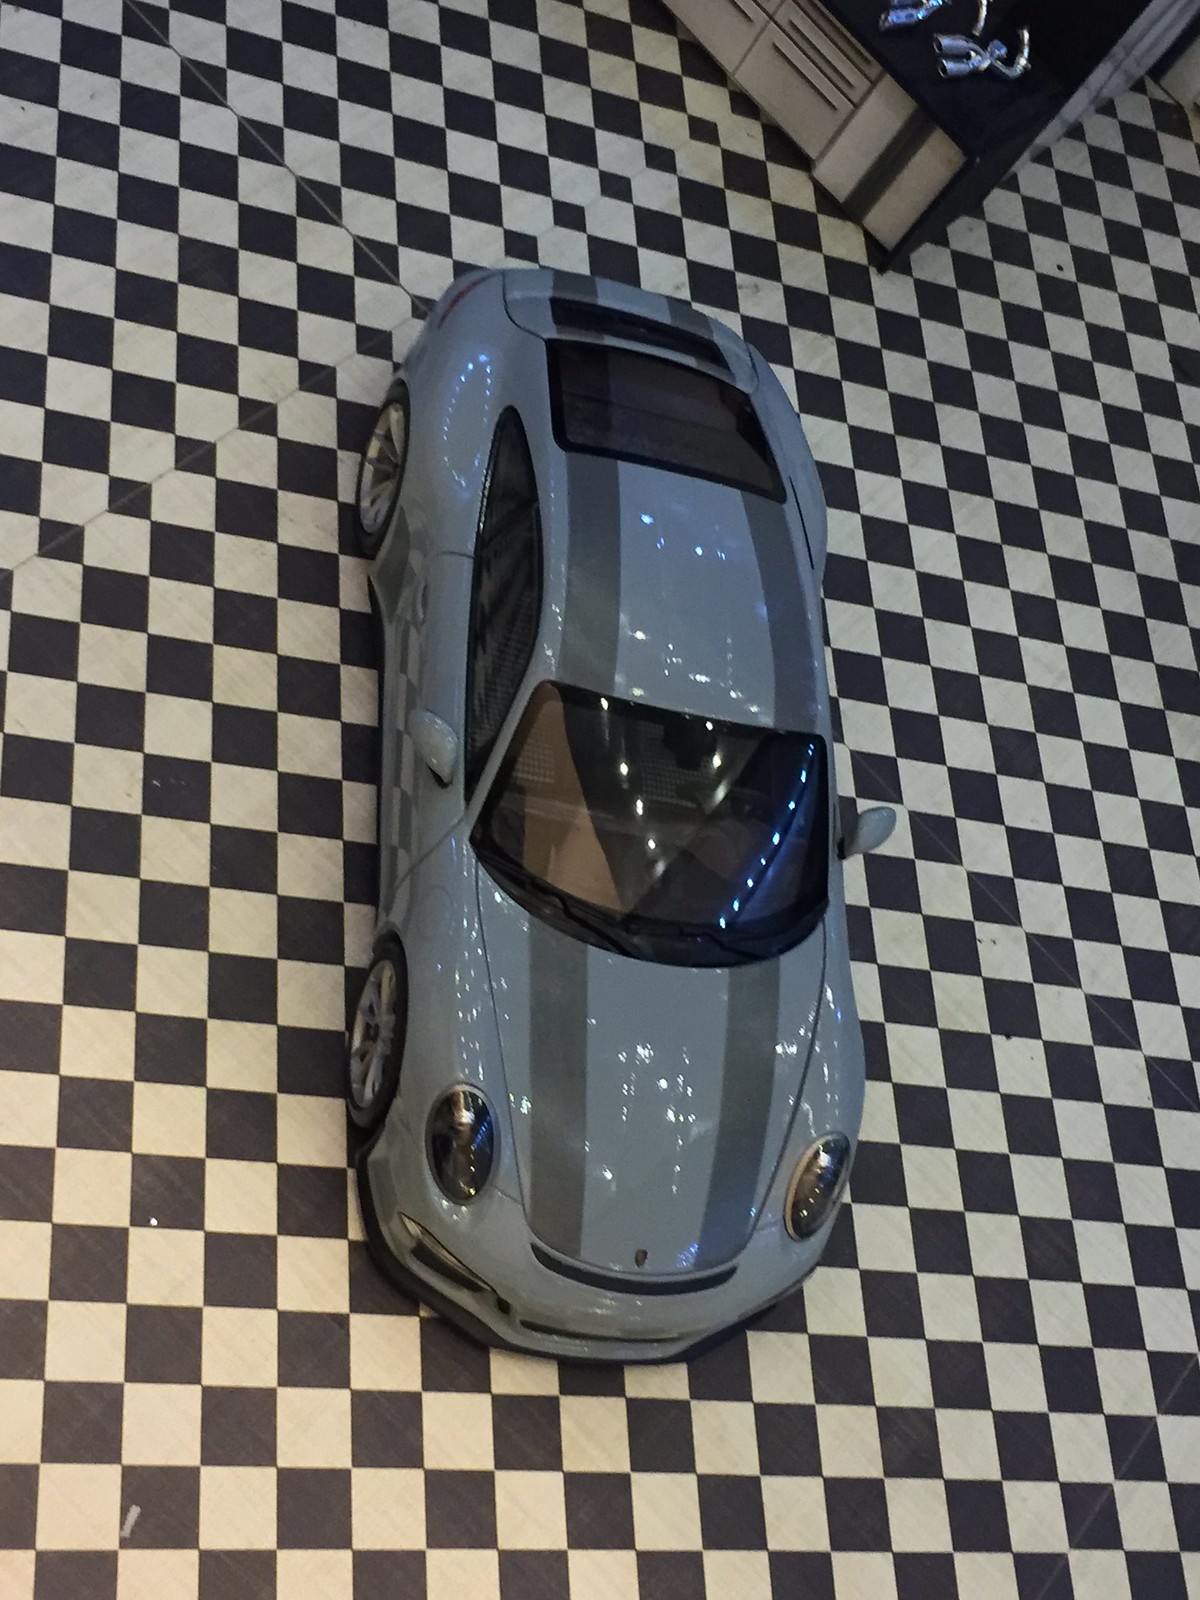
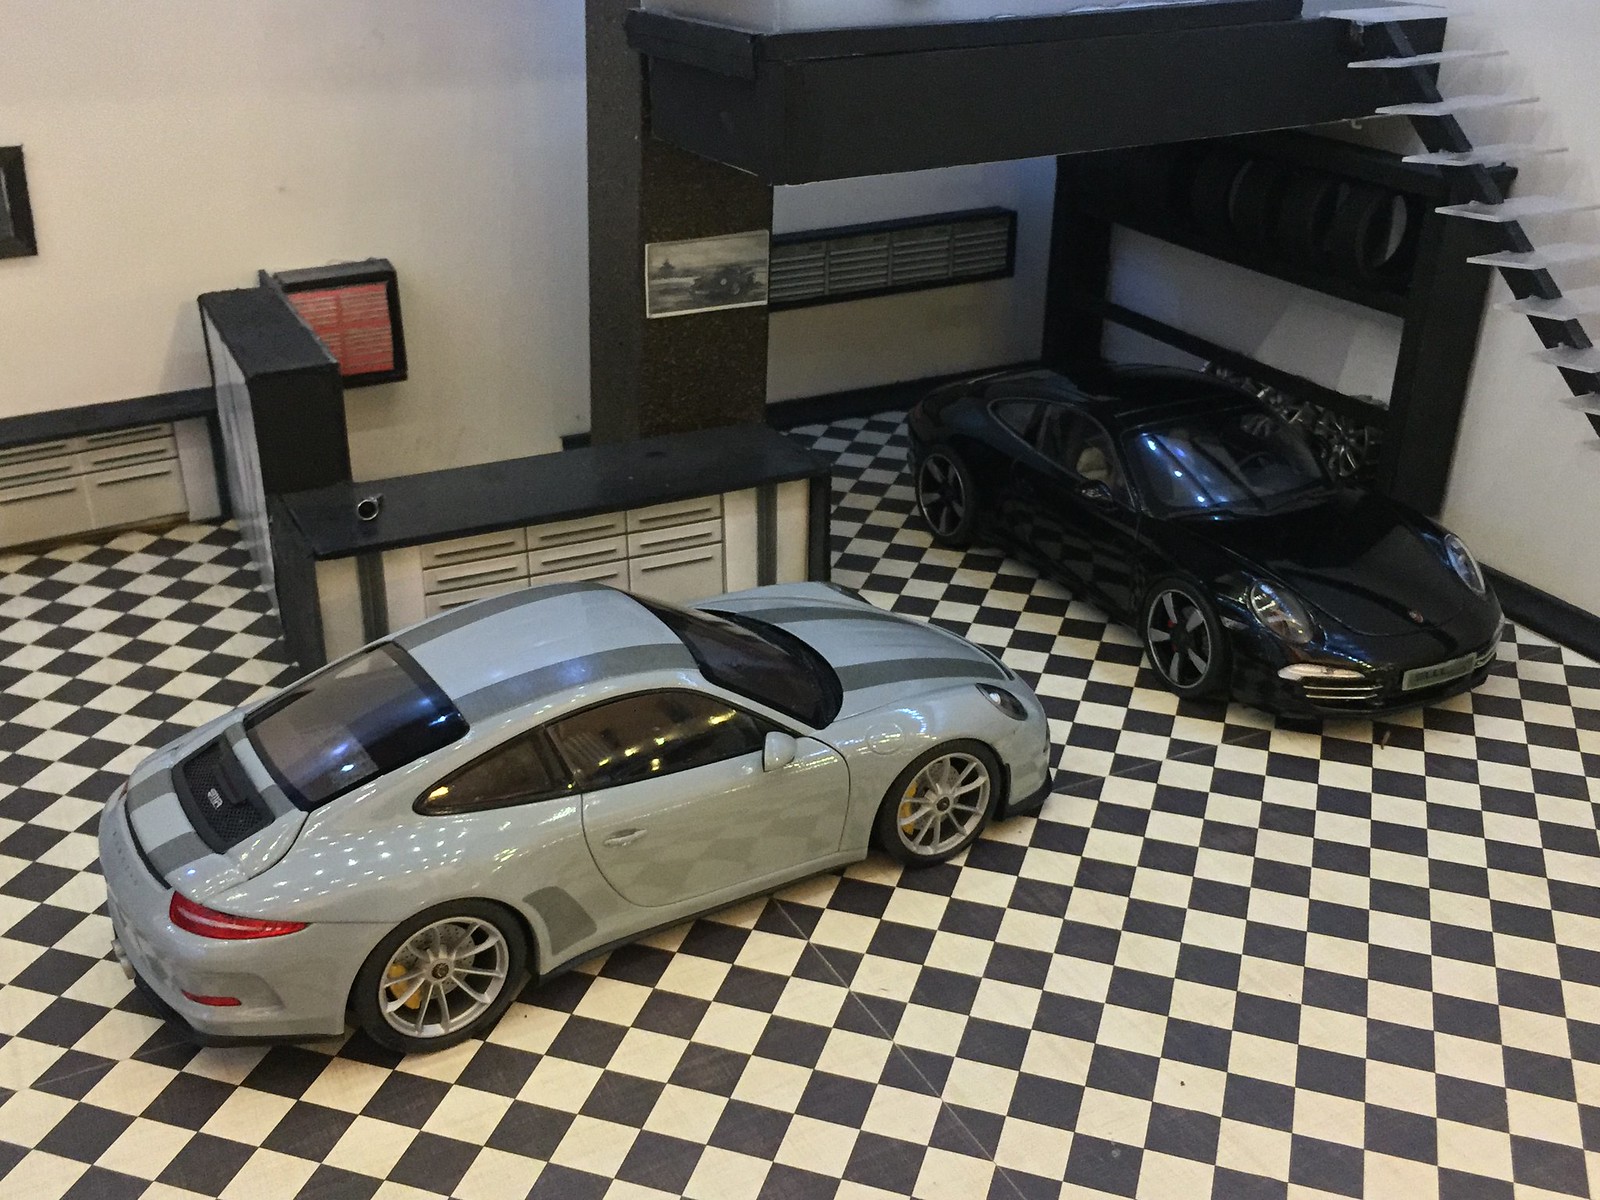
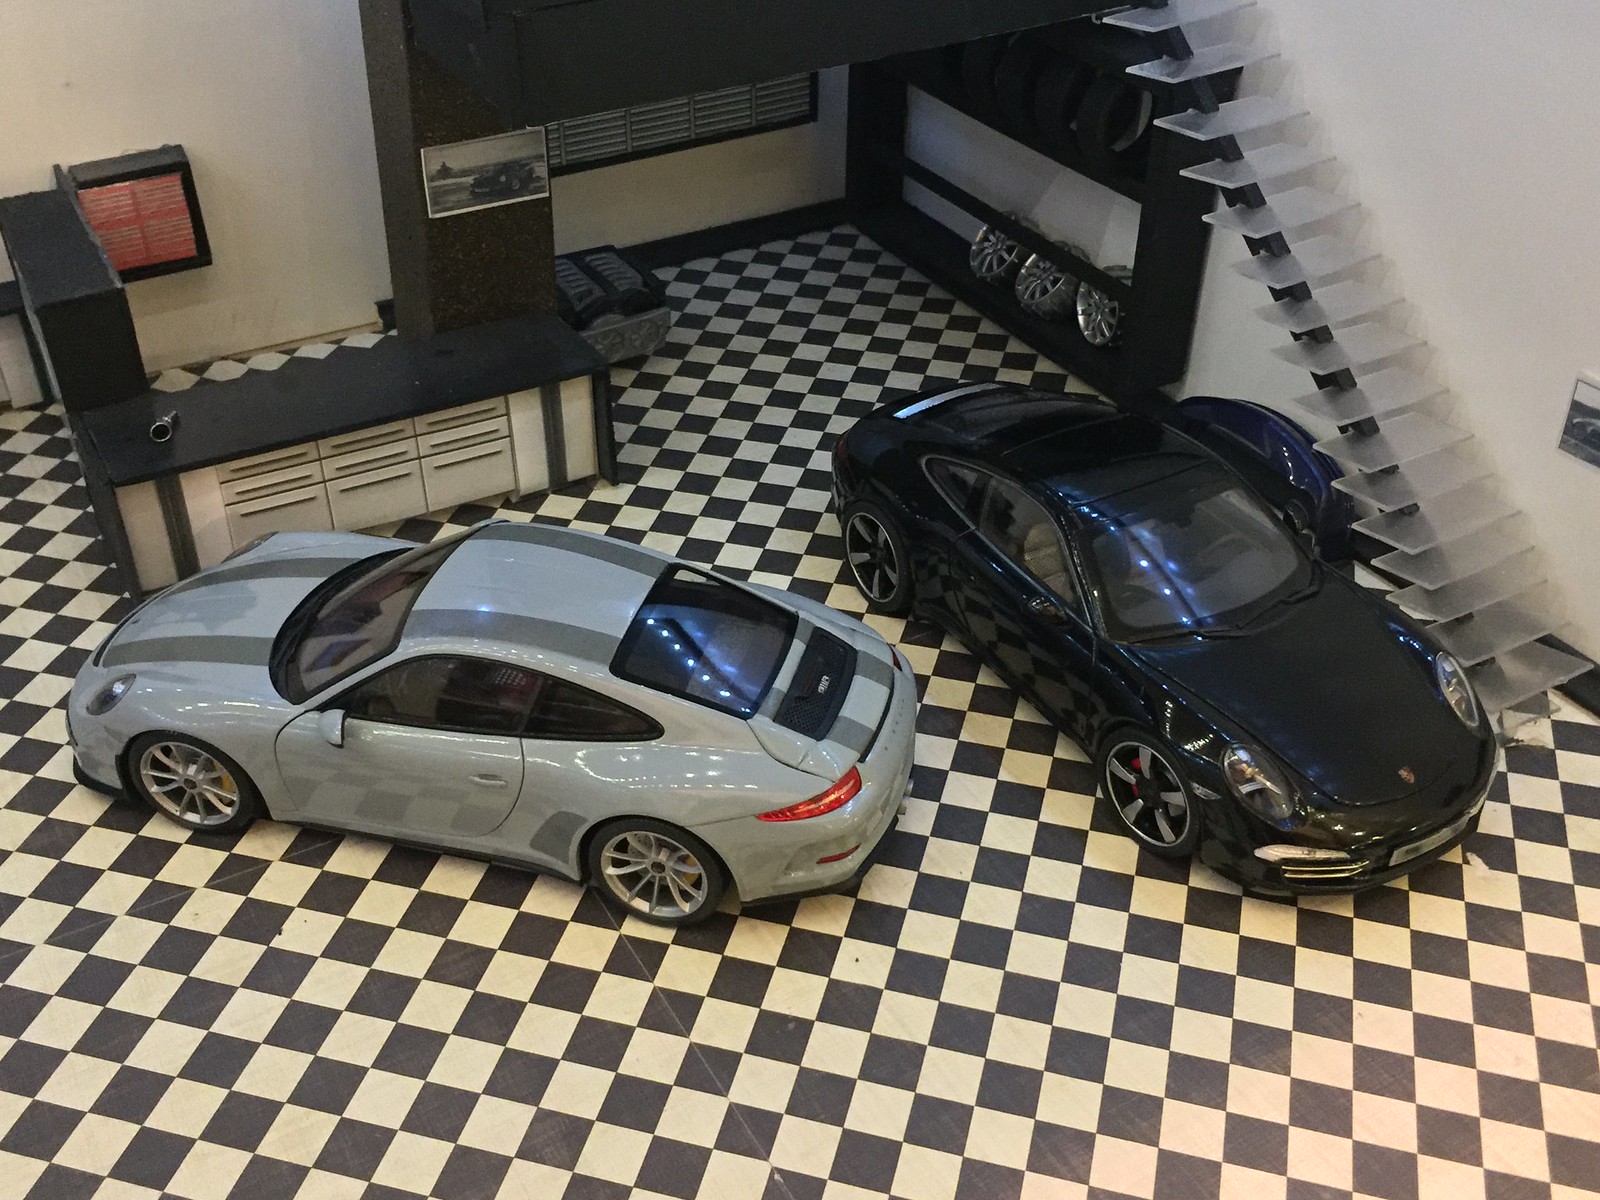
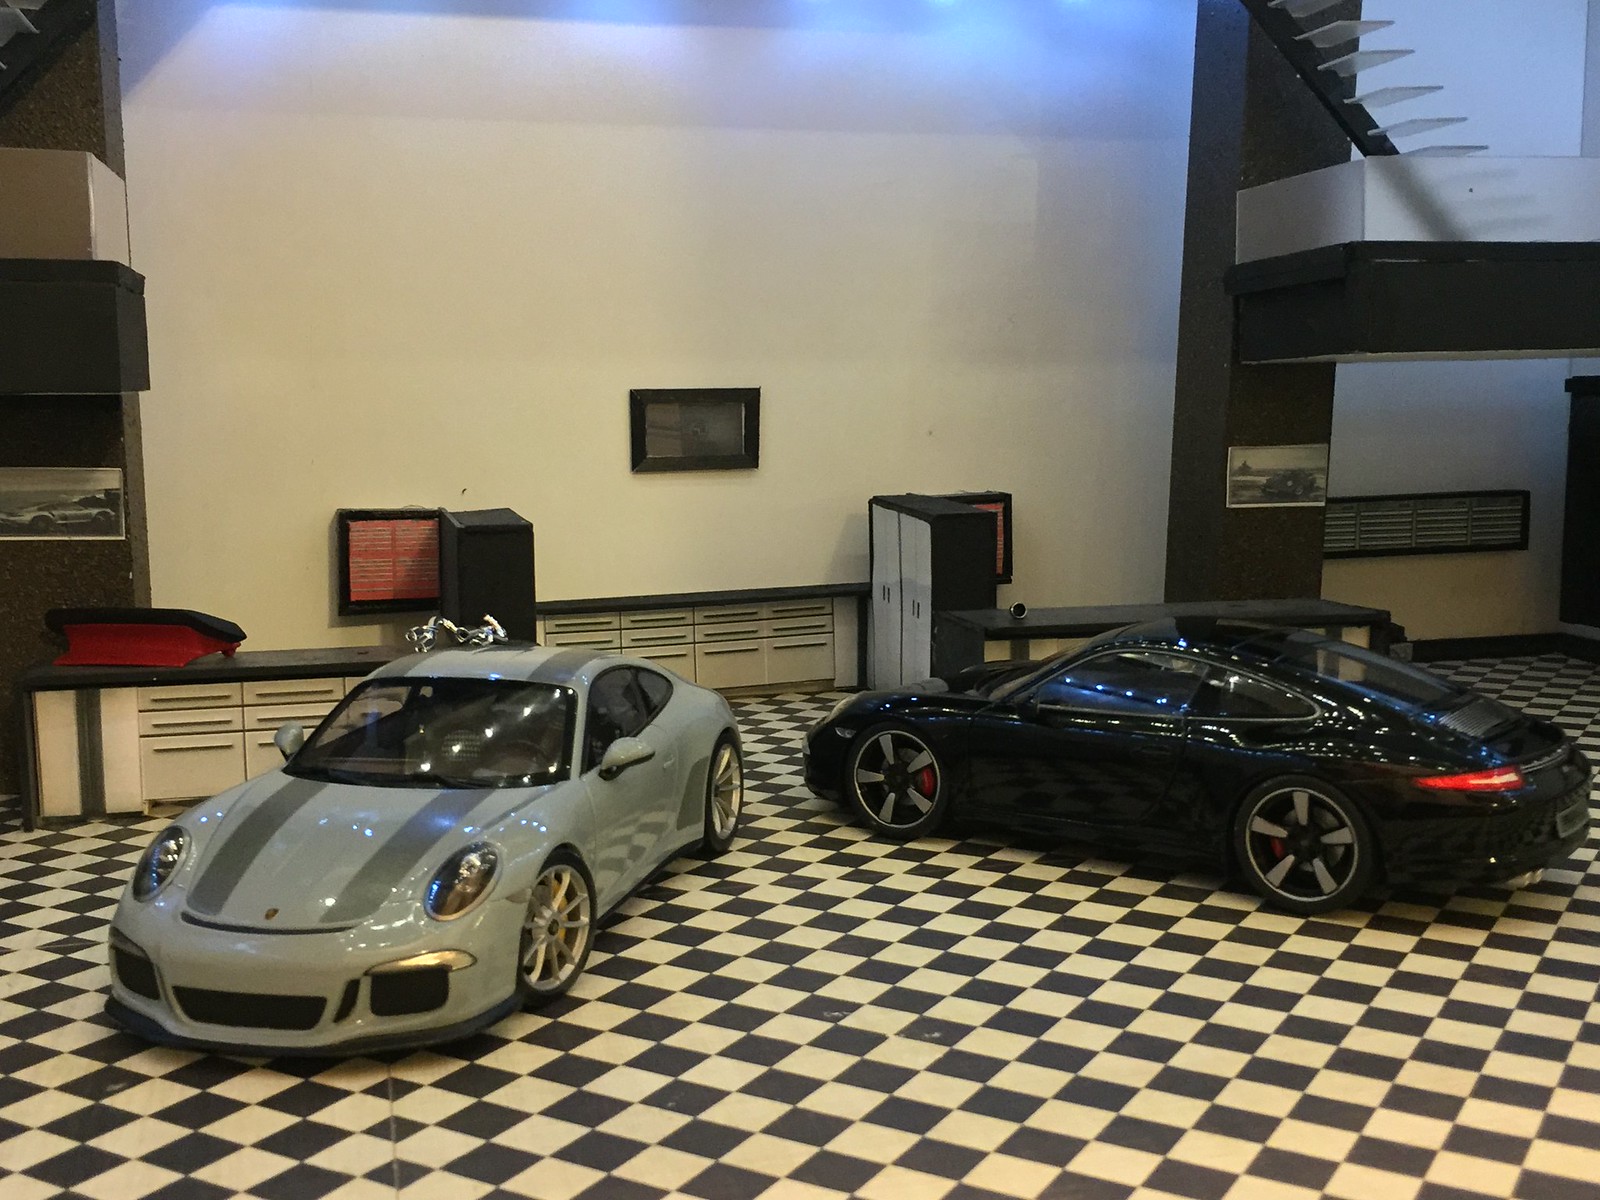
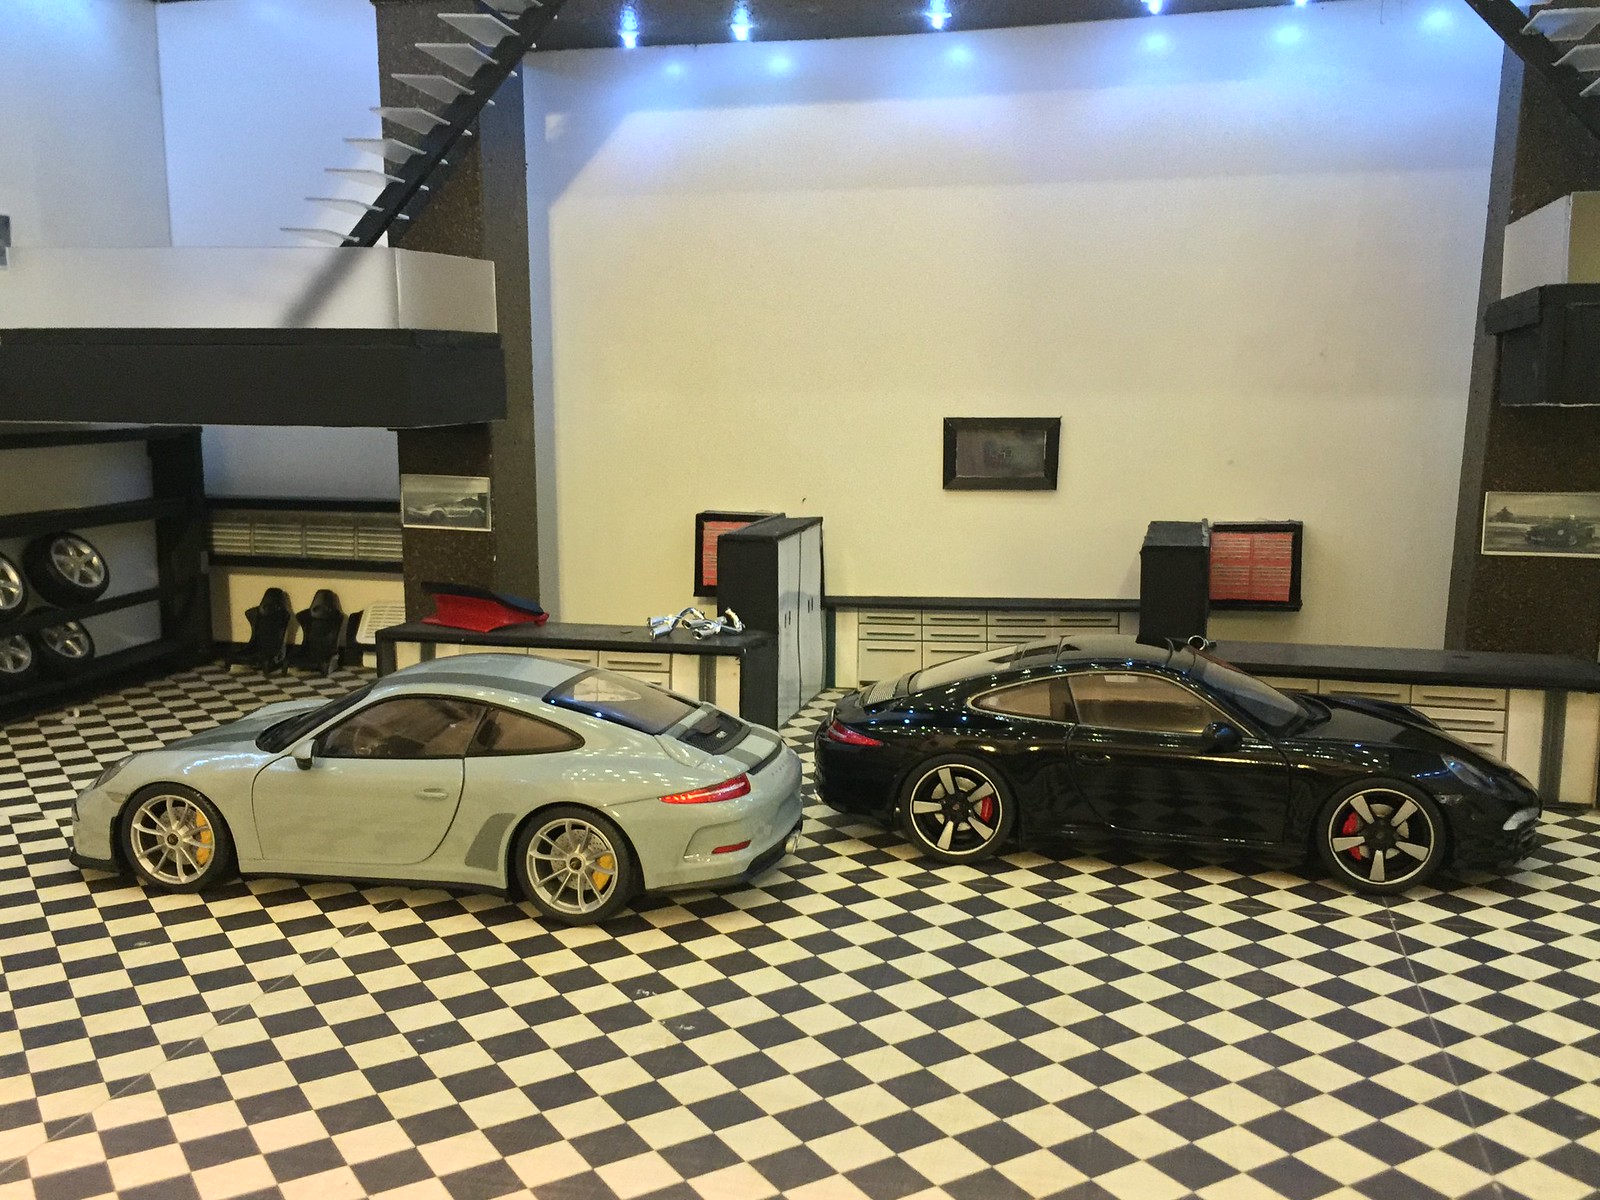
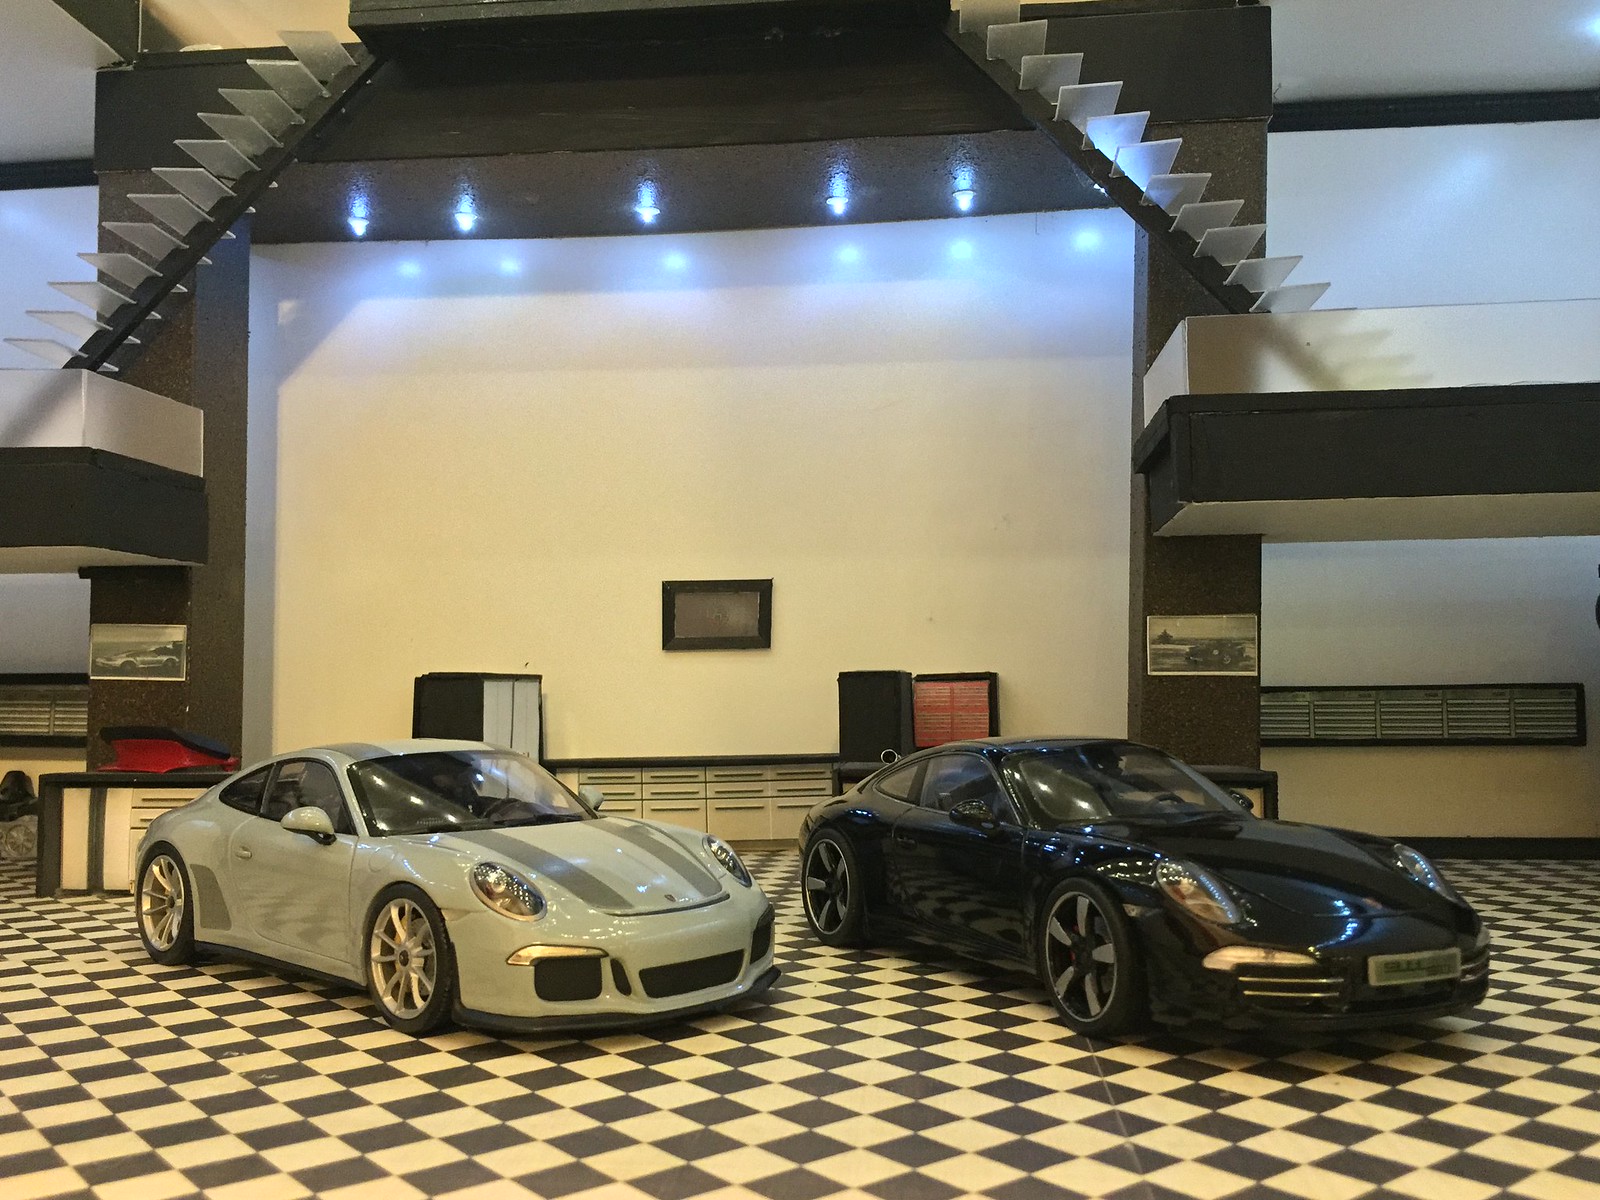
Final shots alone and with my custom 50th anniversary 911/991 in black.
Last edited by mazspd3jase on Fri Sep 09, 2016 10:19 pm, edited 1 time in total.
-
mazspd3jase
- .
- Posts: 337
- Joined: Tue Oct 14, 2014 1:54 am
- Location: Houston, Texas
Re: Update 7Sept2016 - 911R Custom Build
Can still find on diecast sites but price on the has been going up nearly daily. did see quite a few on ebay as well though...lowest priced one was $118 +$22 shipping (from Germany)Gavin wrote:love the new wing. Your R looks awesome with the Sport Classic...wish I'd bought that one.
Re: Update 9Sept2016 - 911R Custom Build-COMPLETED!
2 great models...that nobody else has. Nice!

Re: Update 9Sept2016 - 911R Custom Build-COMPLETED!
Mega impressive! Much better than the Spark version for 500+ Euro
-
mazspd3jase
- .
- Posts: 337
- Joined: Tue Oct 14, 2014 1:54 am
- Location: Houston, Texas
Re: Update 9Sept2016 - 911R Custom Build-COMPLETED!
hehehe.....too true. I may have to fork over the money for the Schucco GTS coupe, cab or targa....making a mold of that rear engine vent would likely look better and more accurate than the scratch-built one I came up with on the 50th anniv. model. That was such a tough part to create!Gavin wrote:2 great models...that nobody else has. Nice!