Although I've been messing with 1:1 cars for over a decade... these are my first die-cast mods (unless you count the unfinished f-100 that's been sitting in a box since I was 15). Enjoy!
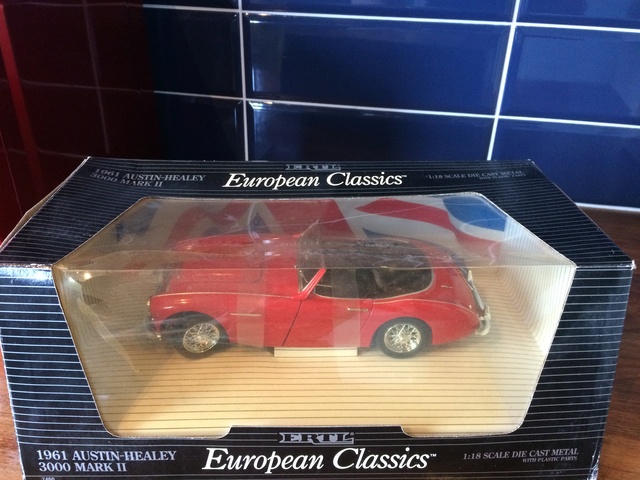
I already own a Kyosho Austin-Healey MK1-racing proto, but those are now going for crazy prices (400$CAD), and are very hard to find, so I've never been tempted to take it apart. I therefore recently started hunting for the significantly cheaper ERTL MKII model, which is still not an easy find, with prices averaging 120$CAD (I've seen some up to 163$CAD + shipping), for what essentially used to be a budget model.
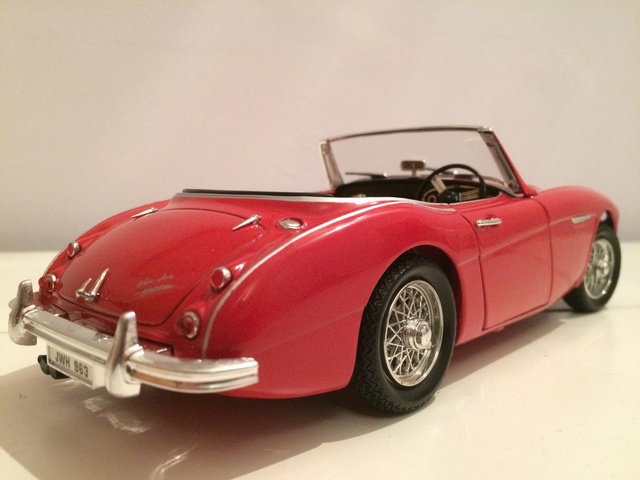
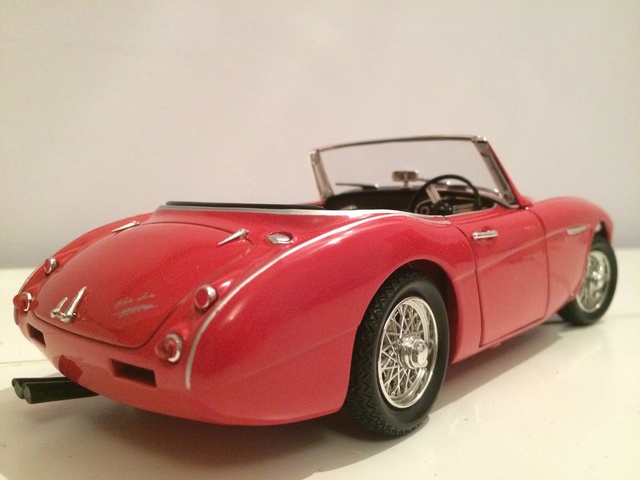
After missing out on a metallic blue damaged model due to a network error, I managed to win this bright red one for 50$CAD with free shipping after a fierce bidding war.
The one condition I gave myself when buying this model was that I absolutely had to mess around with it as a fun modding project. I decided to do things in stages.
The plan is to mod it, display it for a bit, and when I get bored with it I'll mod it some more. Each stage will get a little more extreme...
Stage 1: Improving the base model
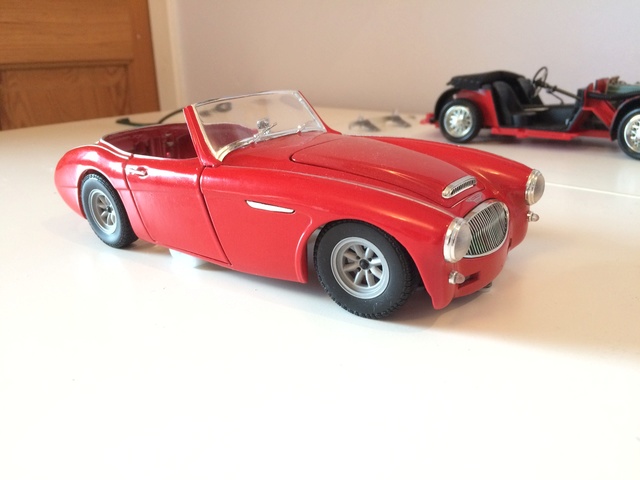
Pulled everything apart. First step is checking whether I will want to go towards a bumper-less look or not. As you see the worst aspect of this model, by far, are the tires which could fit on the front of a tractor.

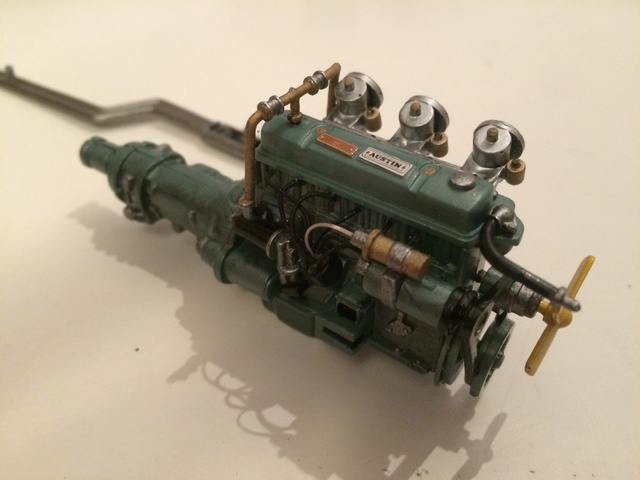
I started with paint details, for which I bought three Humbrol colours: Satin Black, Gold and Steel.
Black:
-lower A-arms
-fan belt
-generator detail
-motor mounts
-blackwash on entire engine, especially on air filters
-detail in between steering wheel spokes
-shifter boot
-miscellaneous bolts, grommets, hoses and carb-top details
-Since it's an older model I used black to hide the huge door hinges and the tabs holding the interior in.
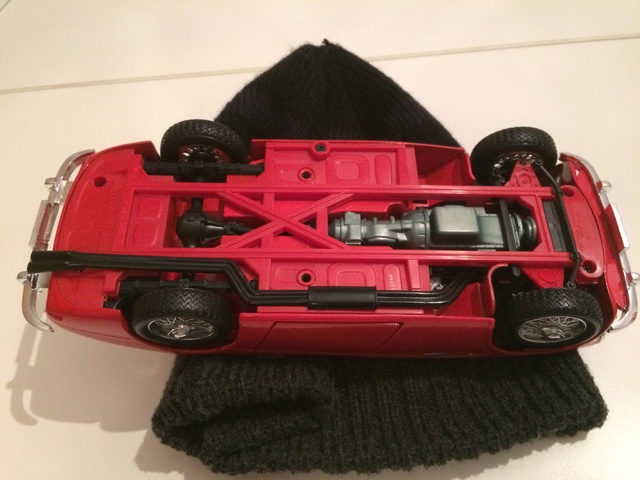
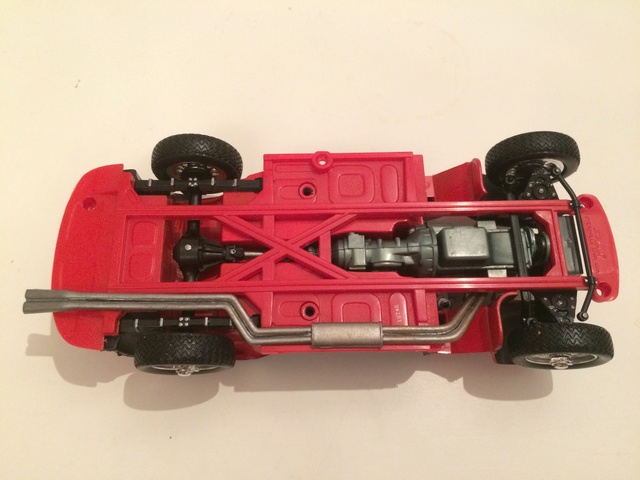
Steel
-exhaust
-drive-shaft & U-joints
-radio knobs and choke
-shift knob and console ash tray
-hand-brake knob
-radiator mesh and cap
-ignition coil, starter and road-draft tube detail
-water neck and hose clamps
-leaf spring retainer clips
-rear bumper mounts
-miscellaneous bolts on sway-bar, oil pan, diff drain plug, lower A-arms, valve cover bolts and cap
Gold
-ignition coil
-road-draft tube
-carb detail and a few bolts here and there
-strategic gold wash on exhaust to simulate oxidation and heat stress
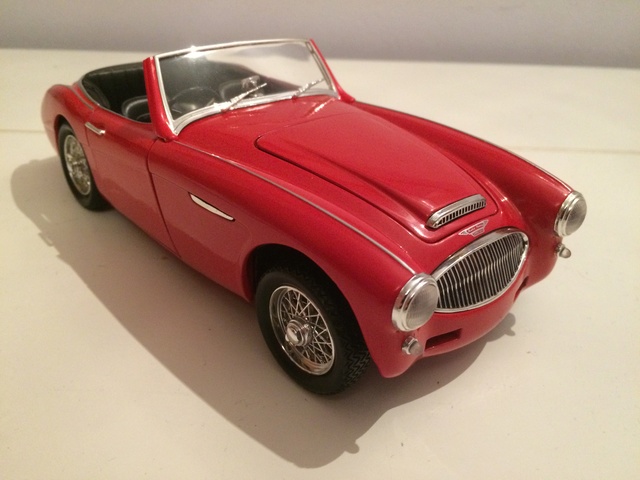
Before and after:
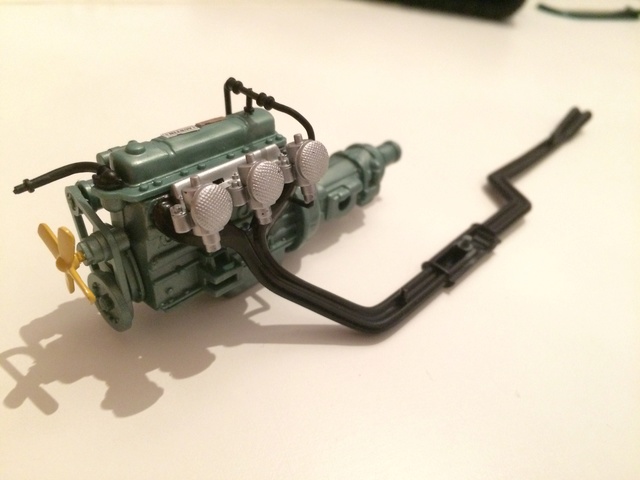
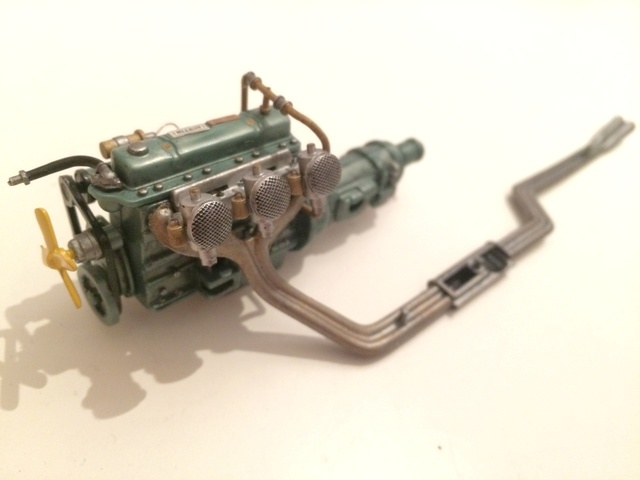
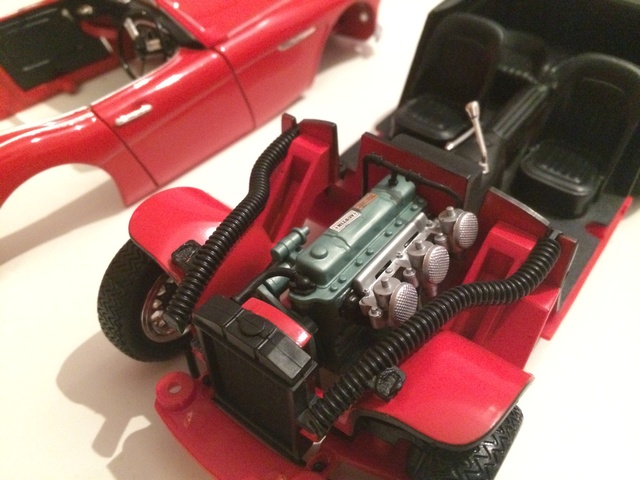
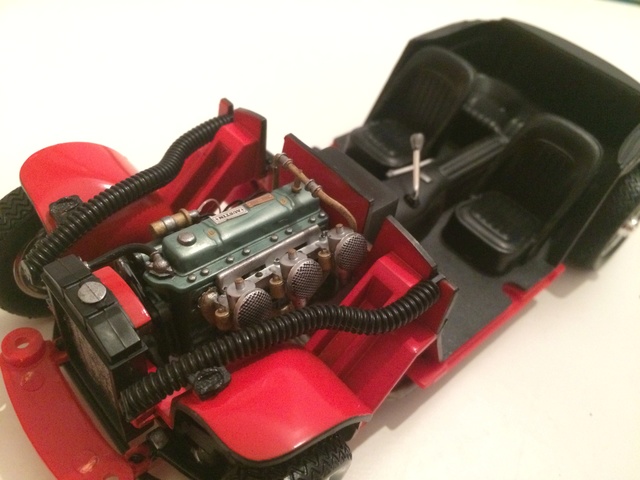
Added some spark plug wires and an ignition coil wire (don't ask me where I got them) :nice:
P.S. It uses the correct firing order, both on the engine and on the distributor.
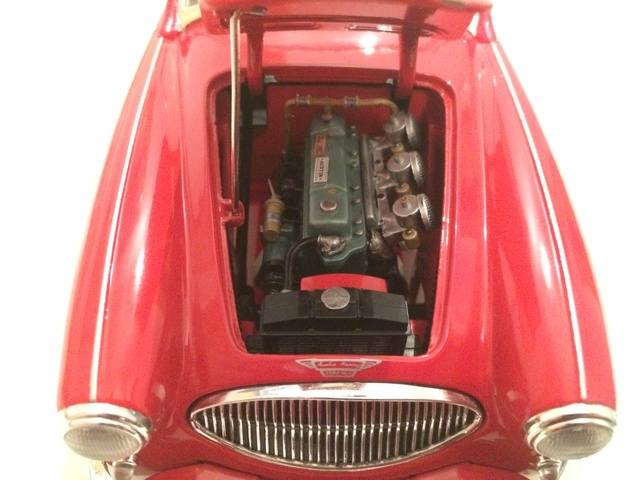
How it looks in the engine bay
In the real world, the 2+2 BT7 model is much less desirable than the 2-seater BN7, where the body goes up further behind the seats. The majority of BT7 owners fit tonneau covers, that cover up the rear seats and turn them into a storage area/parcel shelf, and also clean up the lines of the passenger area.
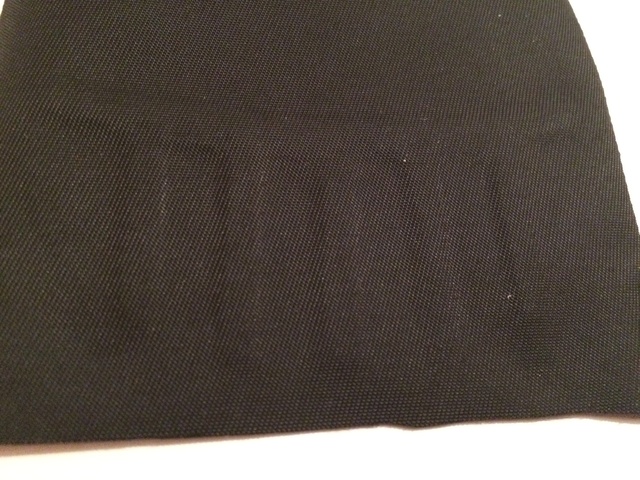
Since the interior of this model is probably its second worst feature after the tires, I decided to make a tonneau cover of my own. Although the majority of people would tend to make this out of milliput, I decided to do it my way and use textured vinyl cloth (that I stole from an old pencil case) for a more realistic look.
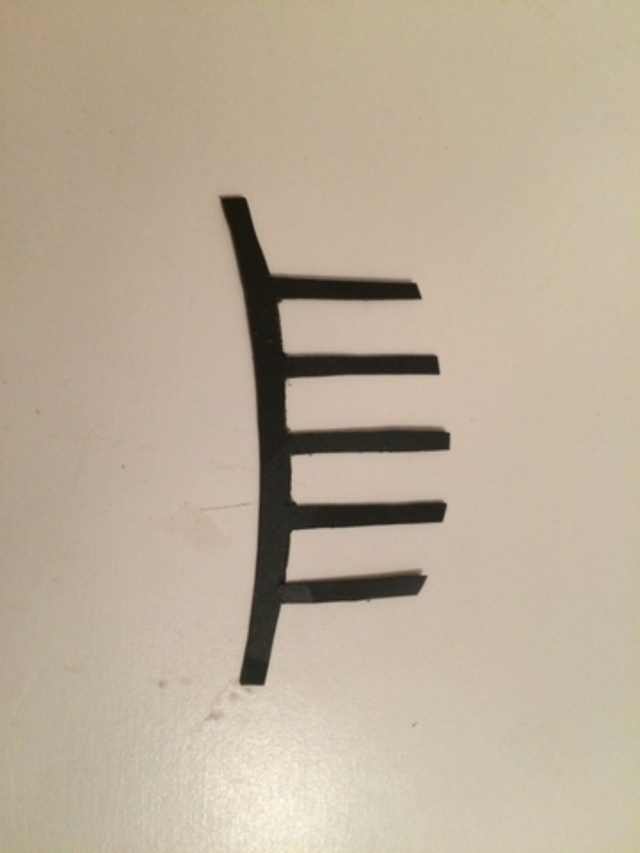
Tonneau covers aren't just fabric, they have an inner structure made up of a forward arc, intersected by plastic strips called "battens", which is what I tried to replicate with plastic based on reference photos.
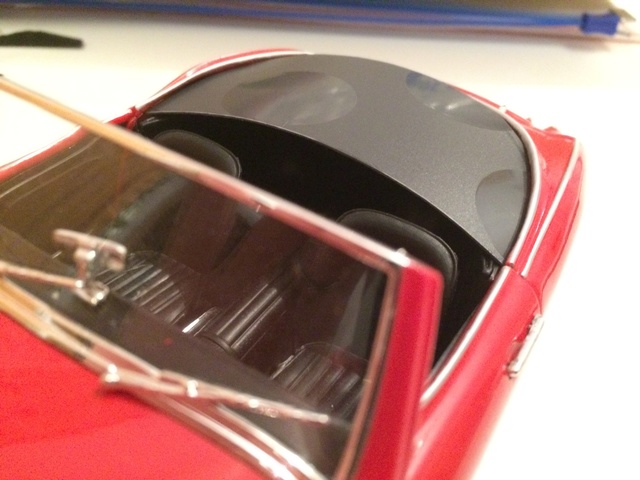
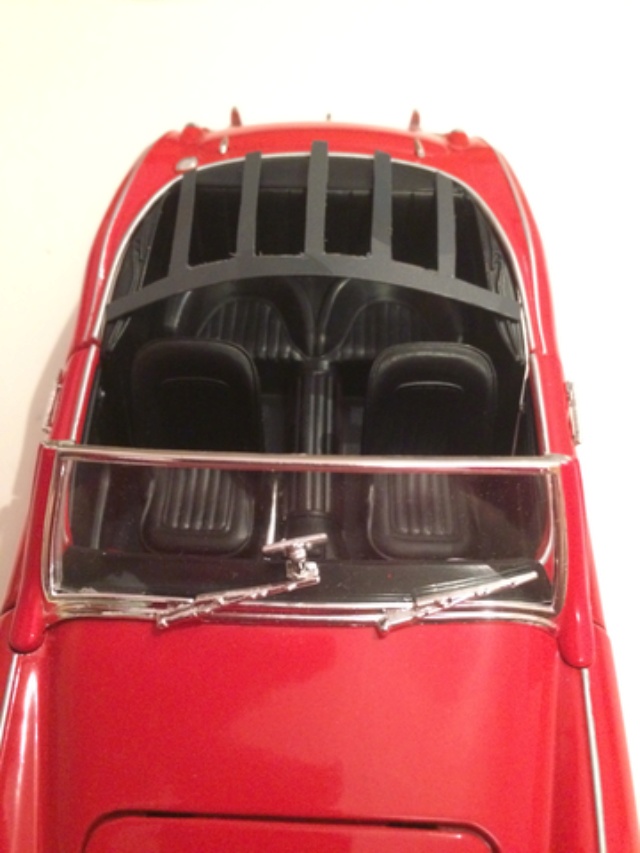
I then glued a layer of cloth (the same size as the plastic) underneath, and a much larger layer of cloth over the top. I used a blunt knife to stretch the fabric around the battens/plastic strips to have a realistic shape. A long length of extra material was left on the side facing the inside of the interior. This was then split and rolled up underneath as a real one would be (they're made to unroll and cover the driver's seat when you're parked).
I cut a general outline around the tonneau cover, keeping roughly 0.5-0.75cm extra material. It then mounts between the die-cast body and plastic interior piece's rear shelf, with the plastic battens maintaining a slightly domed shape. I also painted rivets/snaps around the edge.
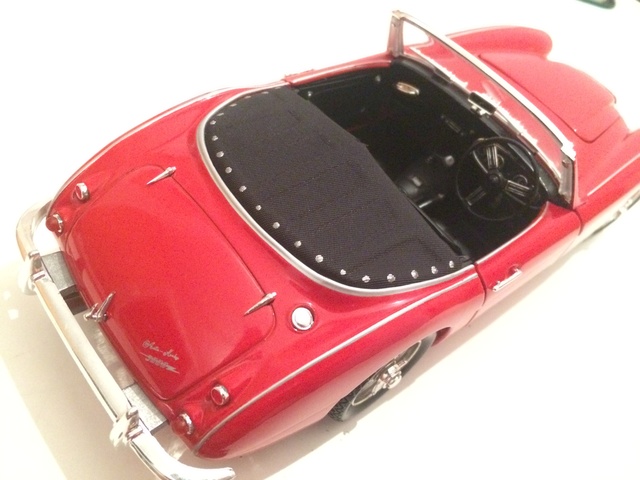
On a real Healey the tonneau cover would mount directly to the body, but I do take some artistic liberties. I might eventually make another one with narrower/more correct battens.
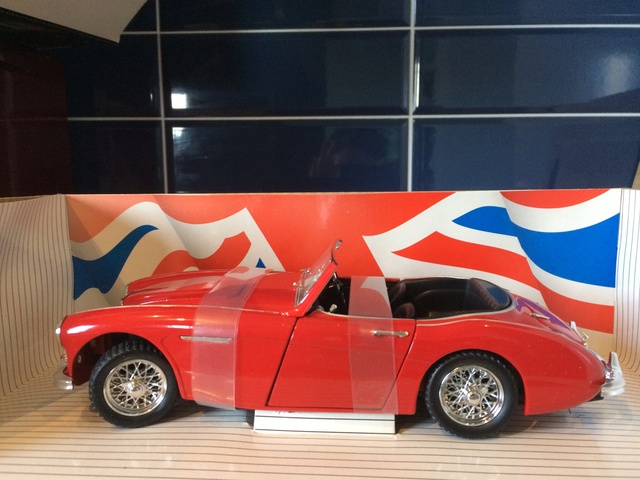
New wheel Mock-up. Thoughts?