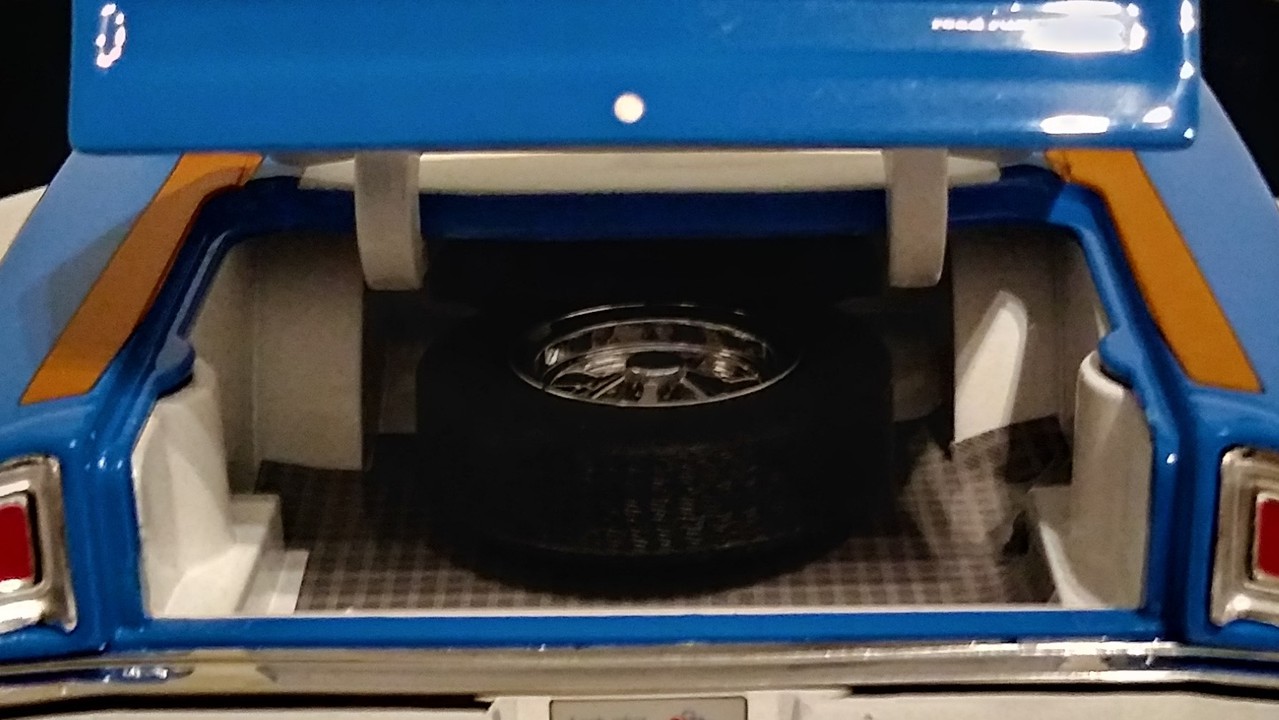
I was busy again. The trunk was made. First, a picture of the original:
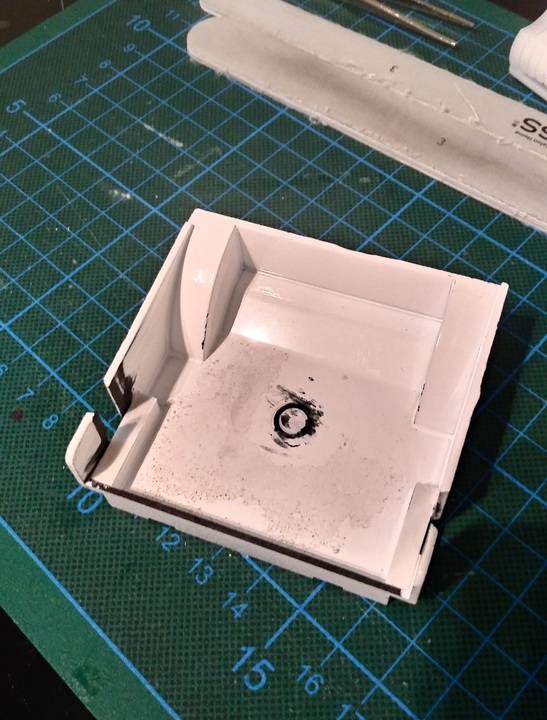
I started with the sidewalls, which were straightened.
The spare wheel was flown out and the bracket was sanded off.
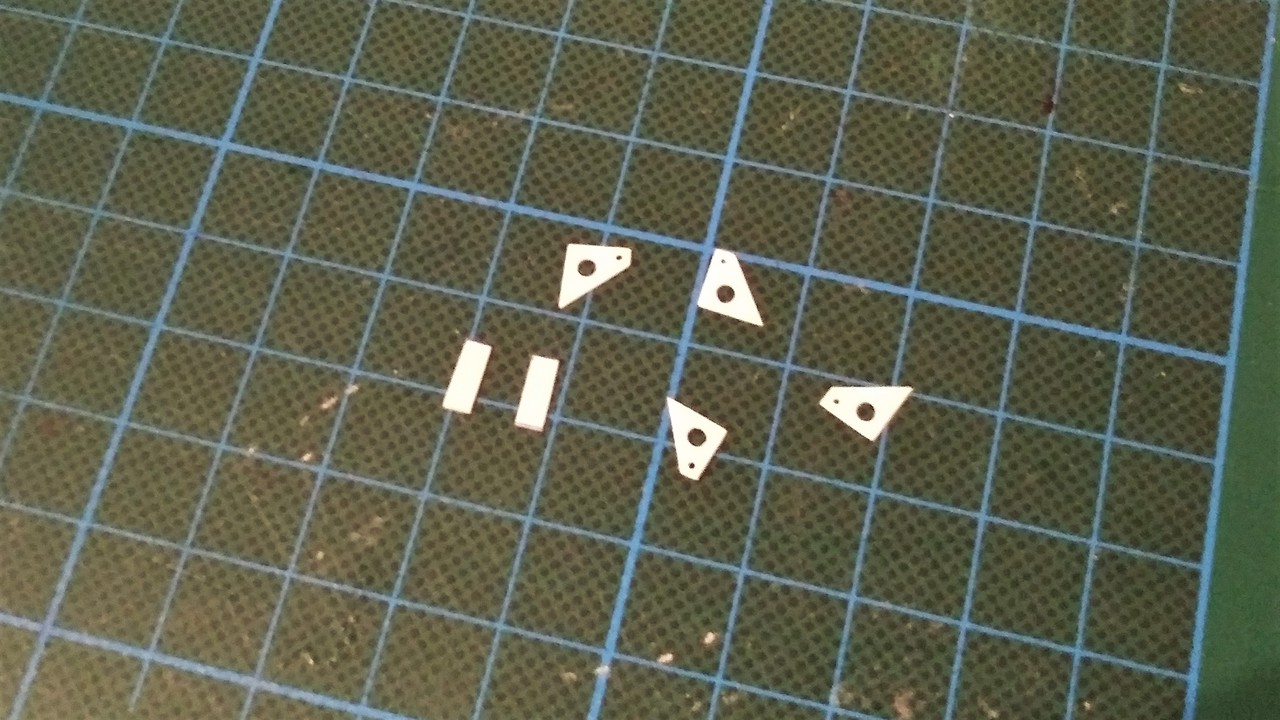
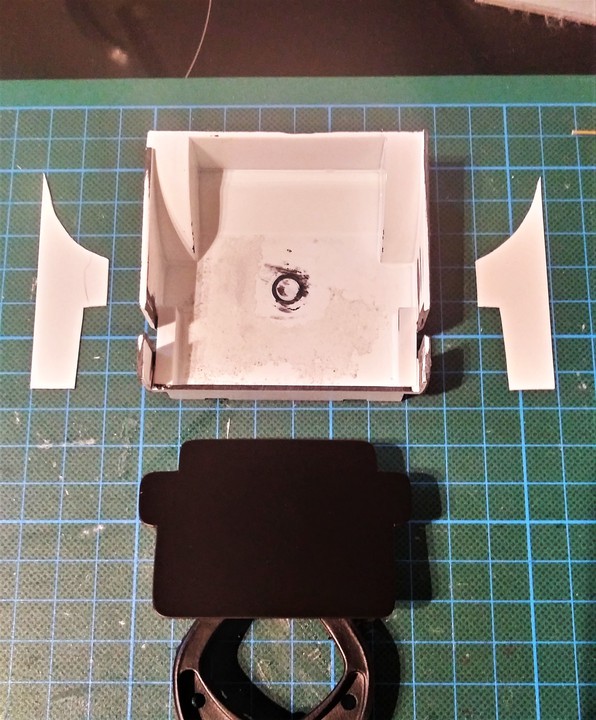
The new side walls and bottom plate are made of 0.5mm polystyrene plates.
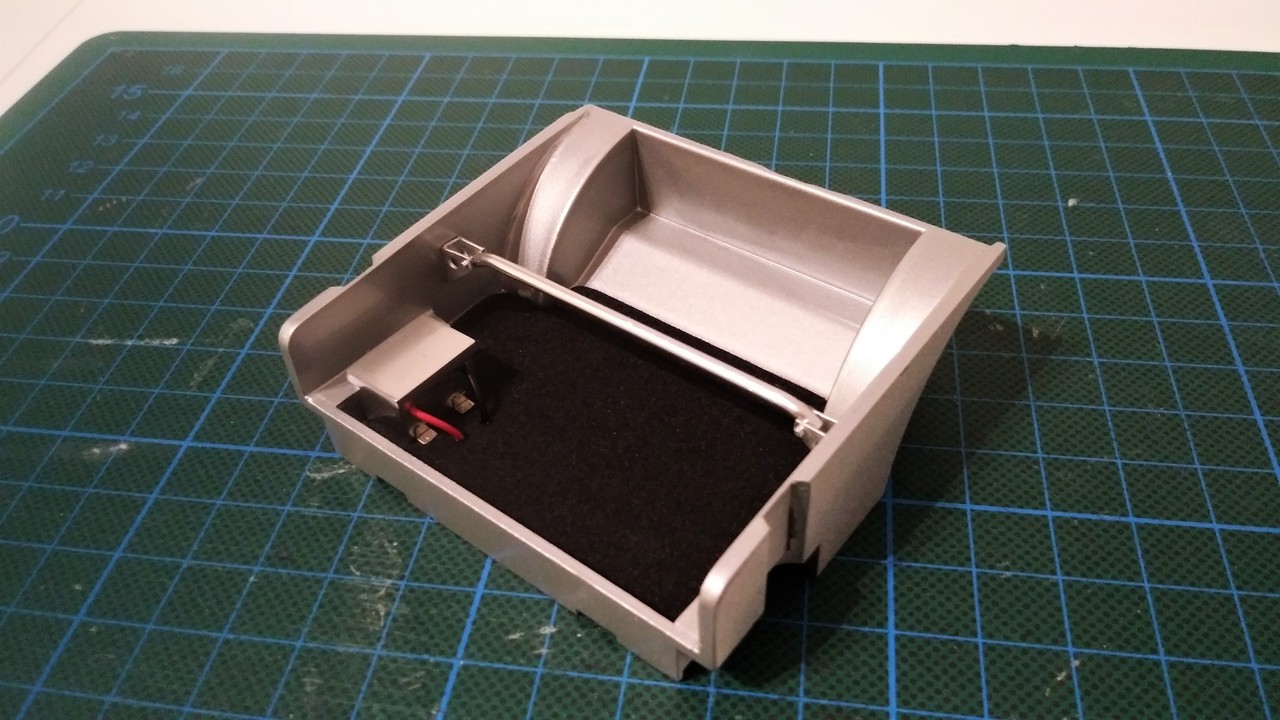
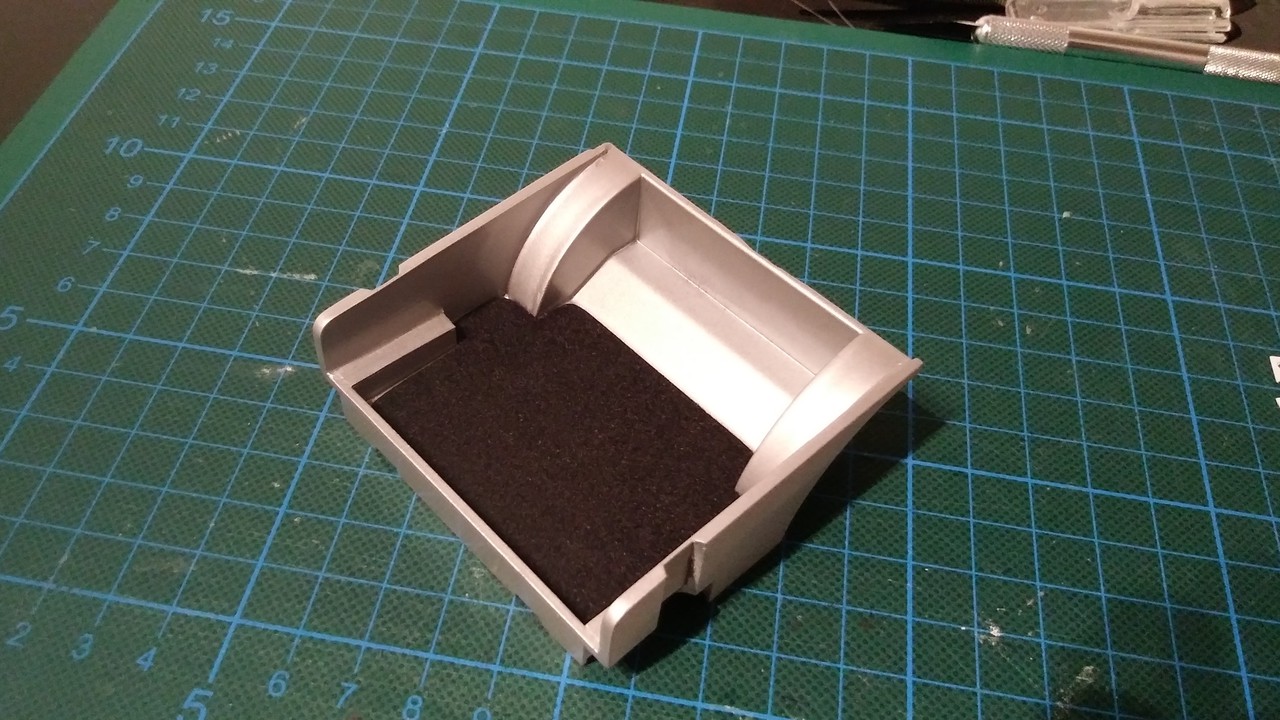
After plenty of sanding, the floor was flocked, everything thoroughly sanded, primed and painted.
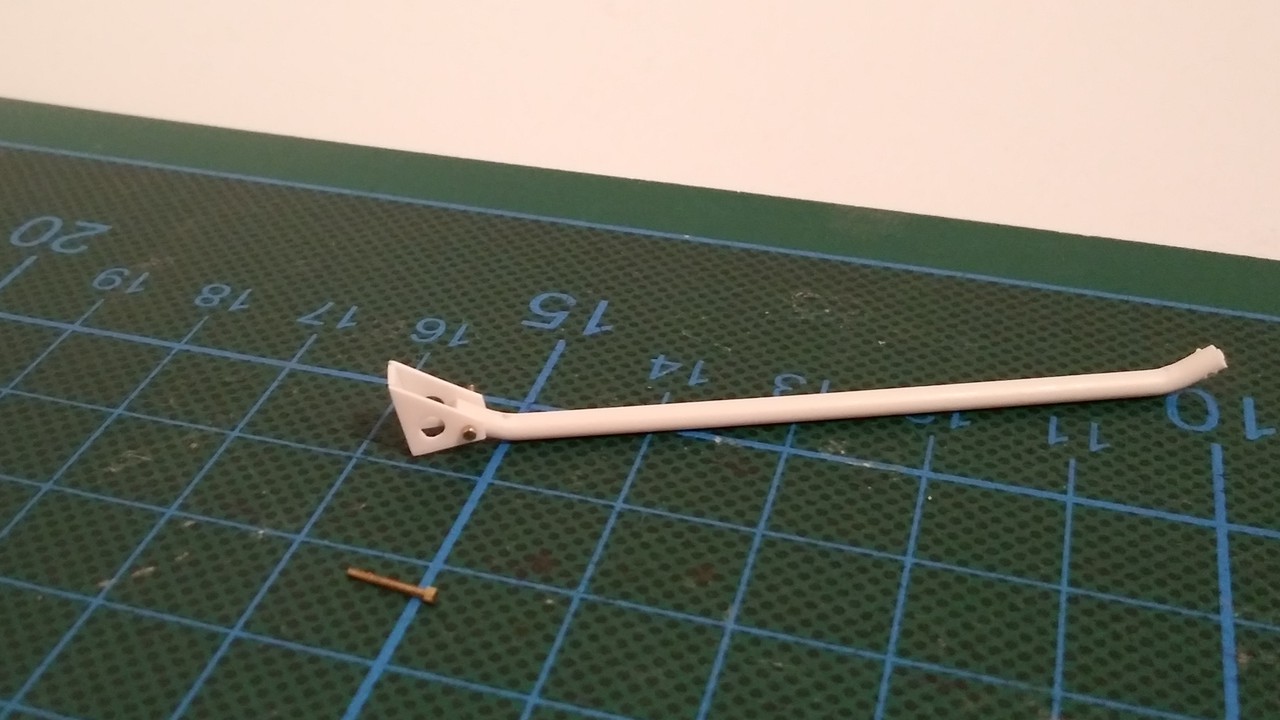
For stabilization and rigidity, a kind of strut bar was built for the rear.
Again, the parts consist of 0.5mm polystyrene plates, the strut of a 2mm polystyrene rod. M0.6 screws were used to attach the bracket to the strut.
The battery also finds its place in the rear. This time it is in a battery box (polystyrene). The small mounts are from the Tremonia Racing set: