Diecast Models Photography: Tips & Tricks
Posted: Sun Feb 15, 2015 10:23 am
Shooting diecast model cars (and toys) is something that should be taken seriously. The only thing the will require you to spend a little extra is for a nice camera. Other accessories need not to be expensive. Of course, other people would opt to use their phone cameras. However, camera phones still won't produce the same quality images that a real camera does.
1. Buying a camera - always settle for a camera that can be used with manual setting. DSLR cameras have full manual setting. Aperture, exposure (shutter), focus. Some micro 4/3s and other PS (point and shoot) cameras offer the same features too. Inter-changeable lenses is an extra but not necessary especially when shooting your models at close distances.
Remember that the gear used is only good as the user. You don't need high end cameras to achieve nice images. Always master your camera's full capabilities to maximize it's features.
Aperture is the depth of field. The lower the setting, the focus point becomes smaller.
Exposure - speed of shutter. For dark environments, long exposure shots with the use of tripods gets really good results.
2. Use a tripod - There are no 100% steady hands. Only a tripod can hold your camera at zero movement. There are tripods available for as low as $10 each. When shooting at slow shutter speed or long exposures, use the timer or a remote trigger. Most Nikon cameras work with the ML-L3 IR remote. While Canon has the RC-6.
3. Be creative - Deflect, filter and bounce the light. Use white card boards, plastic corrugated boards or white cloth for filtering, deflecting and making the light bounce.
4. Lighting - You can choose between using multiple sources such as flash (or strobe), lamps and natural lighting. Natural lighting is still the best because it provides and distributes light evenly. For excessive natural lighting, you can always filter them by using the boards mentioned above. White balance should always be set to proper light environment.
5. Surface and background - you can use different surfaces. From sheets, felt paper, graphical backgrounds to natural (perspective shooting).
Felt paper is best used for indoor shooting with light/photo boxes because it absorbs excess light. No glaring.
6. Photo box/light box - there are countless of photo boxes available at different price range. Cheapest would go for $10 each while prices go higher depending on the brand and quality. I use two different photo boxes. One is a DIY made from plastic corrugated boards assembled together while the other one is a set that comes with changeable nylon backgrounds which I got $15.
My $15 photo/light box

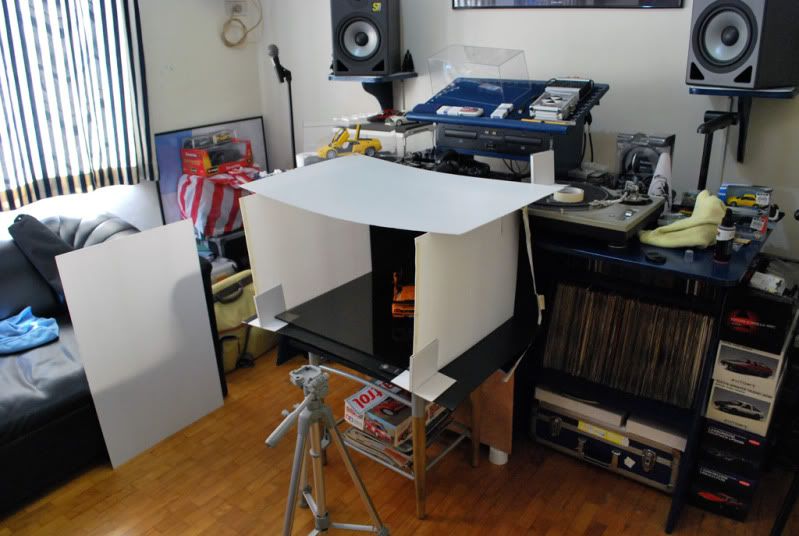
My DIY photo box
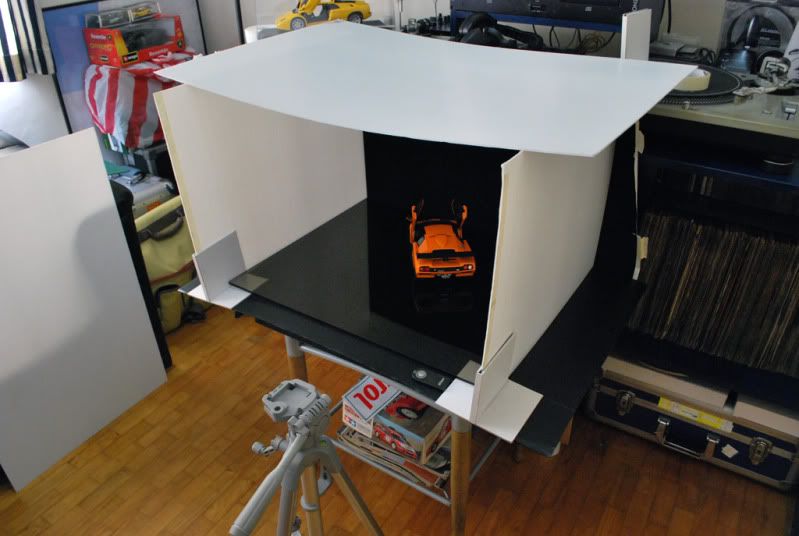
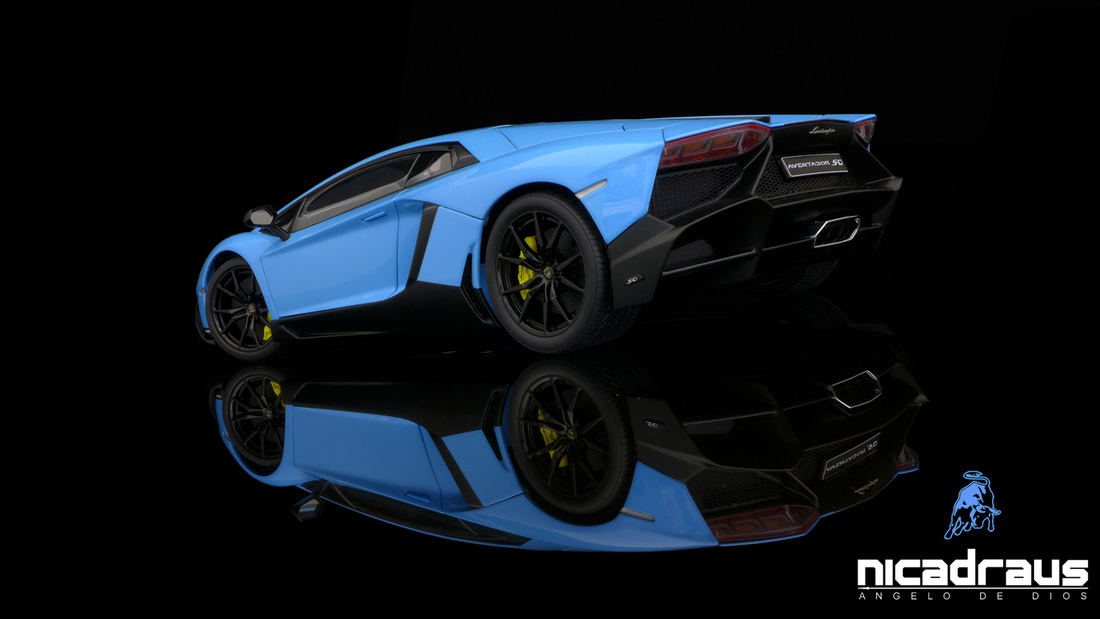
The sides and top are made of white plastic corrugated boards. It also serves as filter for excess lights. Background is black felt paper. Glass surface with black board underneath.
Here's the shot:
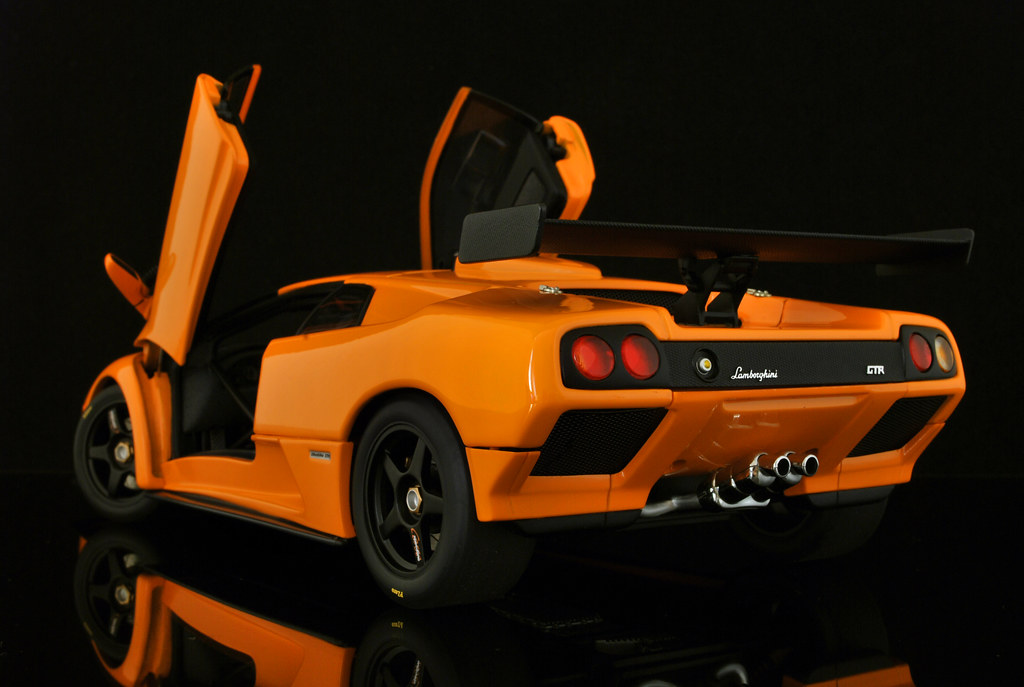
Camera: Nikon D60
My settings:
Manual:
ISO-100
Exposure: 30secs
Apperture: f20
Focal Length: 36mm
Triggered with IR Remote: ML-L3
Another shot using DSLR with the DIY photo/light box
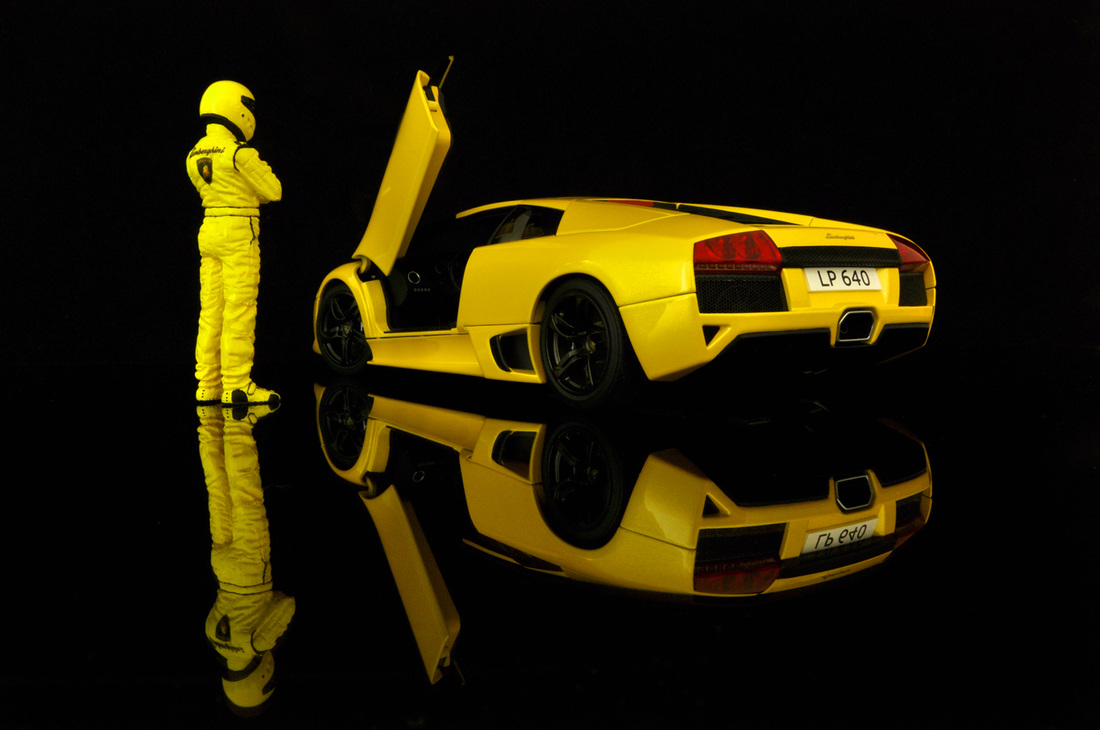
No flash. My only source of illumination is natural day light from the window. But the light is filtered by the curtain and addition plastic corrugated board for defusing the light.
Shot using DIY photo/light box with PS camera
Camera: Panasonic Lumix LX7
ISO: 80
Aperture Priority: F8.0
Exposure: 40secs
Focal point: 7.3mm
Self timer at 2secs.
Lighting: daylight lamps, three sides. Left, right and top. Filtered with white plastic corrugated boards. Front illumination deflected from top.
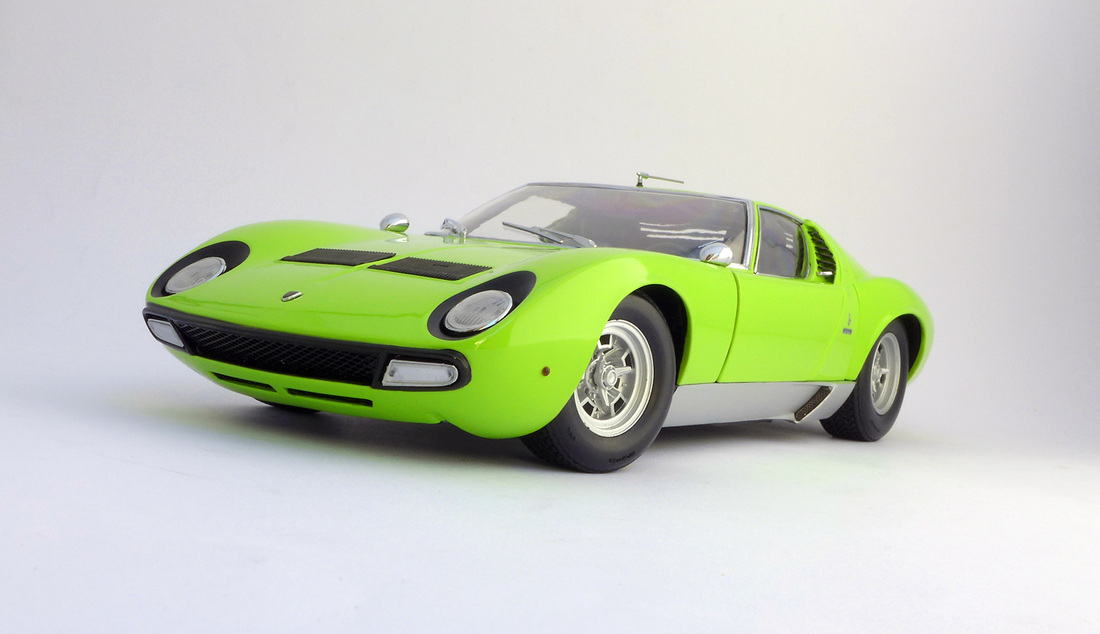
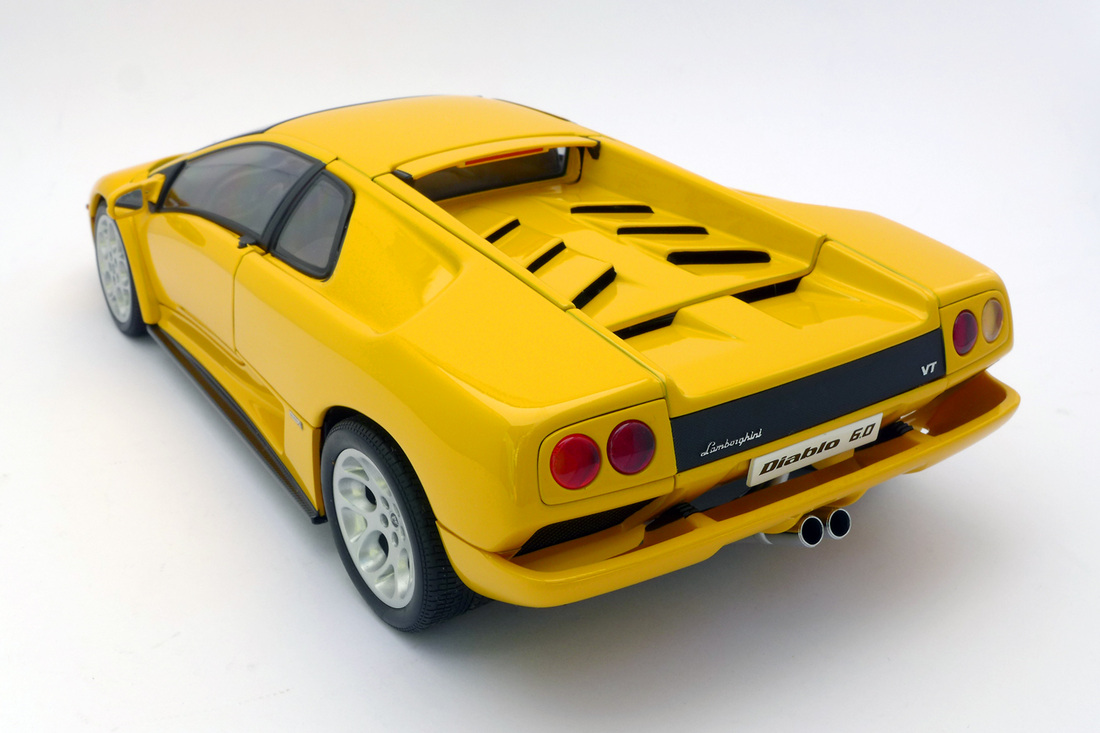
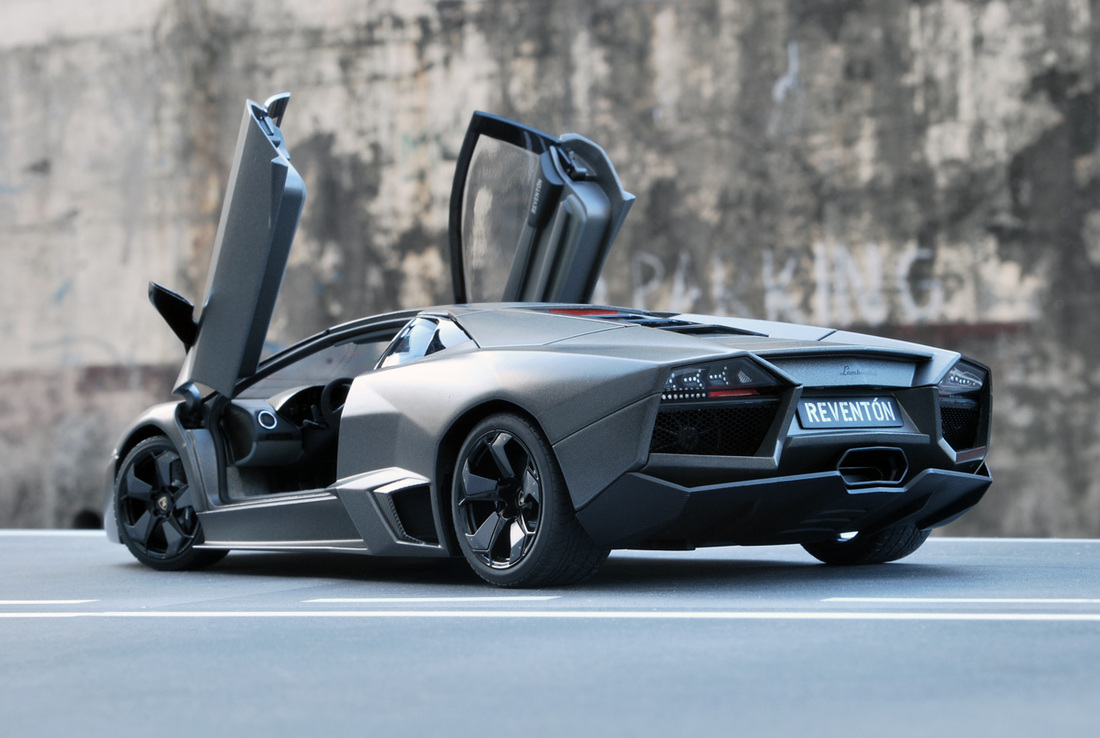
Shots using $15 photobox with white background and PS camera (Panasonic Lumix LX7)
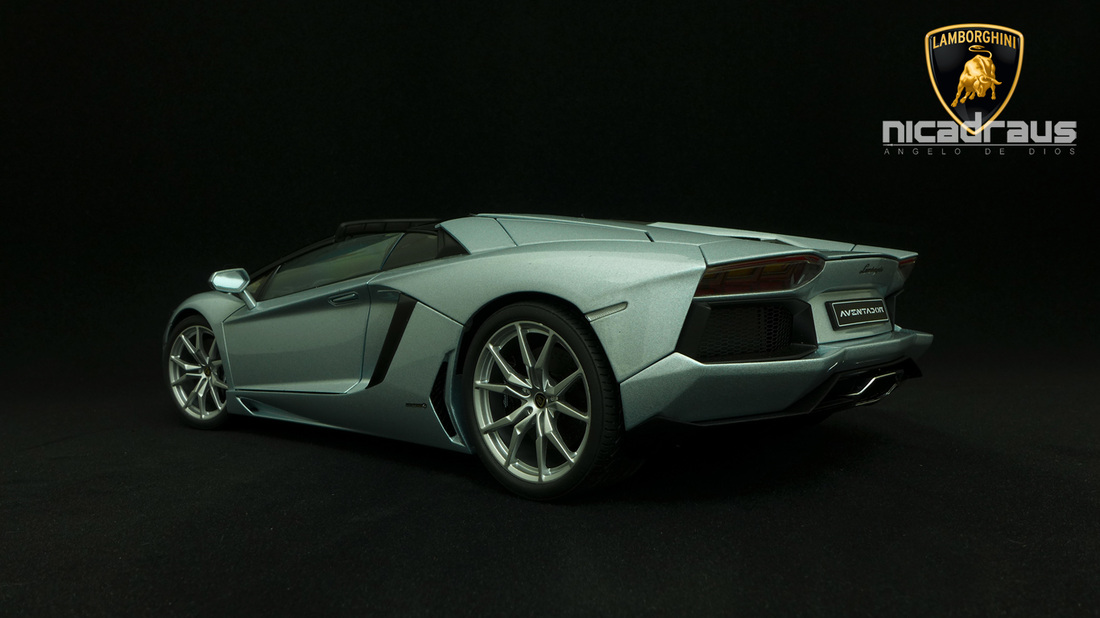
Shot using $15 photobox with dark background and PS camera (Panasonic Lumix LX7)
Perspective Shooting
Here's an example of Perspective shooting using actual backgrounds.

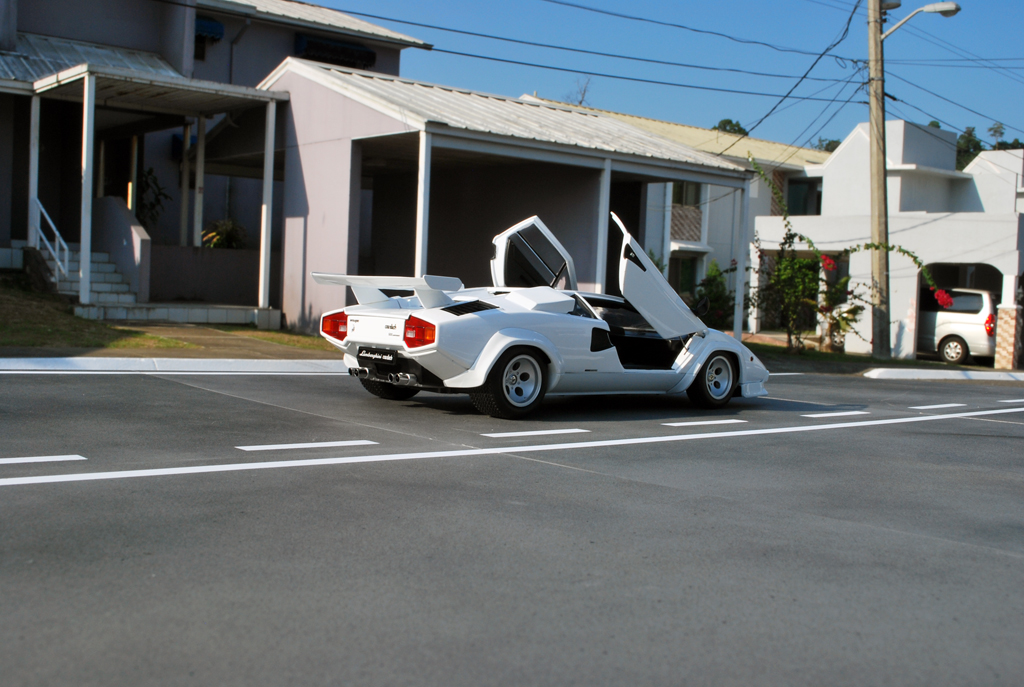
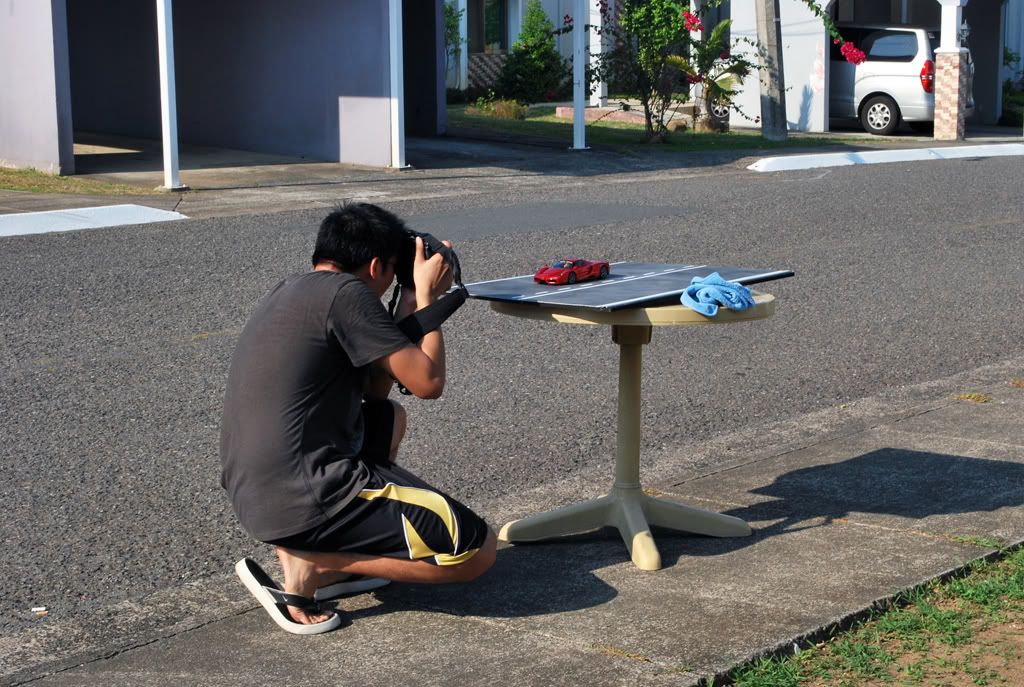
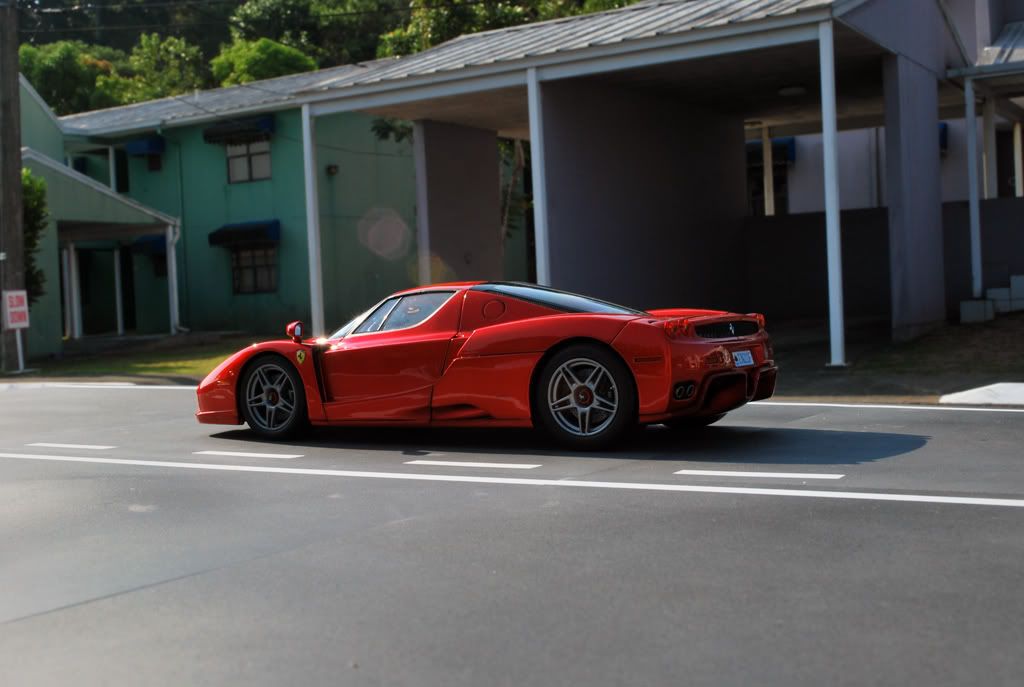
Other samples of Perspective Shots:
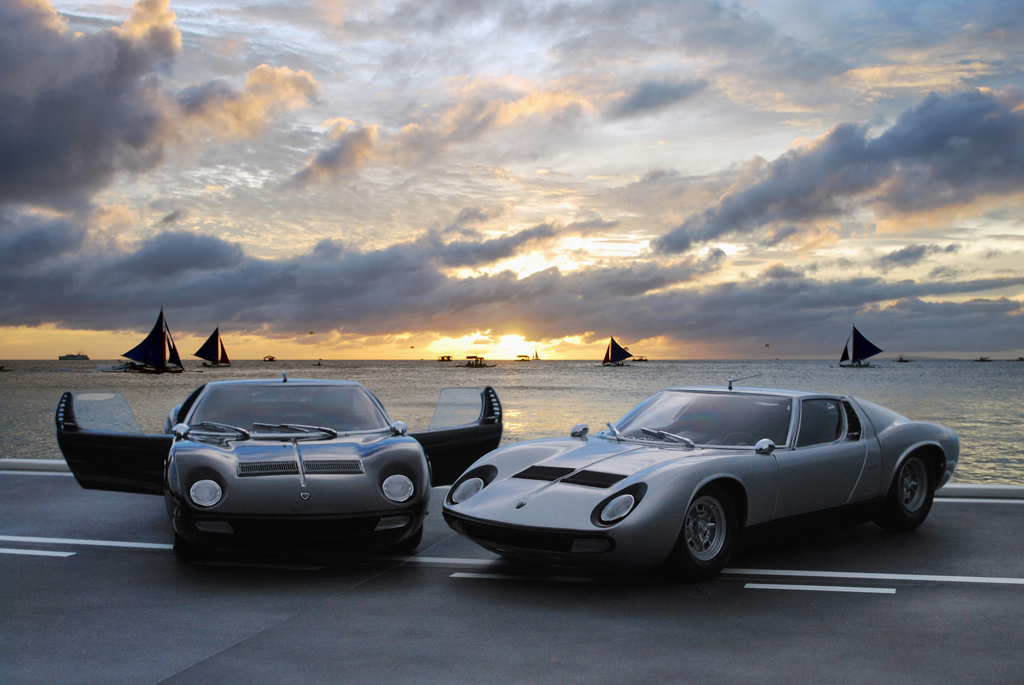
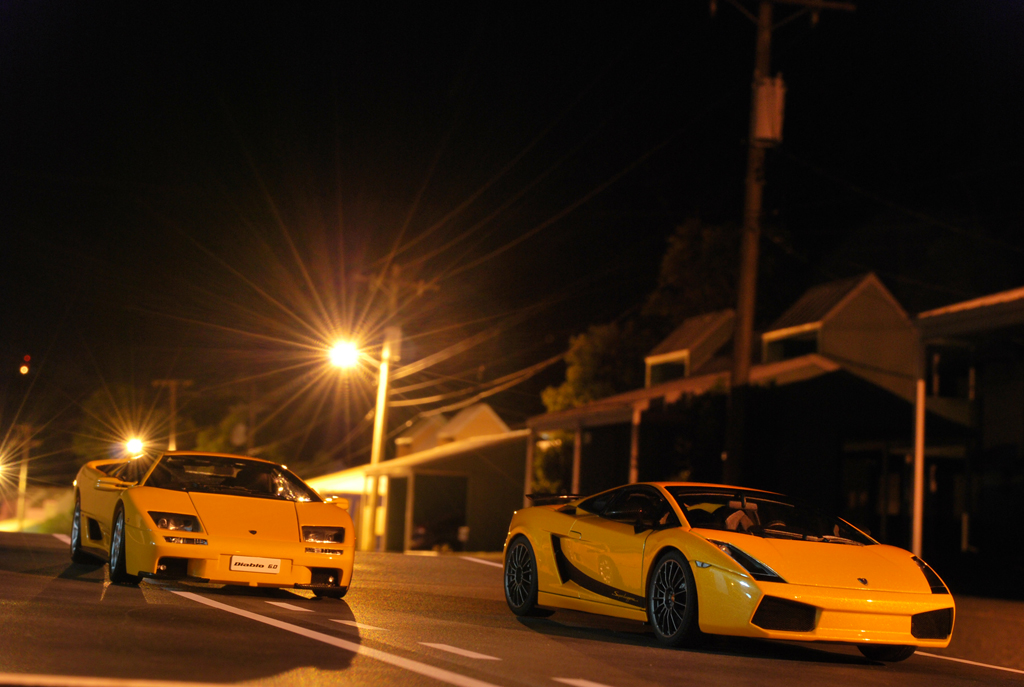
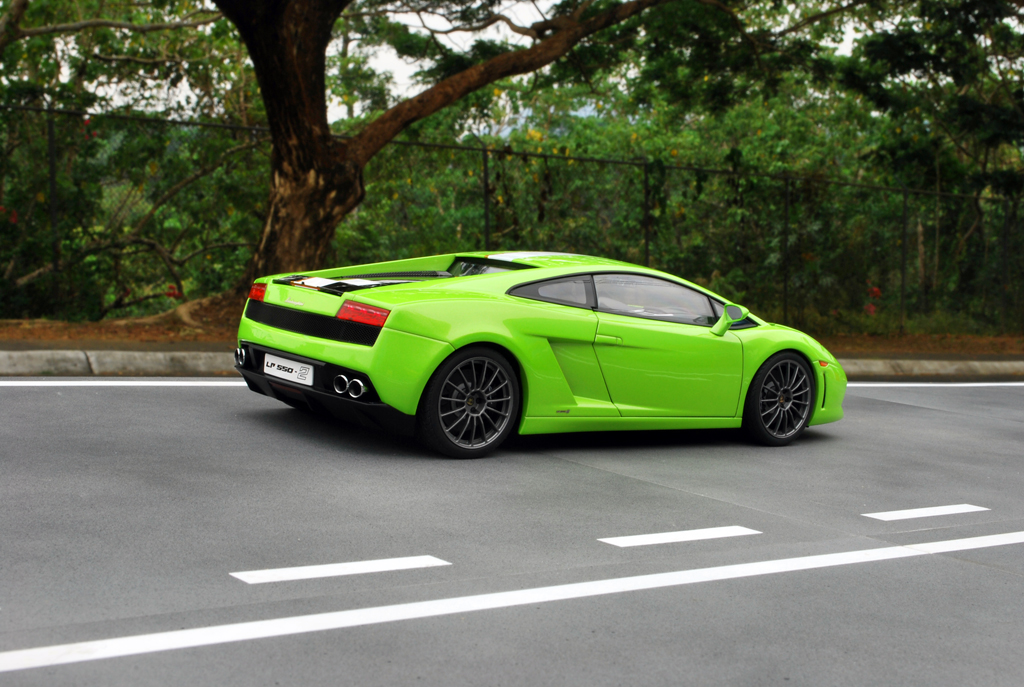
The surface is a road diorama I made for these shooting purposes.
Hope you guys like it.
1. Buying a camera - always settle for a camera that can be used with manual setting. DSLR cameras have full manual setting. Aperture, exposure (shutter), focus. Some micro 4/3s and other PS (point and shoot) cameras offer the same features too. Inter-changeable lenses is an extra but not necessary especially when shooting your models at close distances.
Remember that the gear used is only good as the user. You don't need high end cameras to achieve nice images. Always master your camera's full capabilities to maximize it's features.
Aperture is the depth of field. The lower the setting, the focus point becomes smaller.
Exposure - speed of shutter. For dark environments, long exposure shots with the use of tripods gets really good results.
2. Use a tripod - There are no 100% steady hands. Only a tripod can hold your camera at zero movement. There are tripods available for as low as $10 each. When shooting at slow shutter speed or long exposures, use the timer or a remote trigger. Most Nikon cameras work with the ML-L3 IR remote. While Canon has the RC-6.
3. Be creative - Deflect, filter and bounce the light. Use white card boards, plastic corrugated boards or white cloth for filtering, deflecting and making the light bounce.
4. Lighting - You can choose between using multiple sources such as flash (or strobe), lamps and natural lighting. Natural lighting is still the best because it provides and distributes light evenly. For excessive natural lighting, you can always filter them by using the boards mentioned above. White balance should always be set to proper light environment.
5. Surface and background - you can use different surfaces. From sheets, felt paper, graphical backgrounds to natural (perspective shooting).
Felt paper is best used for indoor shooting with light/photo boxes because it absorbs excess light. No glaring.
6. Photo box/light box - there are countless of photo boxes available at different price range. Cheapest would go for $10 each while prices go higher depending on the brand and quality. I use two different photo boxes. One is a DIY made from plastic corrugated boards assembled together while the other one is a set that comes with changeable nylon backgrounds which I got $15.
My $15 photo/light box
My DIY photo box
The sides and top are made of white plastic corrugated boards. It also serves as filter for excess lights. Background is black felt paper. Glass surface with black board underneath.
Here's the shot:
Camera: Nikon D60
My settings:
Manual:
ISO-100
Exposure: 30secs
Apperture: f20
Focal Length: 36mm
Triggered with IR Remote: ML-L3
Another shot using DSLR with the DIY photo/light box
No flash. My only source of illumination is natural day light from the window. But the light is filtered by the curtain and addition plastic corrugated board for defusing the light.
Shot using DIY photo/light box with PS camera
Camera: Panasonic Lumix LX7
ISO: 80
Aperture Priority: F8.0
Exposure: 40secs
Focal point: 7.3mm
Self timer at 2secs.
Lighting: daylight lamps, three sides. Left, right and top. Filtered with white plastic corrugated boards. Front illumination deflected from top.
Shots using $15 photobox with white background and PS camera (Panasonic Lumix LX7)
Shot using $15 photobox with dark background and PS camera (Panasonic Lumix LX7)
Perspective Shooting
Here's an example of Perspective shooting using actual backgrounds.
Other samples of Perspective Shots:
The surface is a road diorama I made for these shooting purposes.
Hope you guys like it.
